Company policies are crucial documents for every organization. However, they are also typically long, complicated, and difficult for employees to engage with, even with traditional compliance training. Low engagement leads to low retention and thus compliance and security risks.
With Policy-to-Lesson, you can now turn multi-page PDFs into bite-sized, engaging e-learning lessons - with no manual effort. This is achieved by combining the power of AI with SoSafe’s educational concept, lesson structure and curated asset library.
As of August 6, 2026, any progress you make on editing and reviewing lessons is automatically saved. This allows you to collaborate with other team members to improve your lessons and/or get aproval.
Interactive demo
Feel free to try out this interactive demo or proceed directly to the step-by-step instructions.
Overview page
While working with Policy-to-Lesson, your work gets saved continually. If you return to the overview or close your browser window, any progress made will be saved. This also allows you to collaborate with other team members.
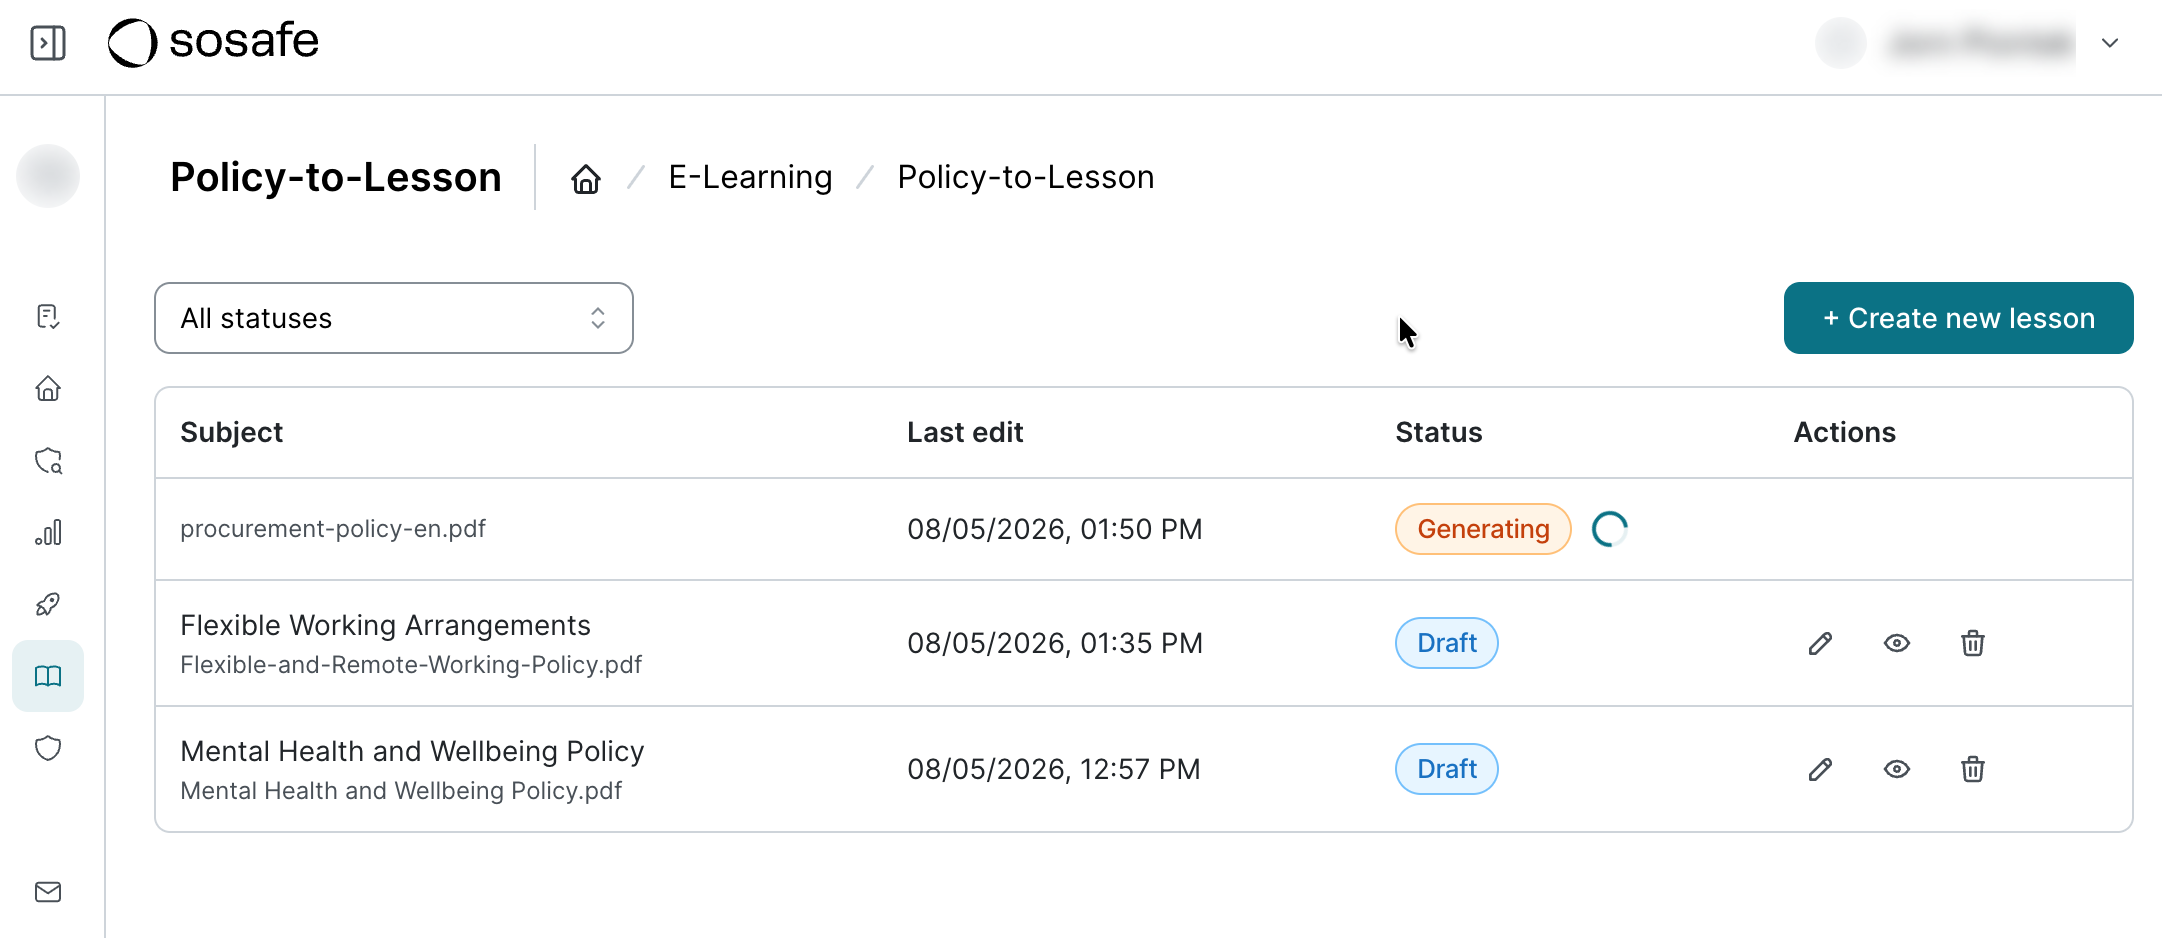
When navigating to E-Learning / Policy-to-Lesson, you will find an overview of all lessons created with this feature. You can edit all lessons that have not been published yet by clicking the pen icon in the corresponding row. Selecting the eye icon will take you to a preview of the lesson and selecting the trash can icon will delete the lesson. Deleted lessons cannot be recovered. This action is permanent and cannot be undone. You can of course upload your policy file again and create a new lesson.
Step-by-step instructions
1. Uploading your policy
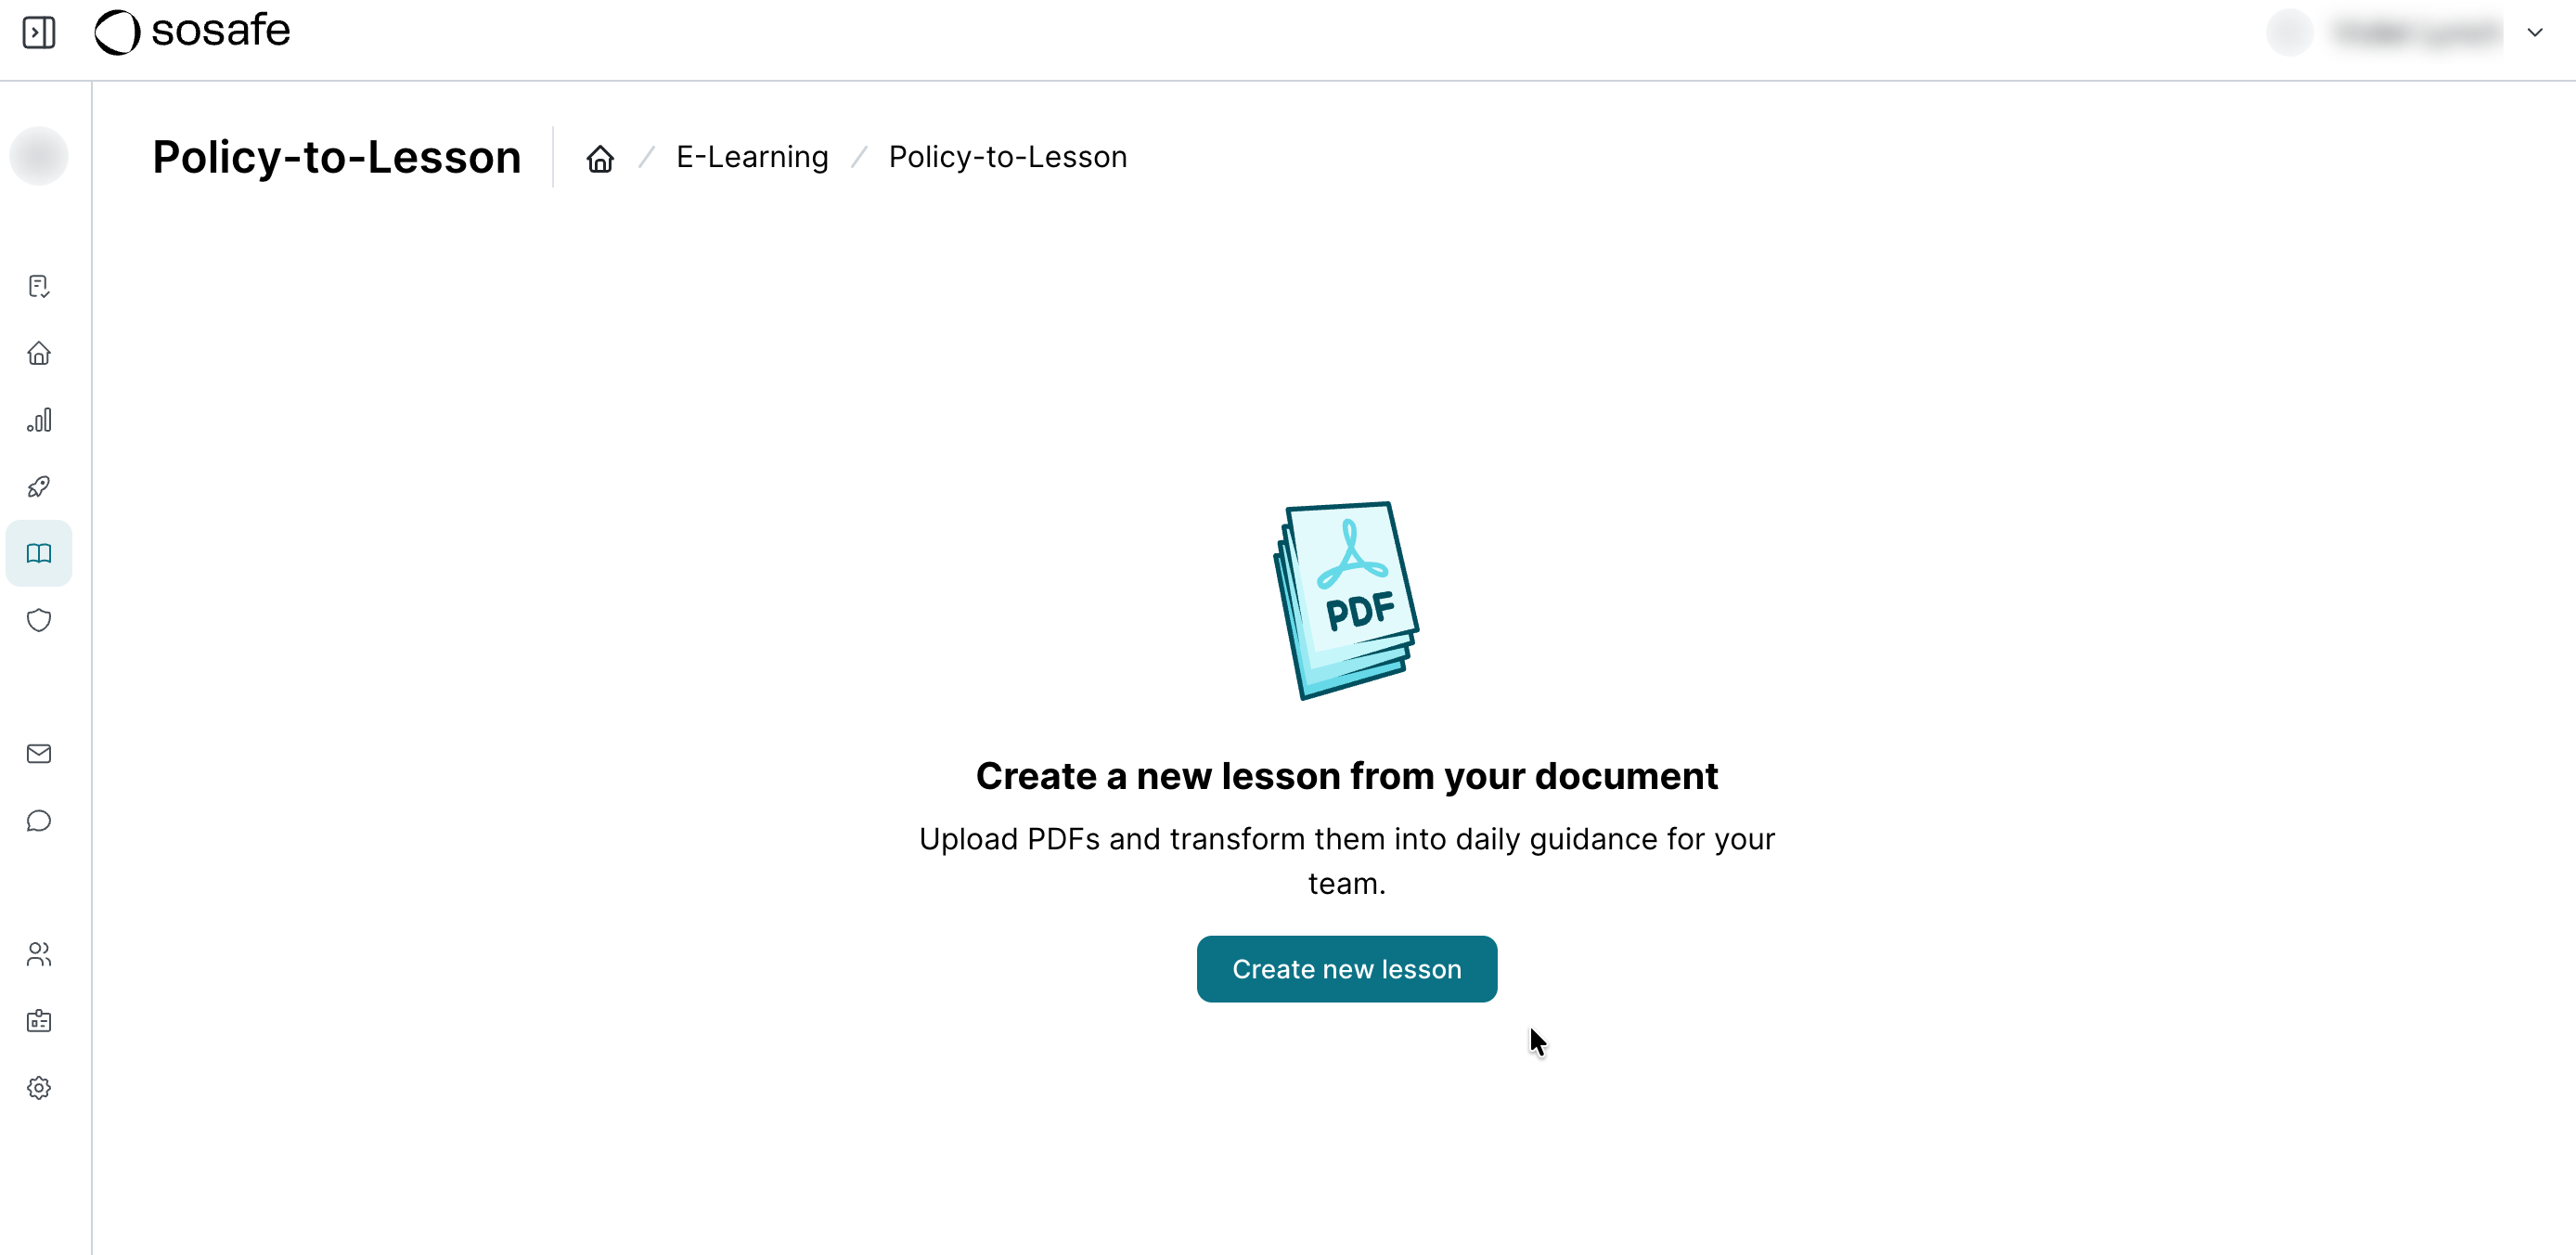
In the Manager, navigate to E-Learning / Policy-to-Lesson. On this page, select Create new lesson.
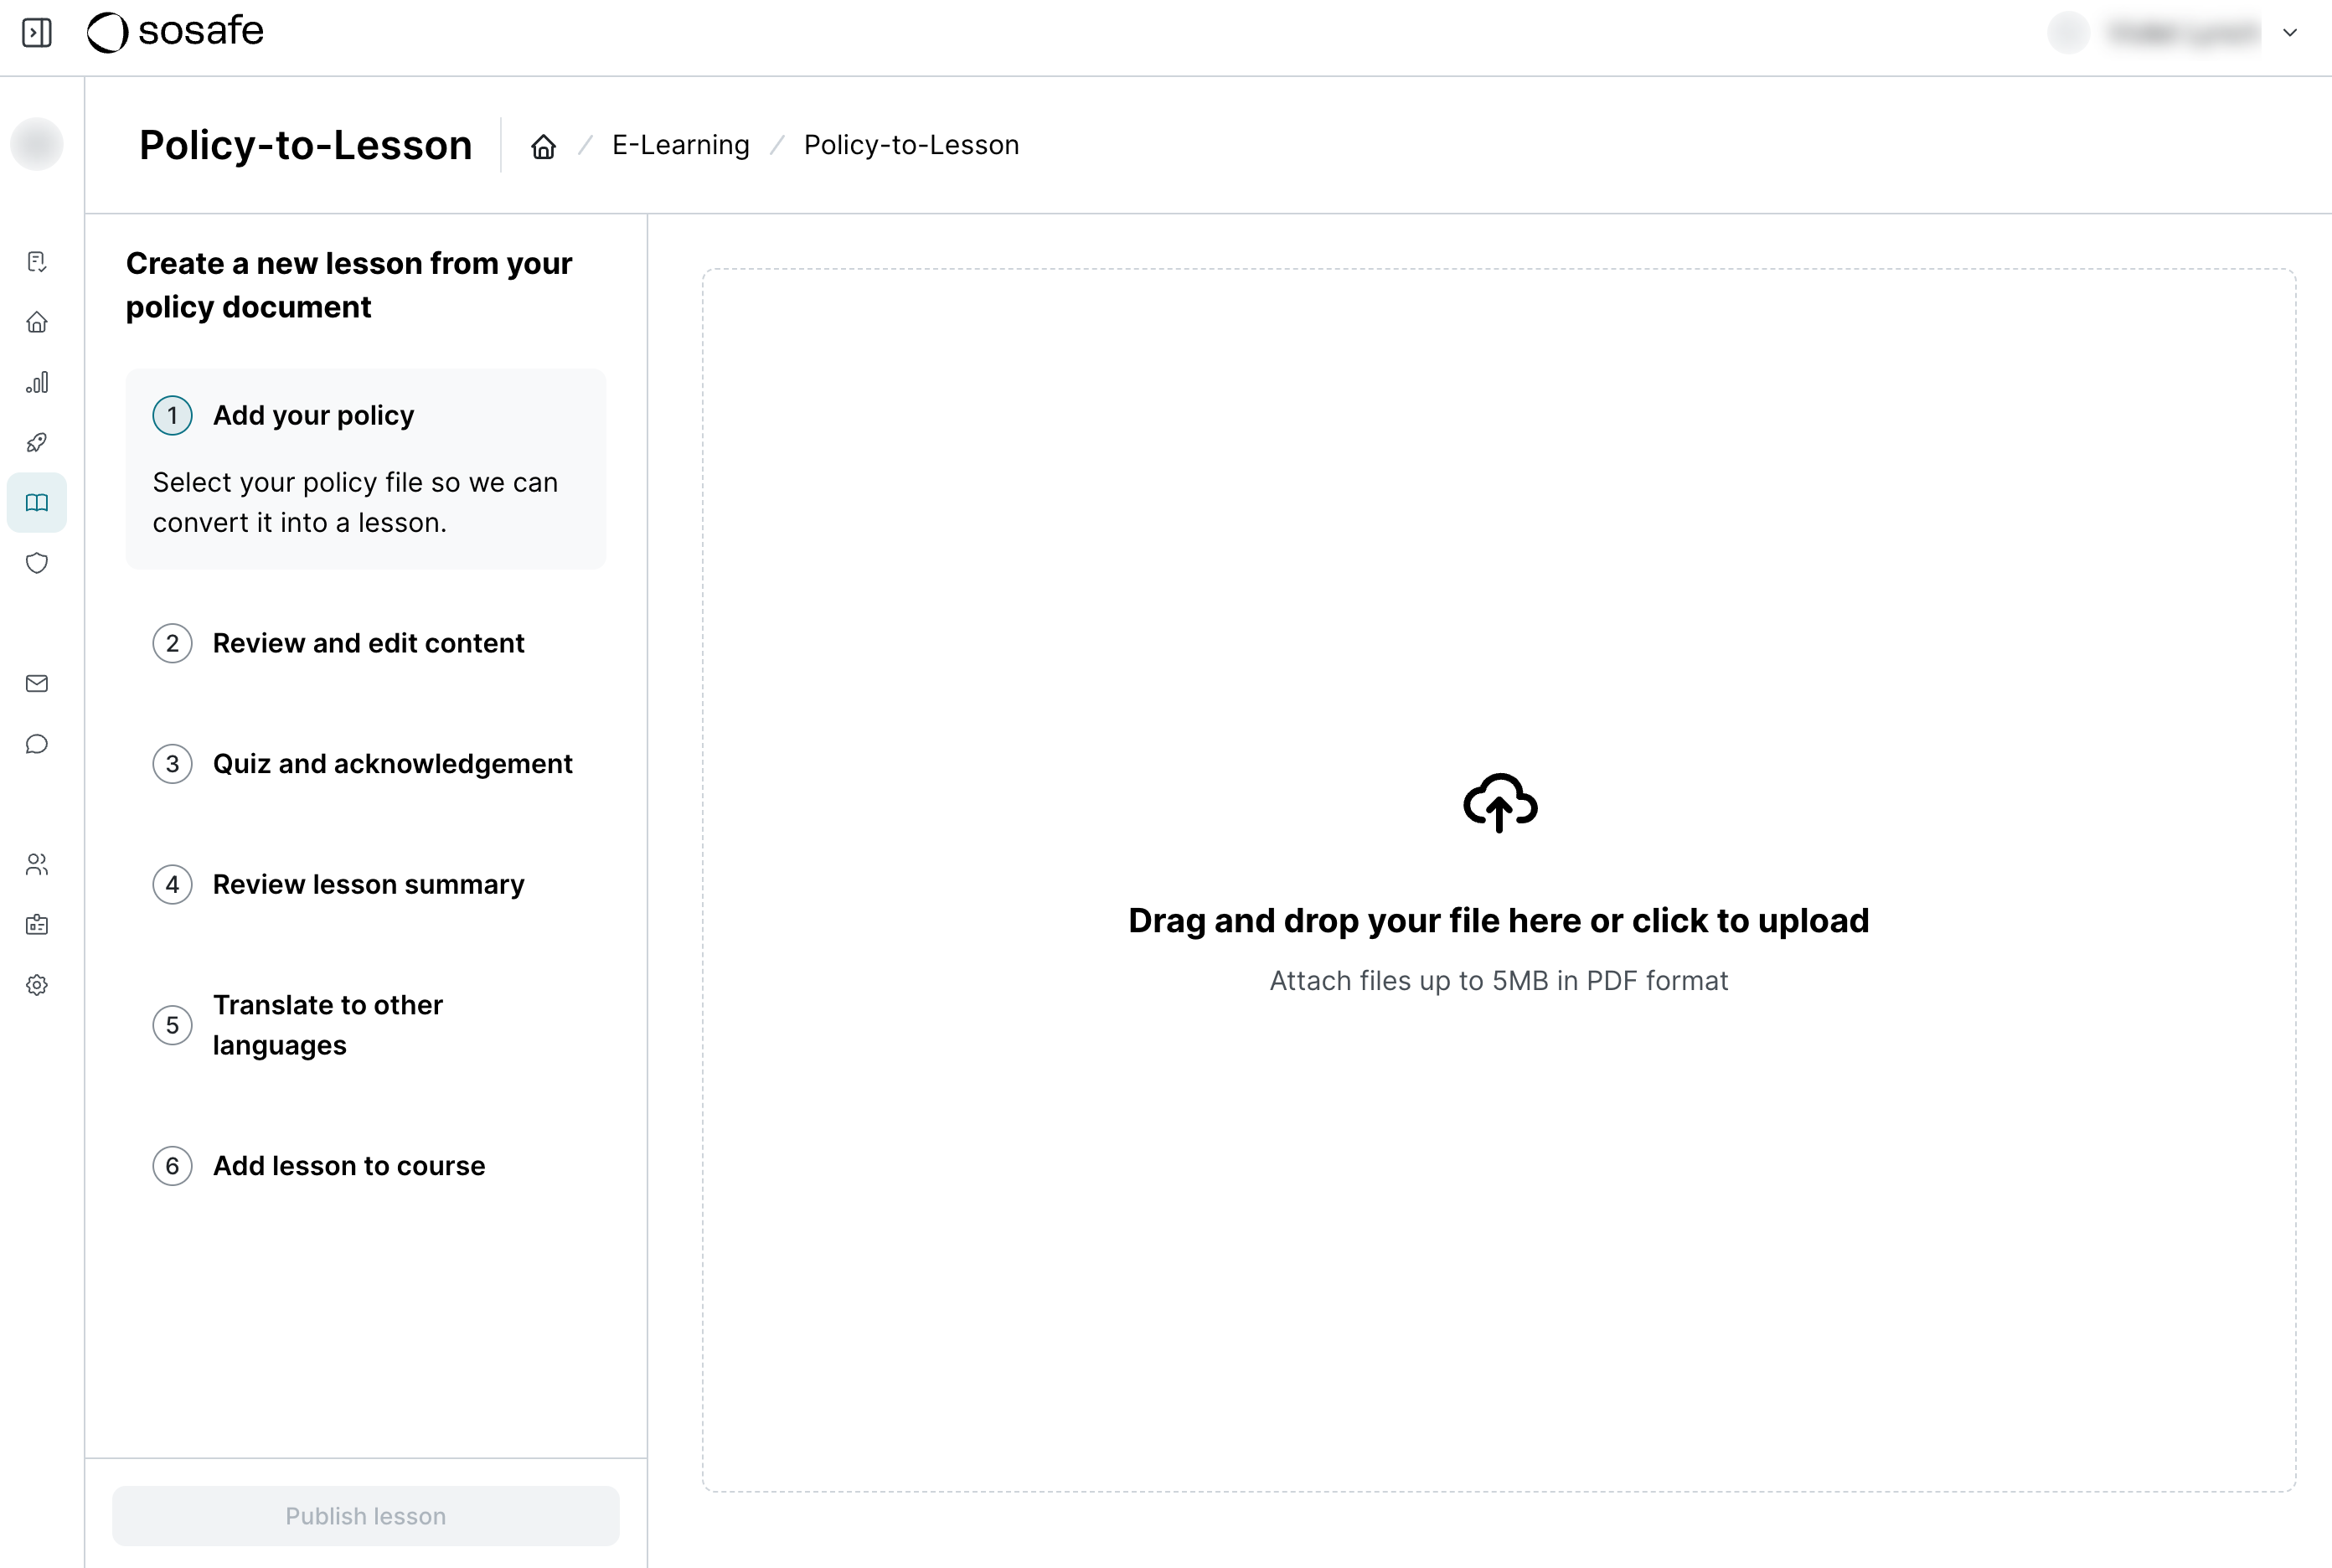
Simply drag and drop the policy PDF file you want to turn into a lesson onto the page or click to open the file picker.
The file will now be processed. This will likely take a few minutes.
2. Content review & editing
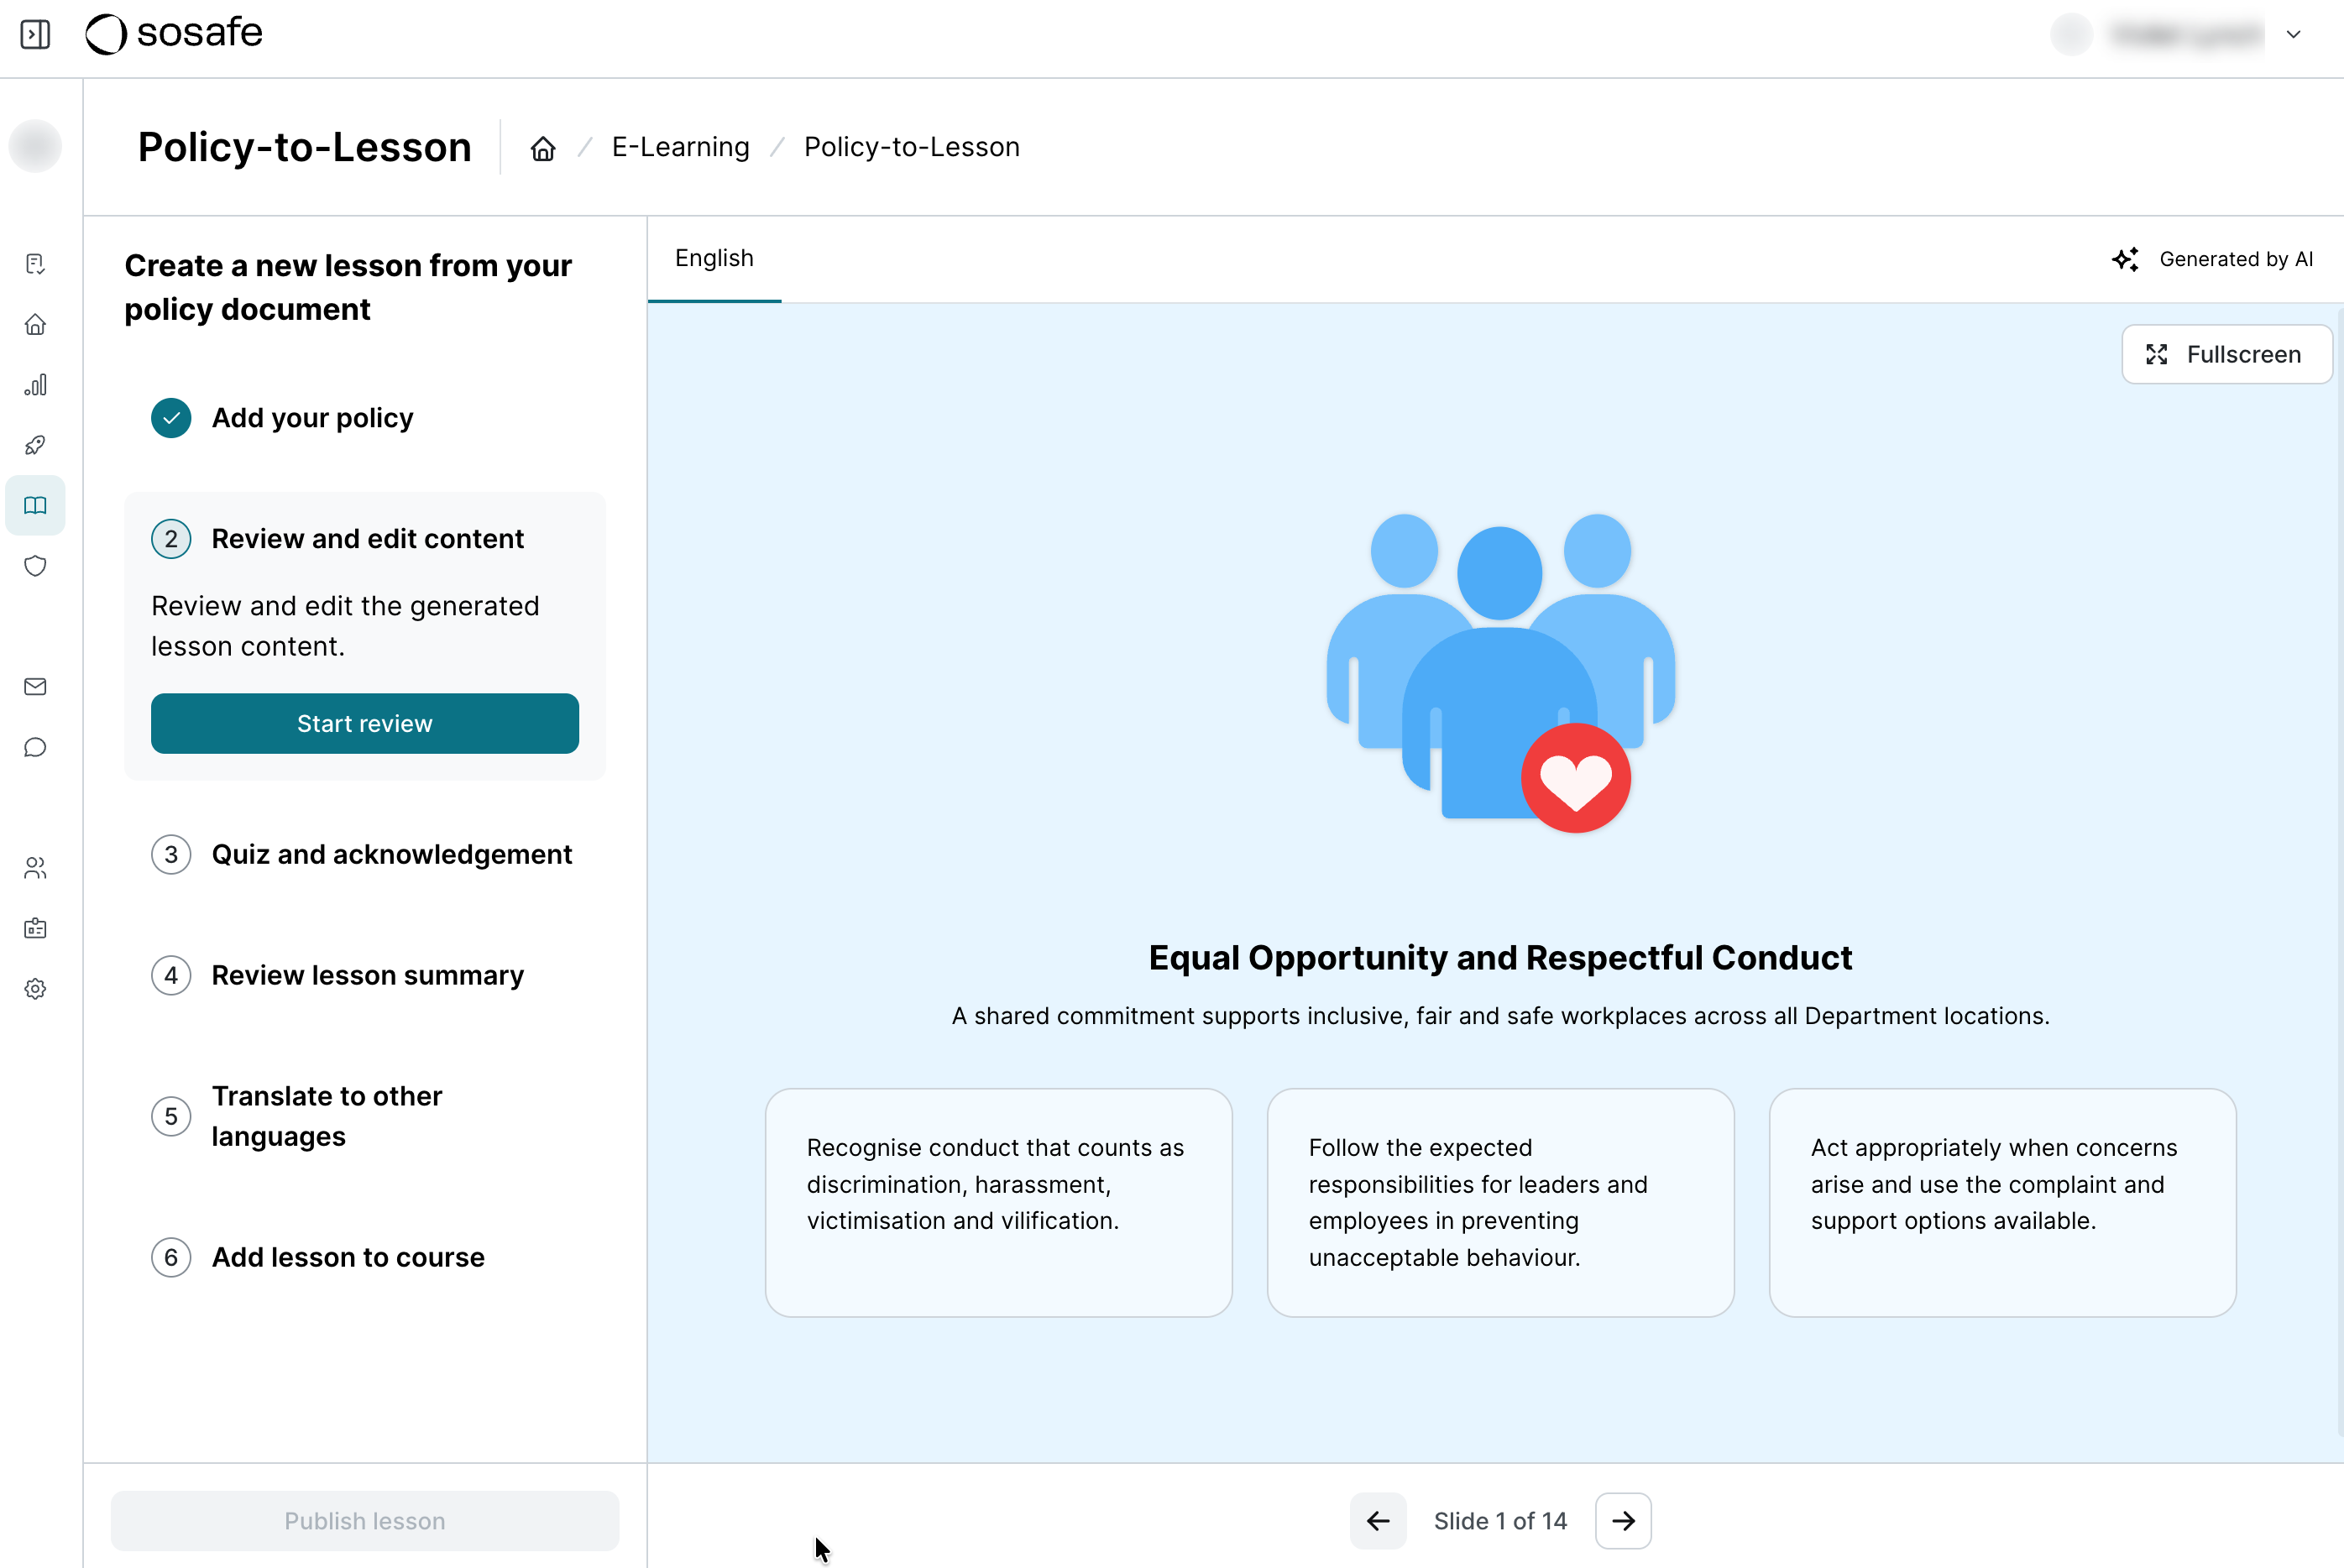
Once the process is finished, you will be shown a preview of the generated lesson. You can use the arrows at the bottom to navigate between the pages or start reviewing and editing immediately by selecting Start review.
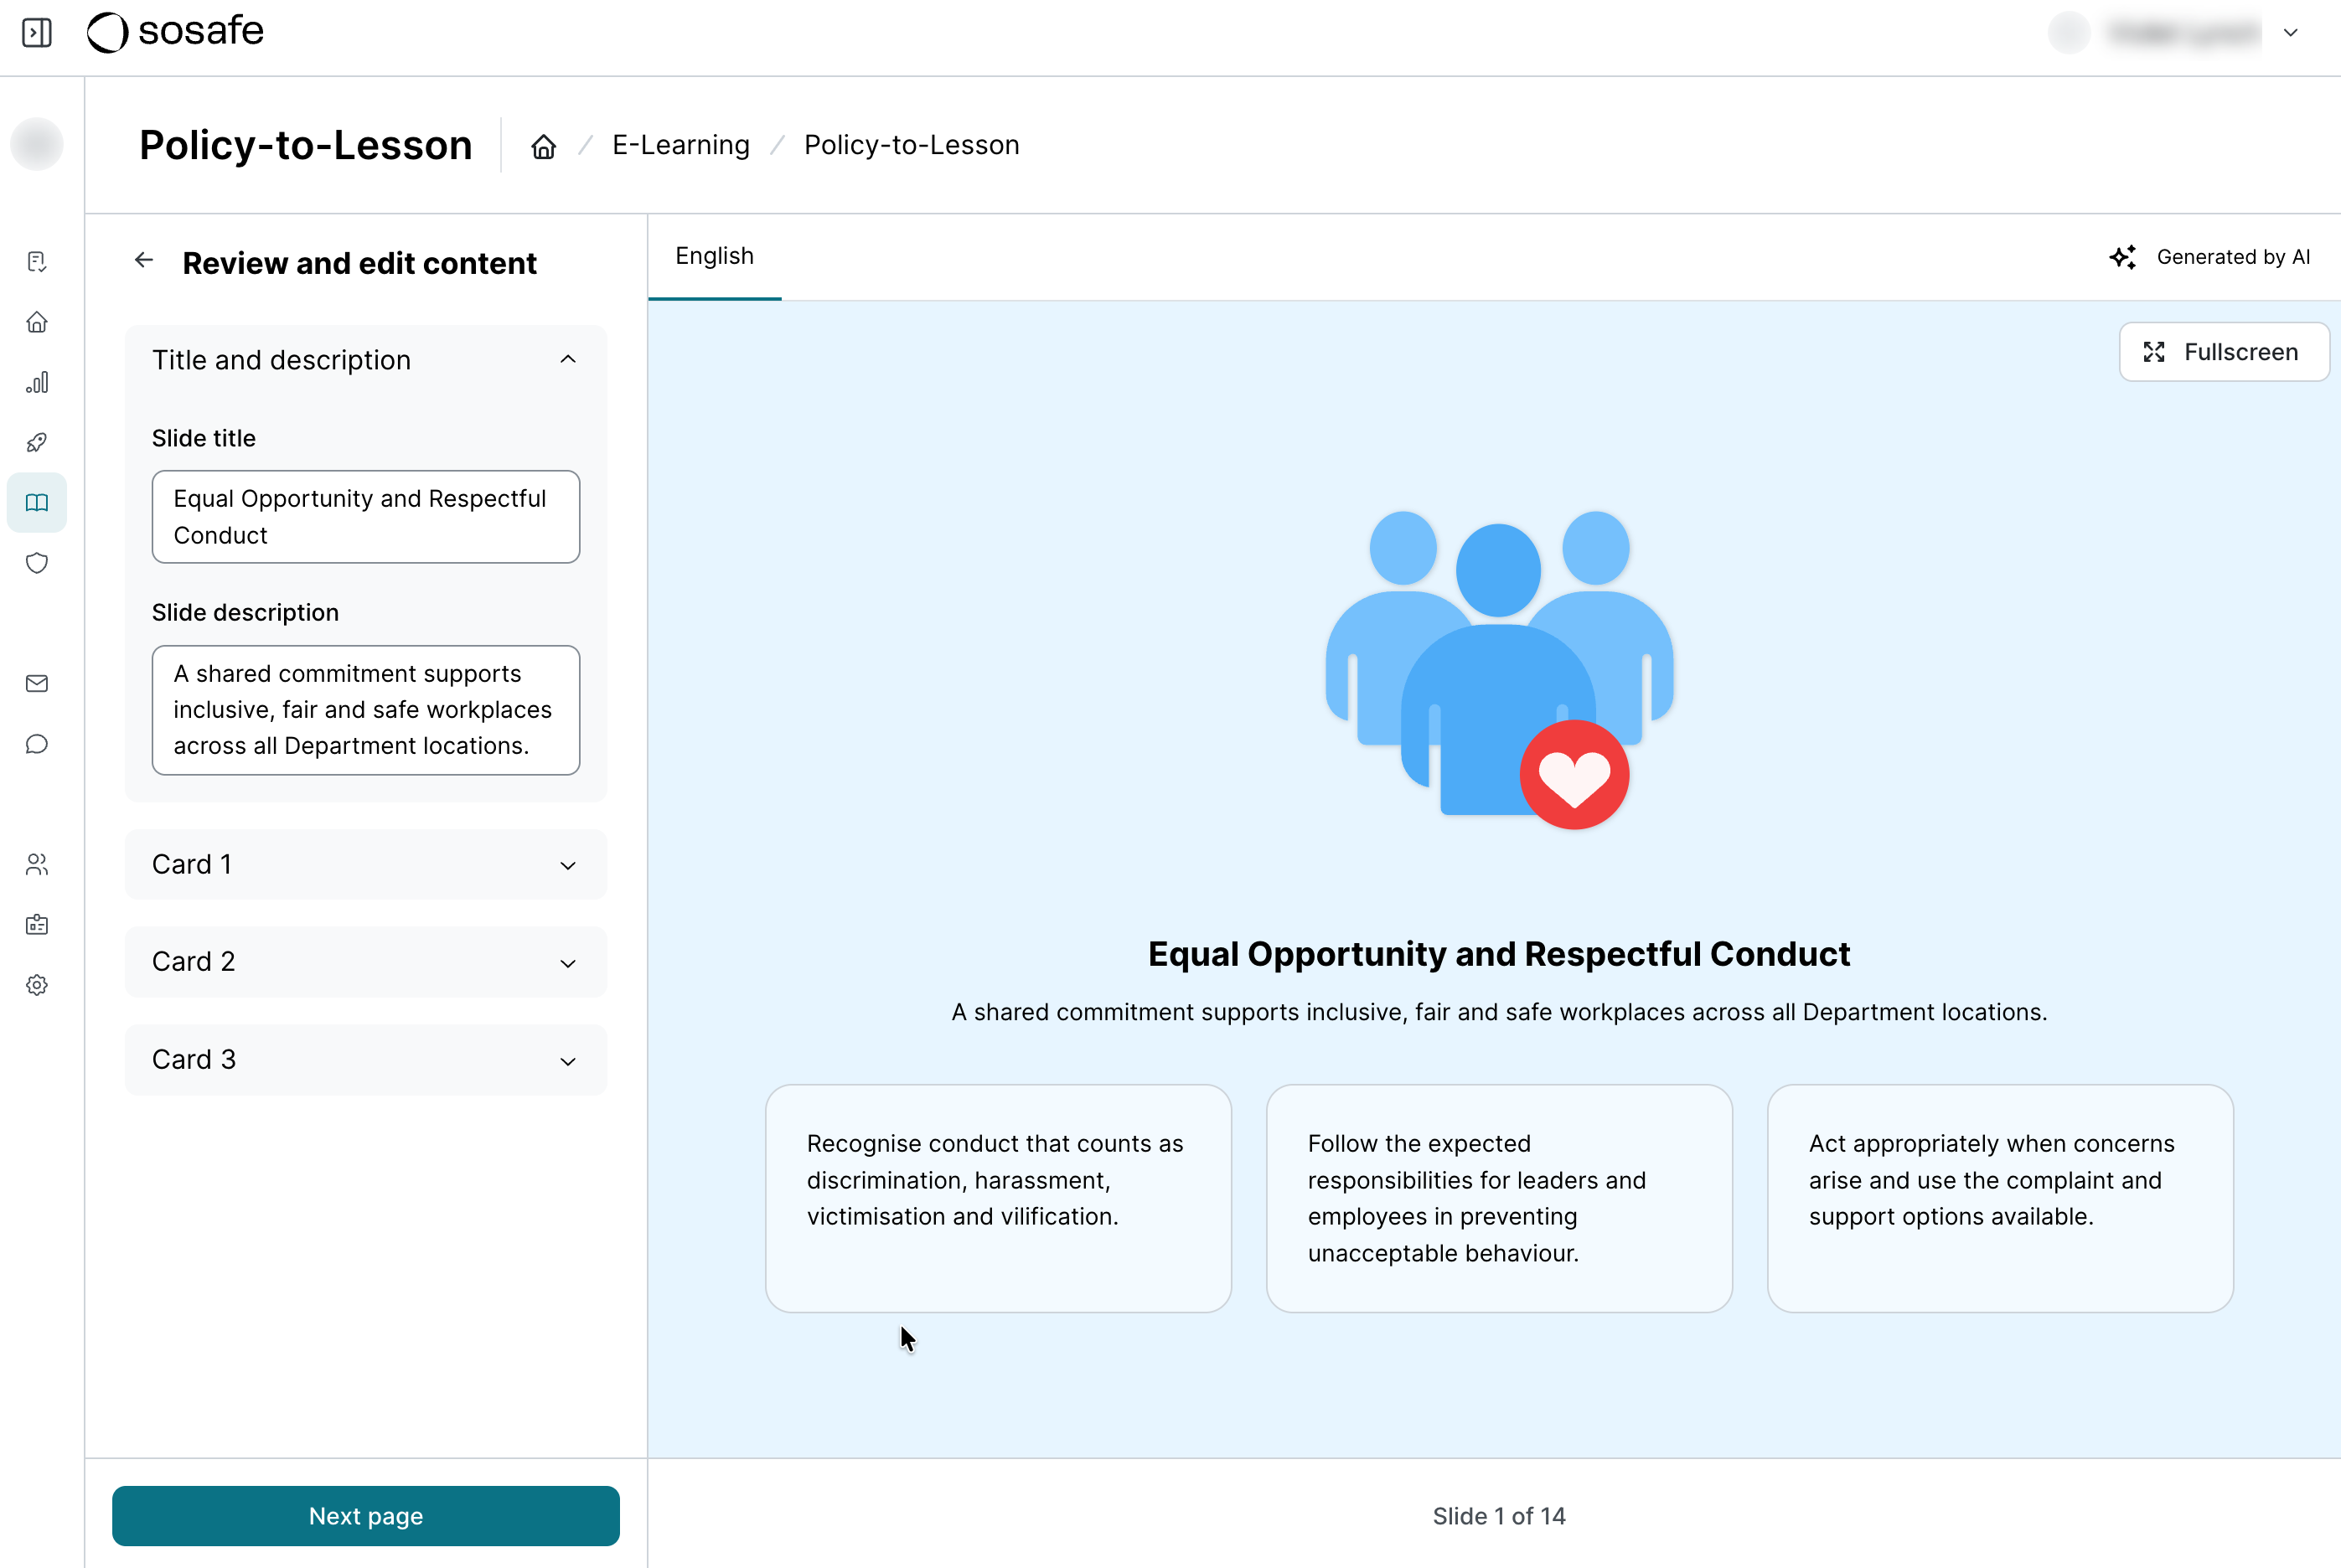
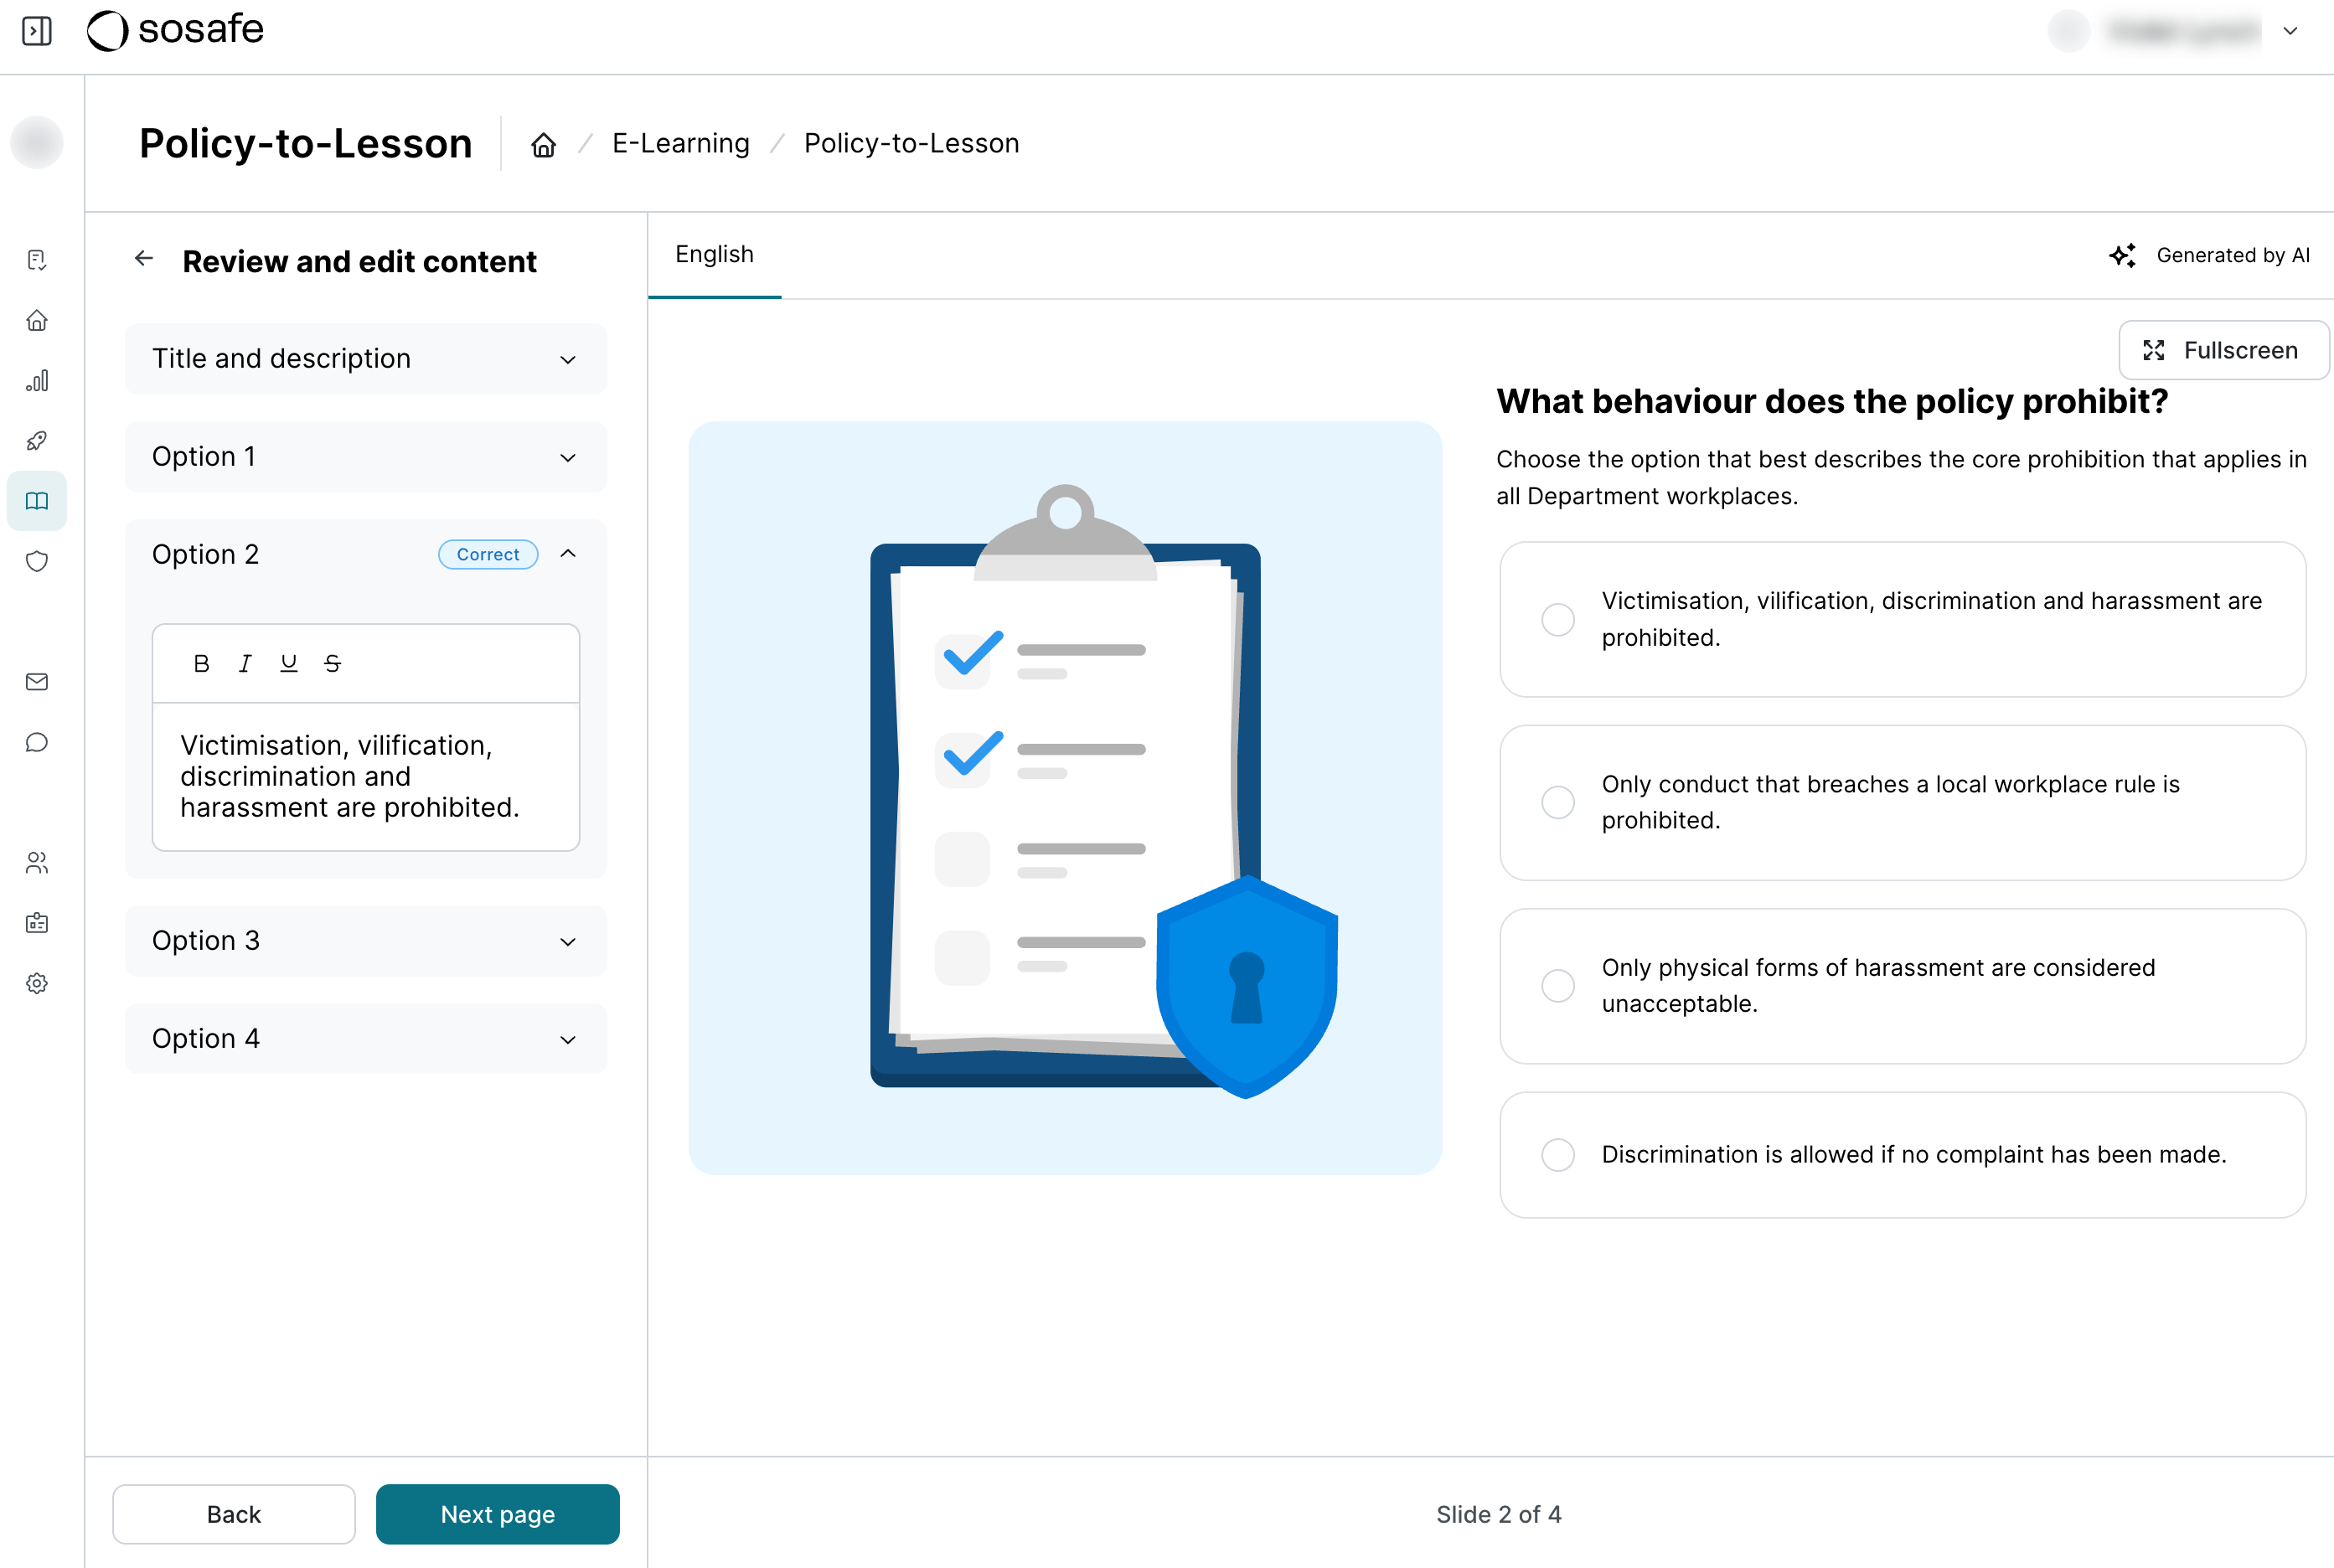
You can select the individual content boxes in the menu on the left to open the content editing text fields. In addition to changing text, you can format most fields by making text bold, italic, underlined or strikethrough using the corresponding buttons.
Move between the pages using the Next page and Back buttons. Once you’re on the last page, you can select Finish to return to the process overview. There, select Confirm to proceed with the next step.
3. Quiz and acknowledgment
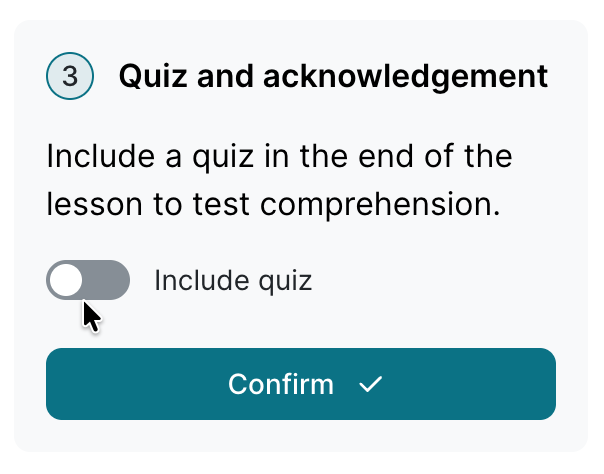
At the end of the generated lesson, your users will be asked to acknowledge that they have read and understood the policy. If you wish, you can add an automatically generated quiz before the acknowledgment. Toggle the corresponding switch and then select Start review to review and edit the quiz answers. This will work just like editing the content earlier. The correct answer to the quiz questions will be highlighted.
If you do not wish to add a quiz, simply select Confirm to proceed.
4. Lesson summary review
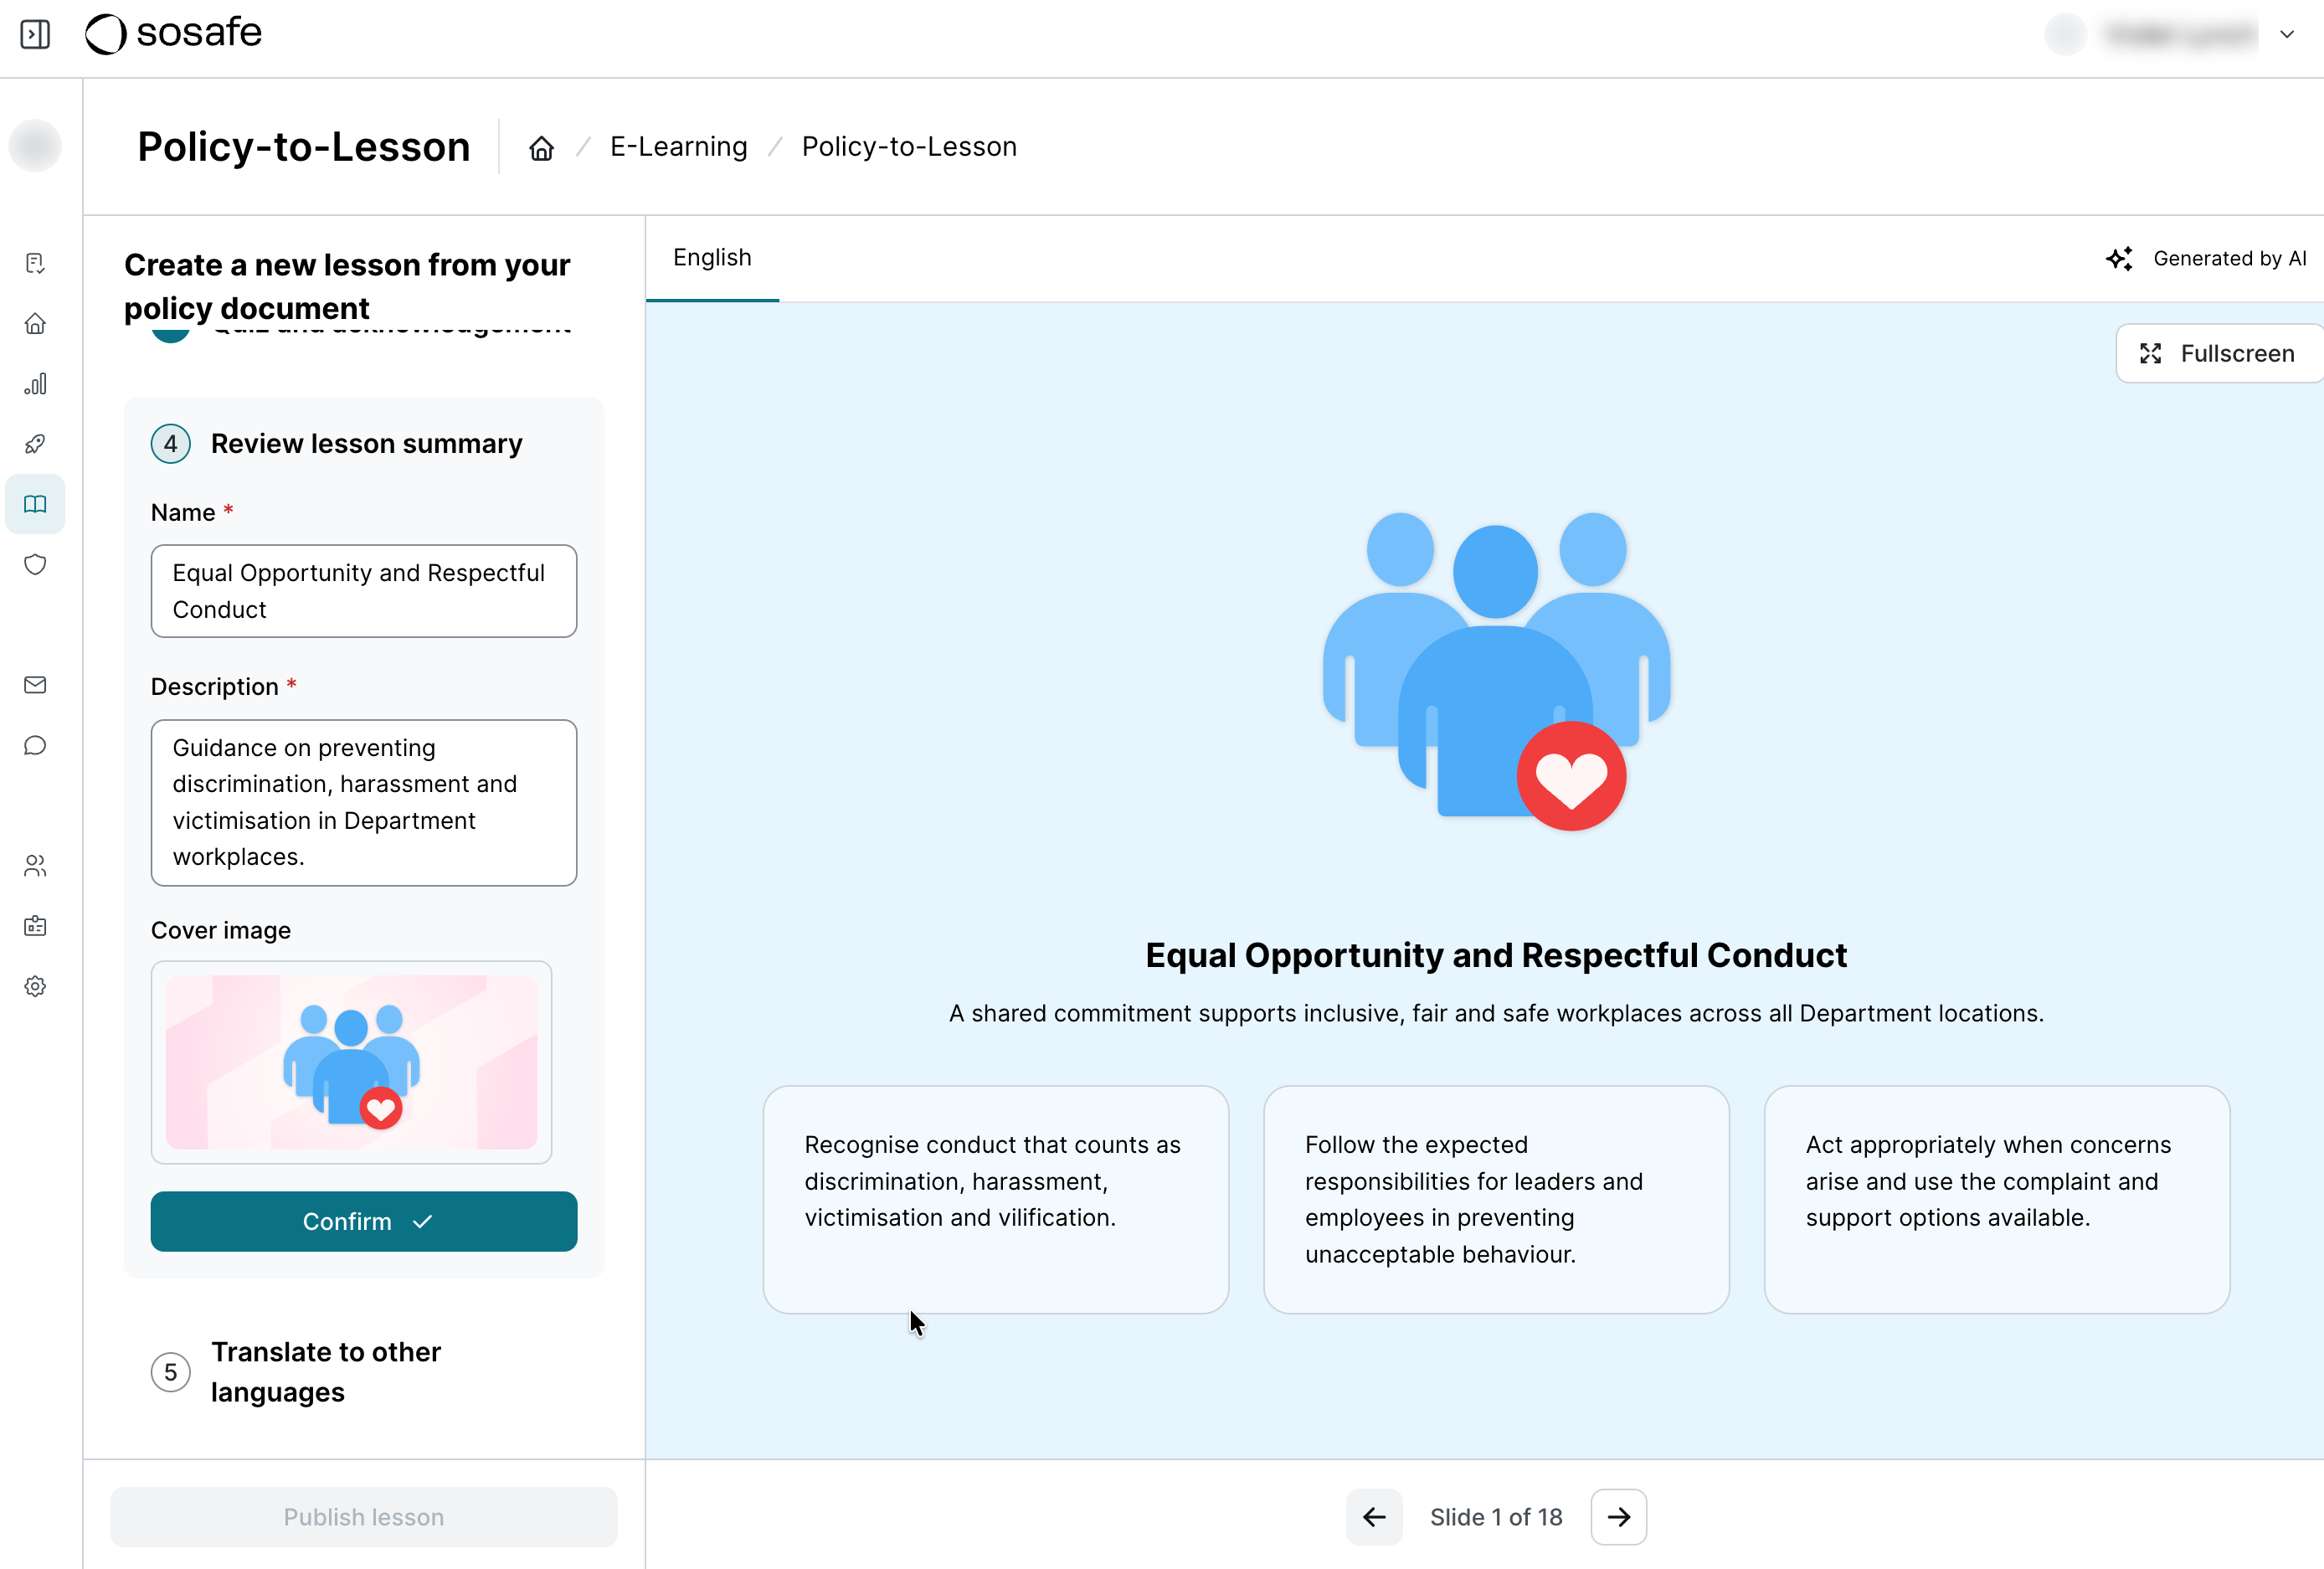
In this brief step, you can edit the lesson summary. Make any desired changes and select Confirm to proceed.
5. Translations
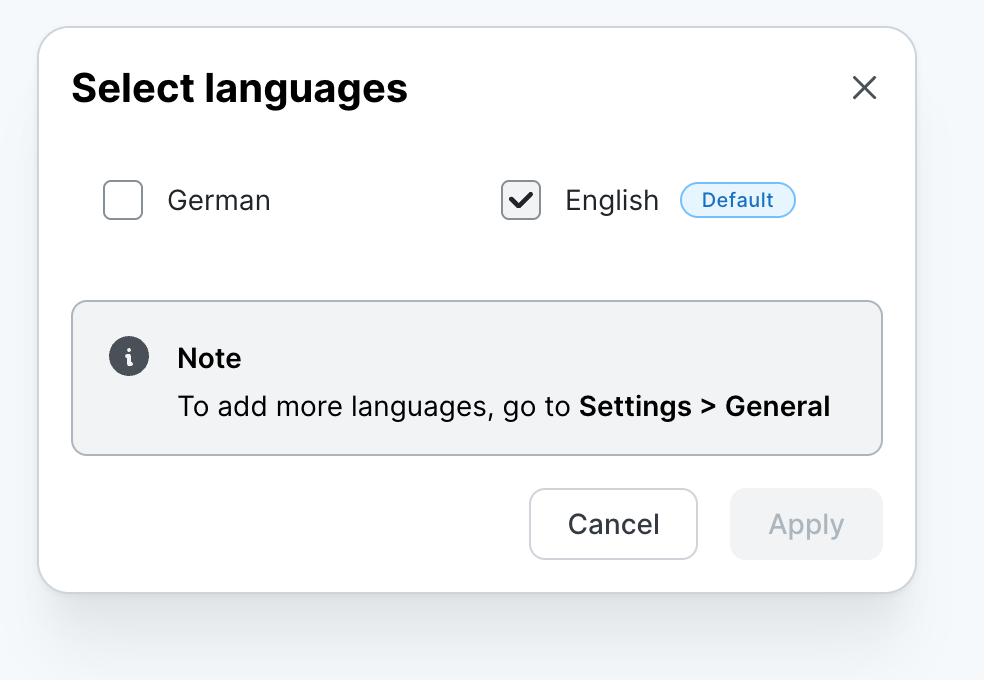
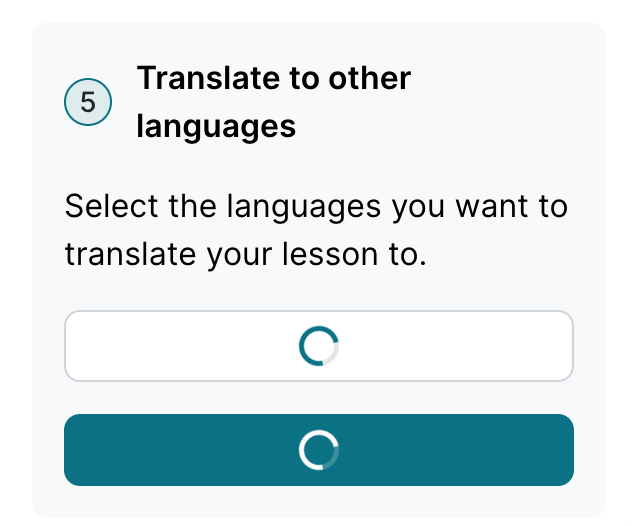
If you do not wish to add any translations, simply select Continue without translations. If you do wish to add them, select Add translations. A new dialog window will open and show a list of languages. Make your selection and click Apply. The translation process will start. This can take a moment, depending on the amount of text and languages. Once the translations are ready, you can preview them by selecting the corresponding tab at the top of the lesson preview. If you’re happy with your translations, select Confirm to proceed.
6. Adding lesson to campaigns
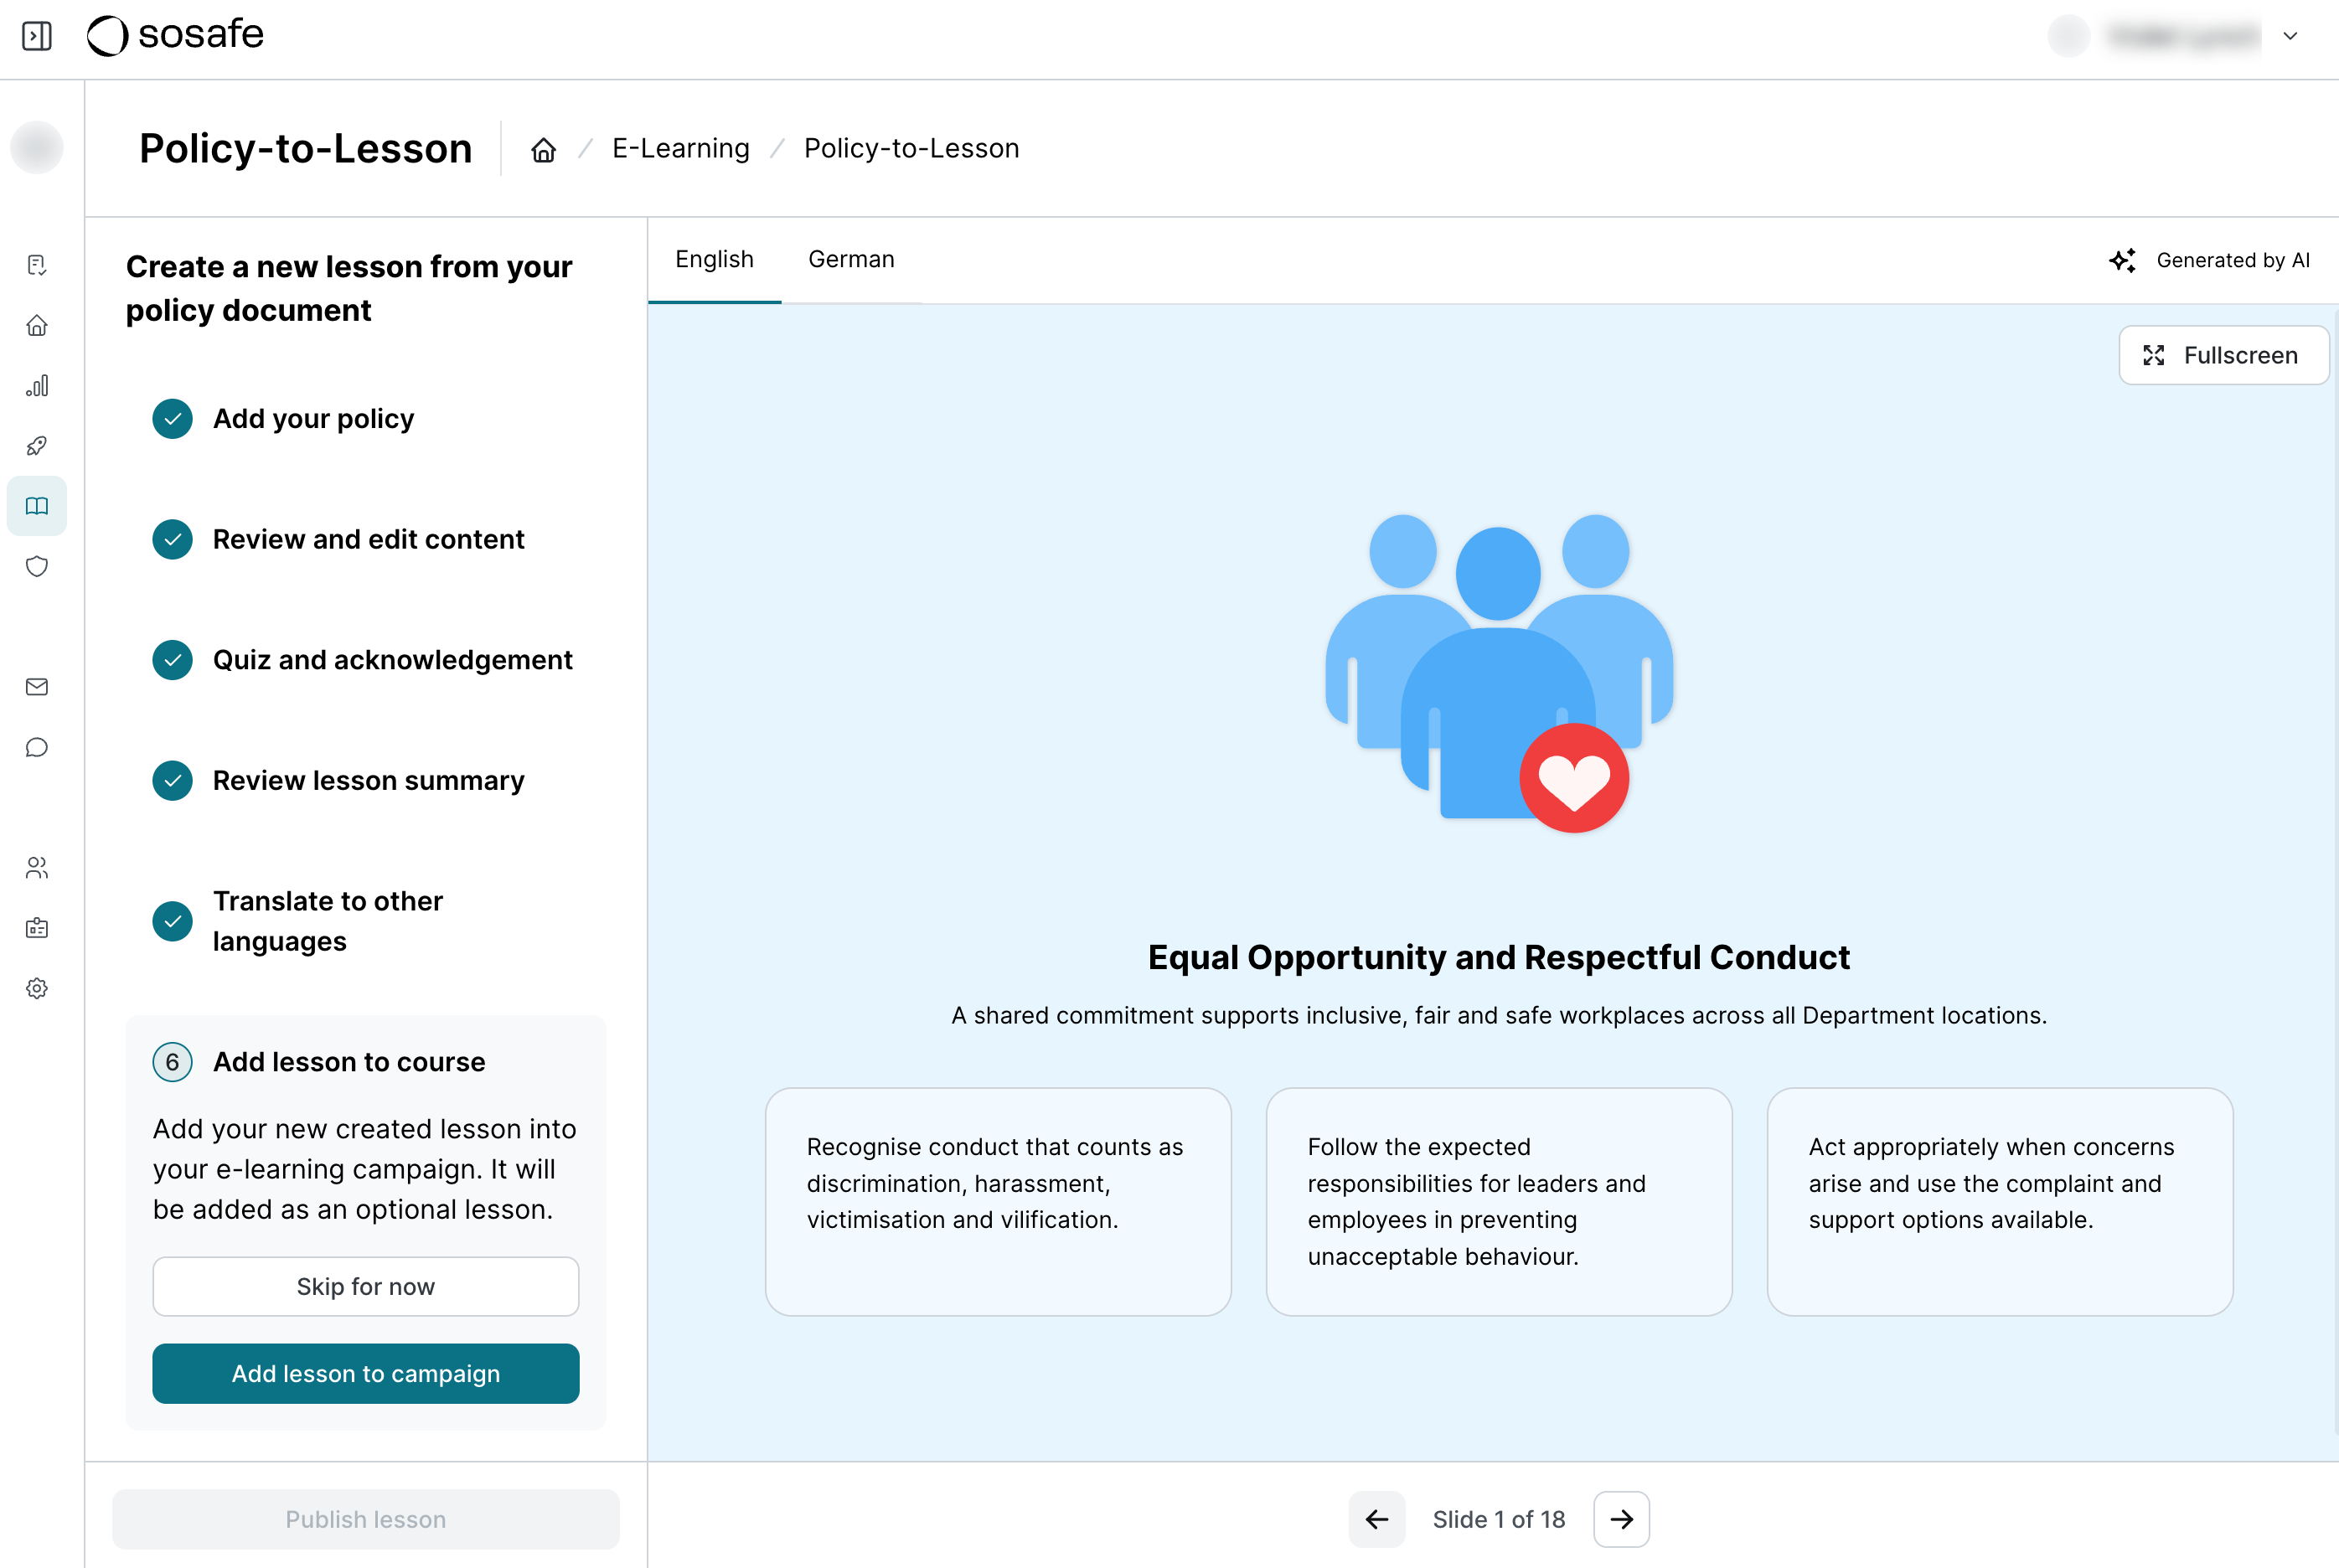
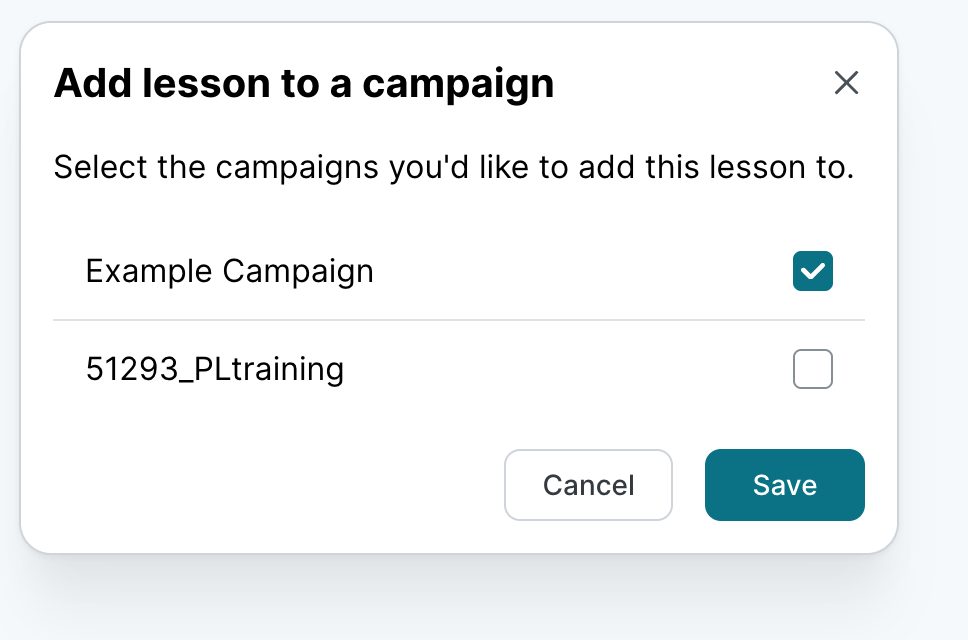
Here you can add your lesson to any existing campaigns. It will be added as an optional lesson for your learners to complete. Select Add lesson to campaign and a new dialog window will open. Make your selection and click Save, followed by Confirm. Alternatively, you can select Skip for now. This will not add it to any campaigns now. You can add it to a course at any time using the E-Learning / Course Management page. Learn more here: E-Learning course management.
7. Publish
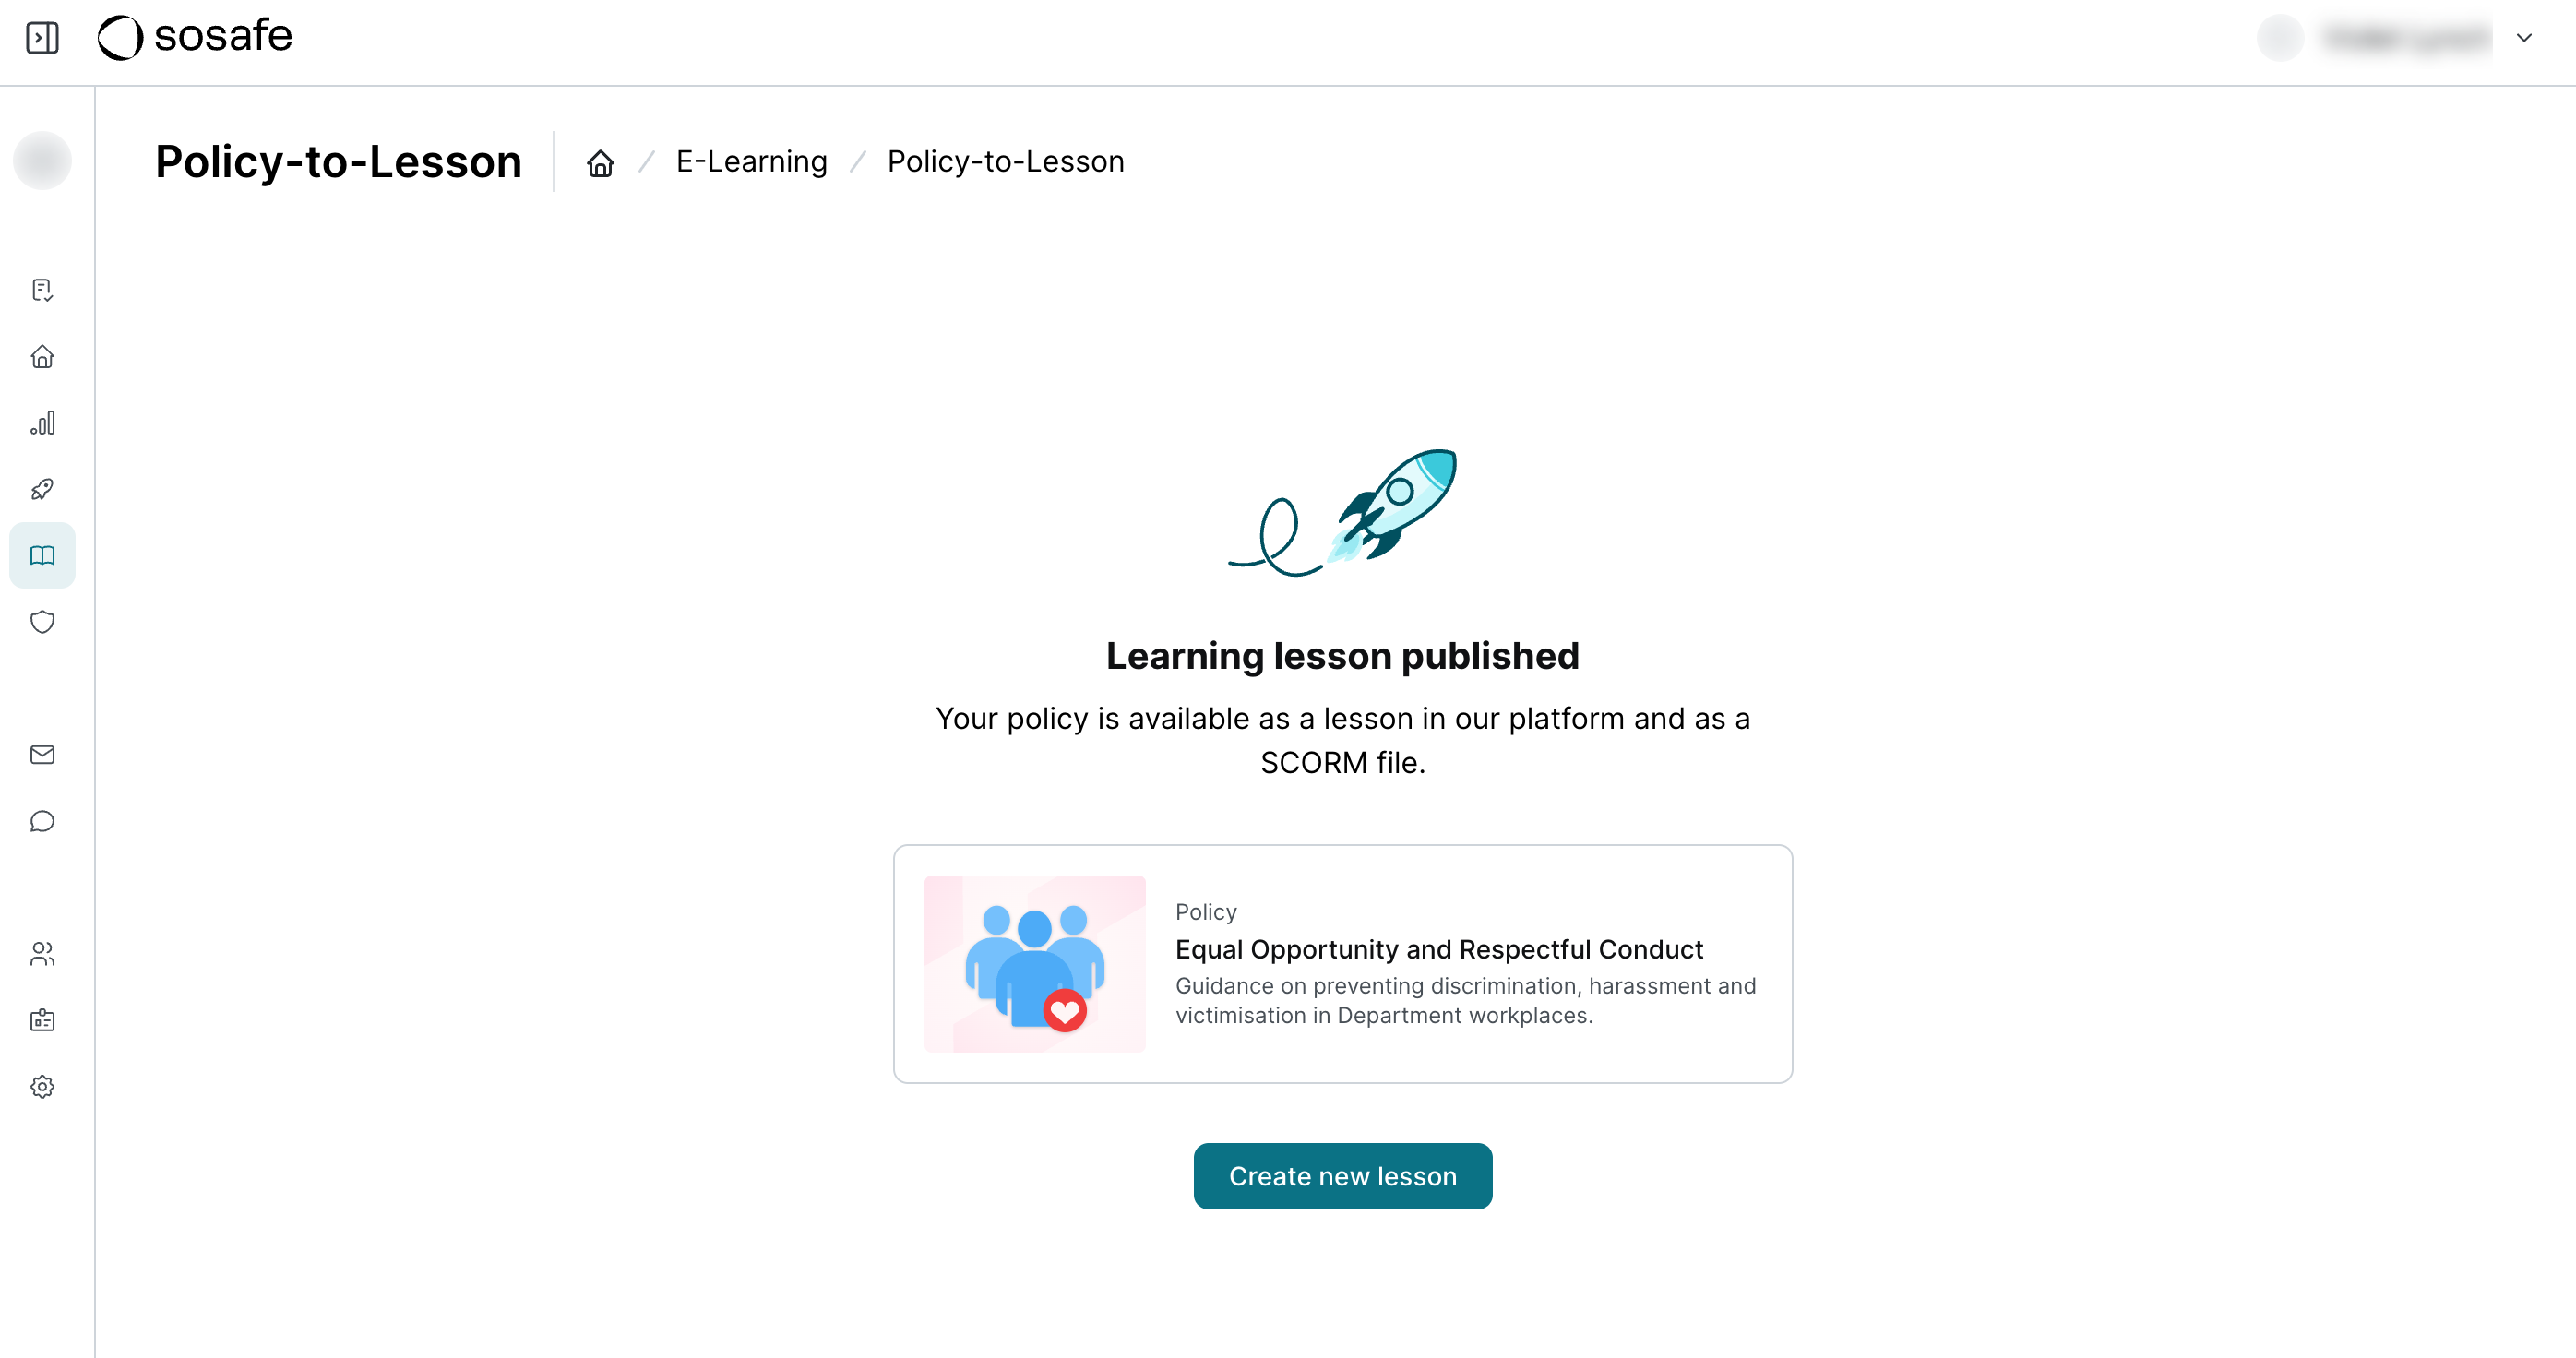
Once all steps are completed, select Publish lesson!
Caution: Currently, published lessons cannot be edited or deleted.