
Read this article in: German
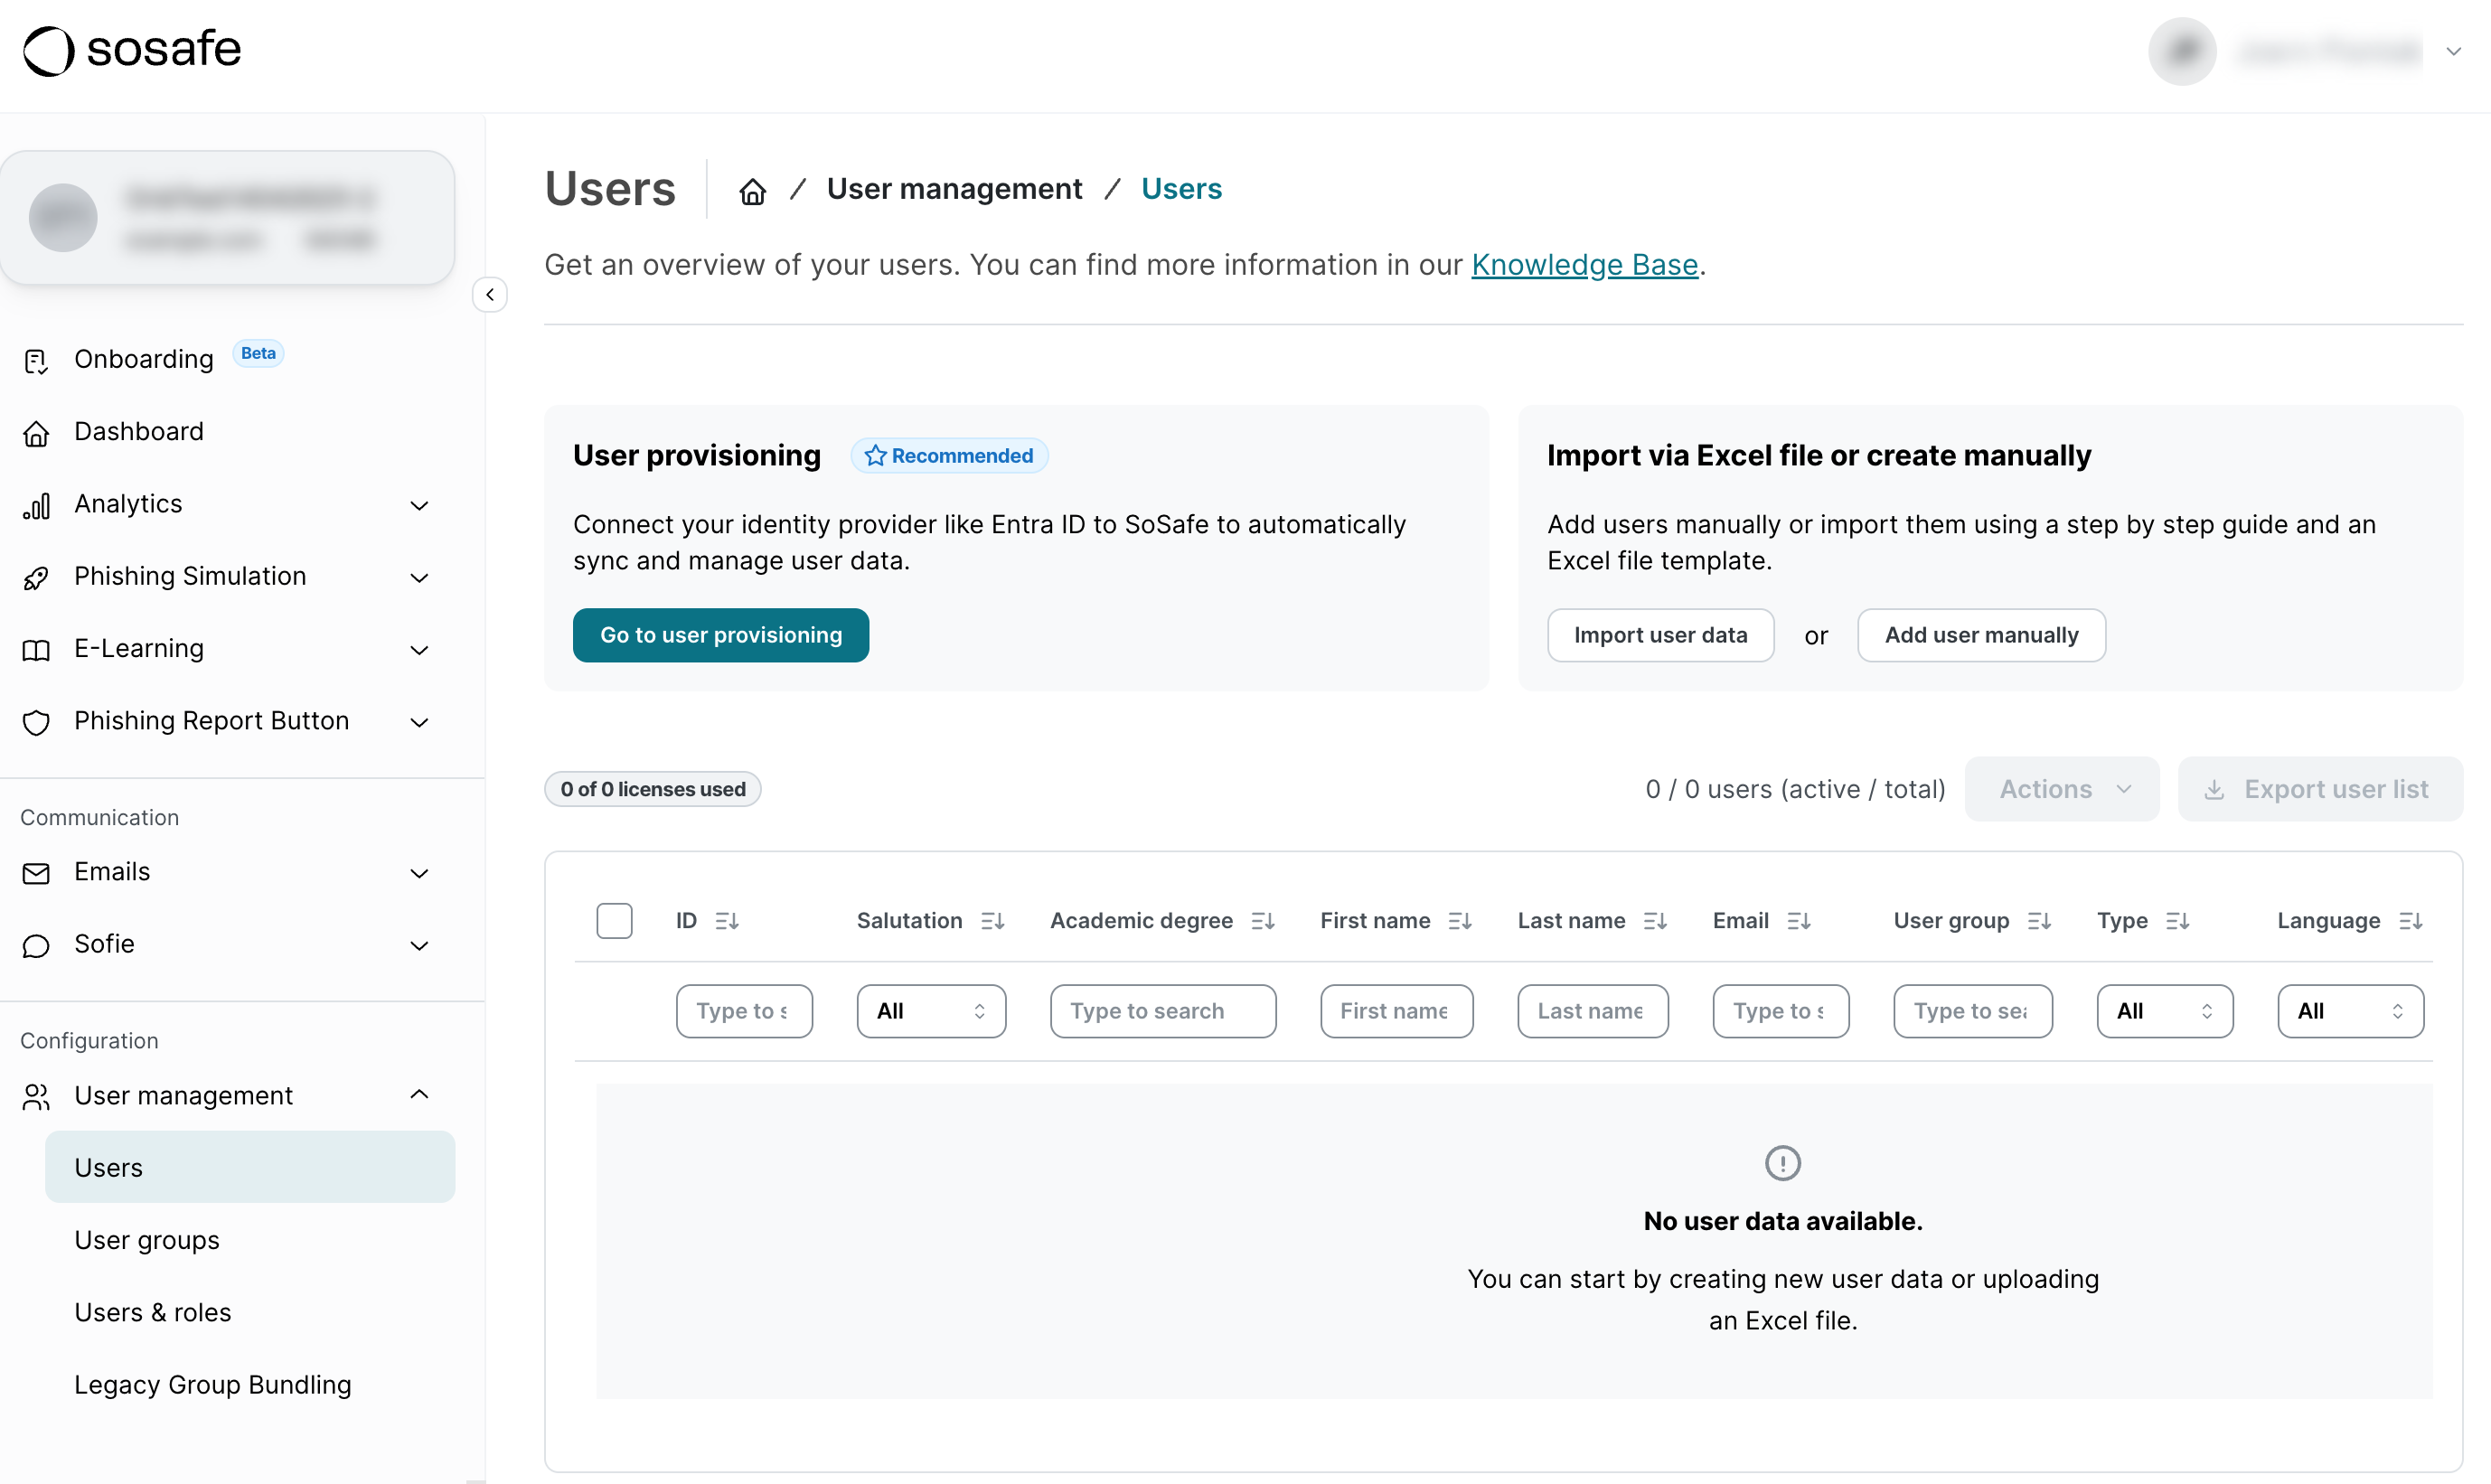
If you prefer not to use an HRIS integration to manage your user data, you can add your user data manually or via an Excel spreadsheet. On the Onboarding dashboard, select Upload user list, followd by Continue. Now you will have 2 options.
Excel import
-
Select Import user data.
-
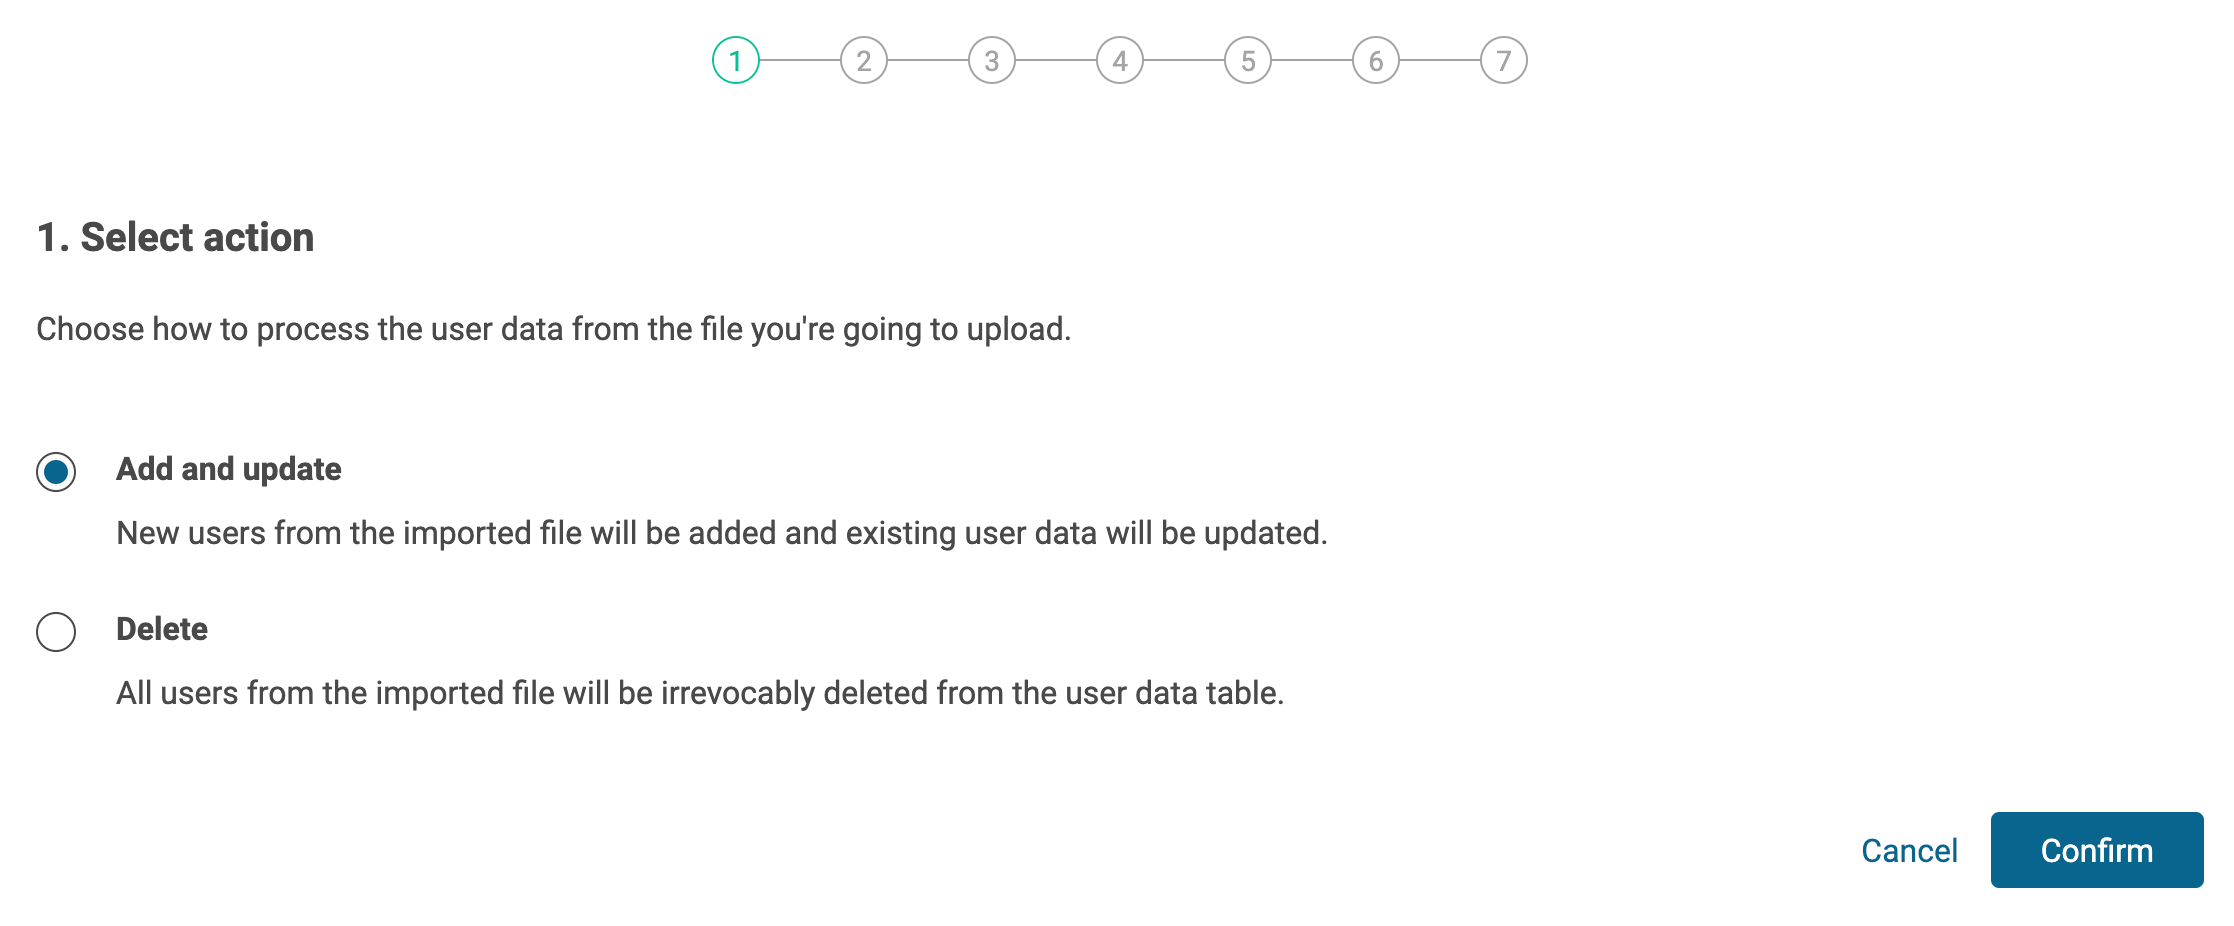
Select Add and update, followed by Confirm.
-
Download our Excel template and fill in your user data. Using the Excel template is the easiest way as the required columns correspond exactly to our system.
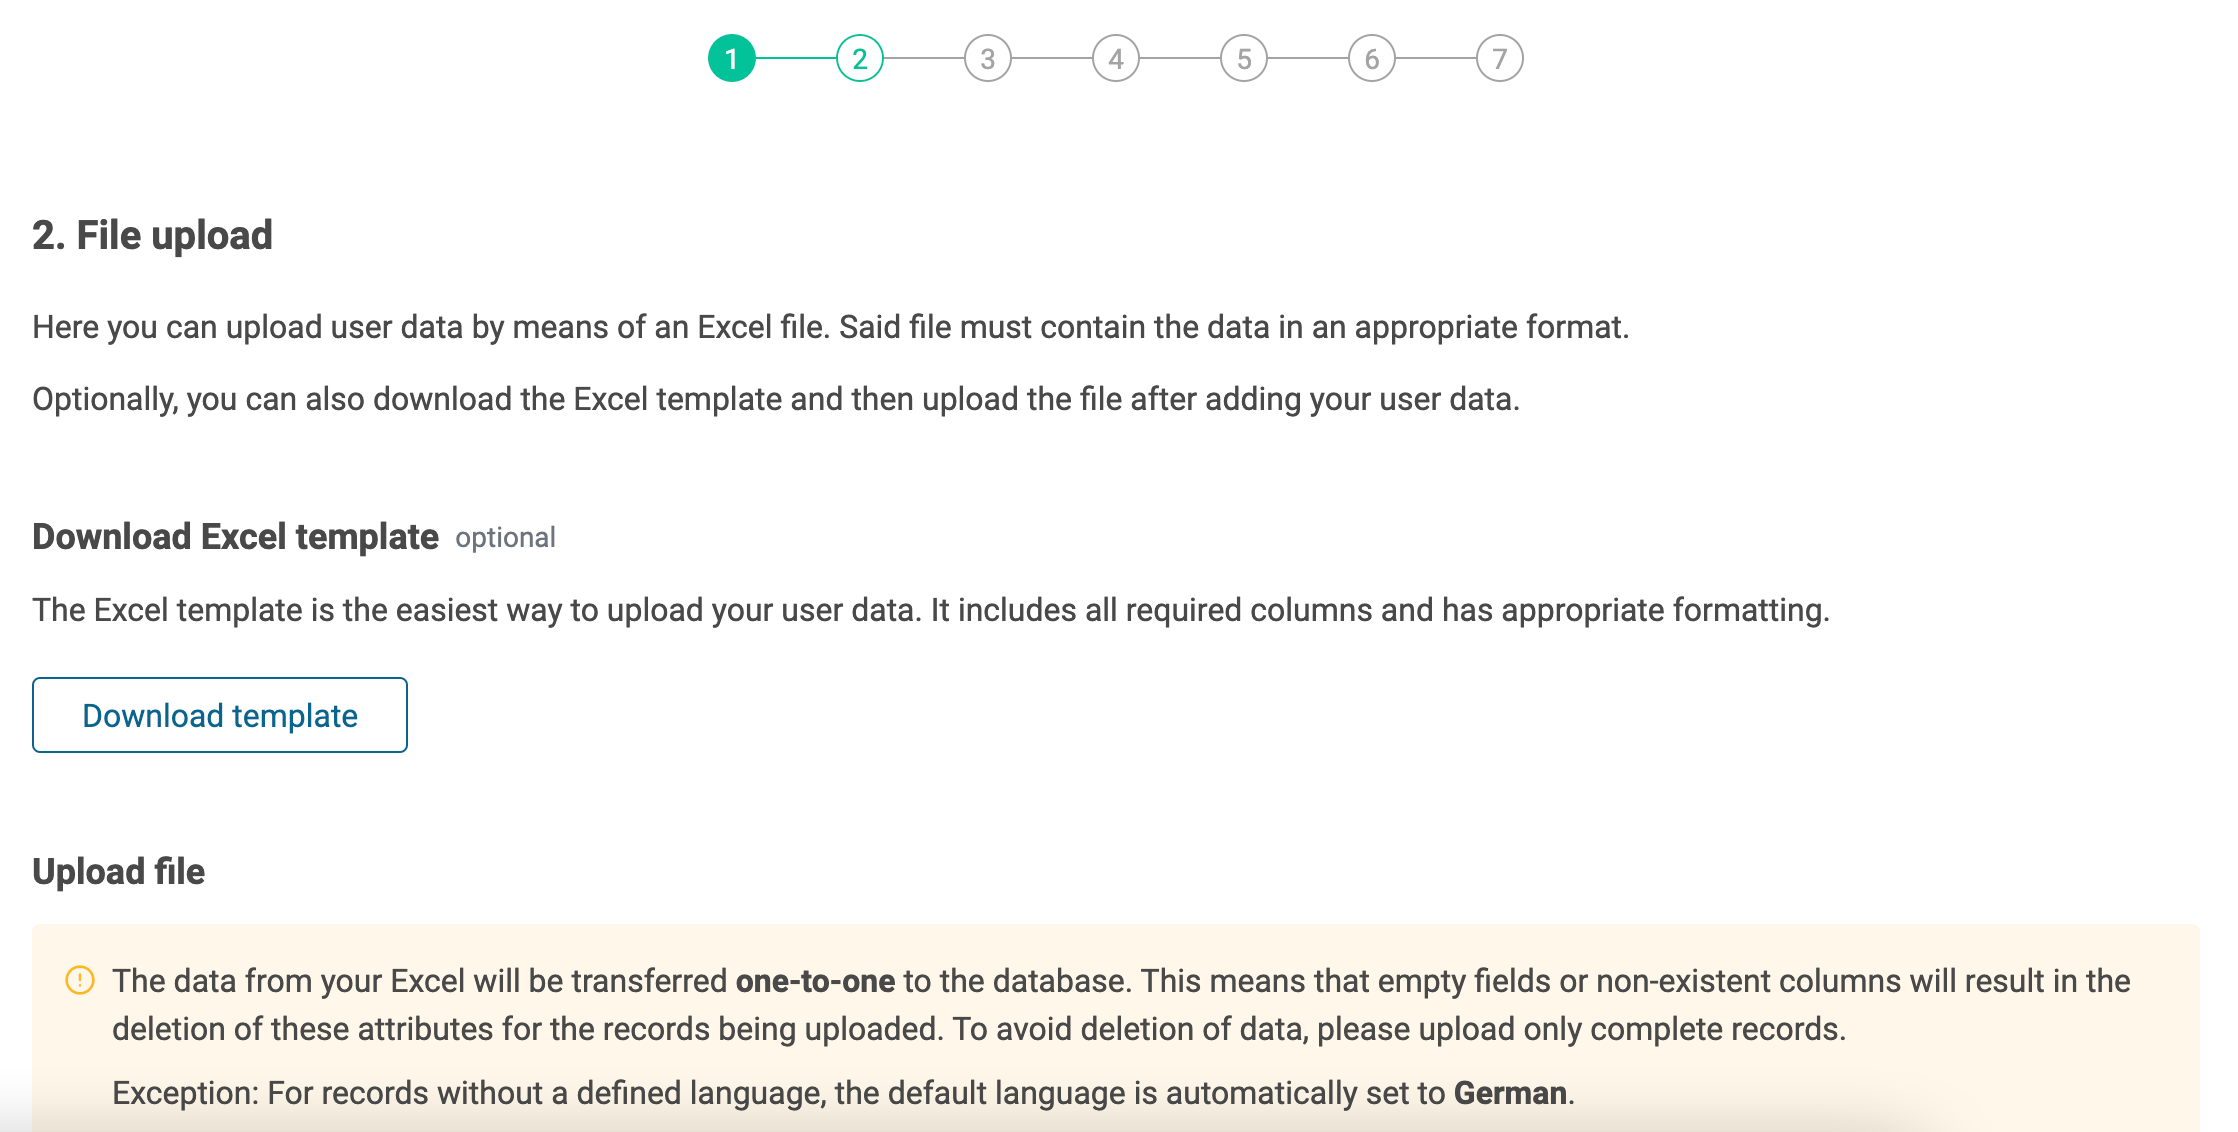
Note: Please keep in mind that the Excel file must be complete. Empty fields such as a missing name are considered to be an error. Enterprise: If you booked the Enterprise option, you can add two further columns for extended user data.
-
Upload the complete Excel file via drag & drop.
-
Select a header from the Excel file (the first row is usually correct and therefore selected per default). The header is the basis for the attribute mapping in the next step. Select Confirm to proceed.

-
In the following area, the defined user data attributes are assigned to the columns of the Excel file. When using our Excel template, this is done automatically by our system. On the left you find the required fields/attributes, on the right the match with the Excel file.
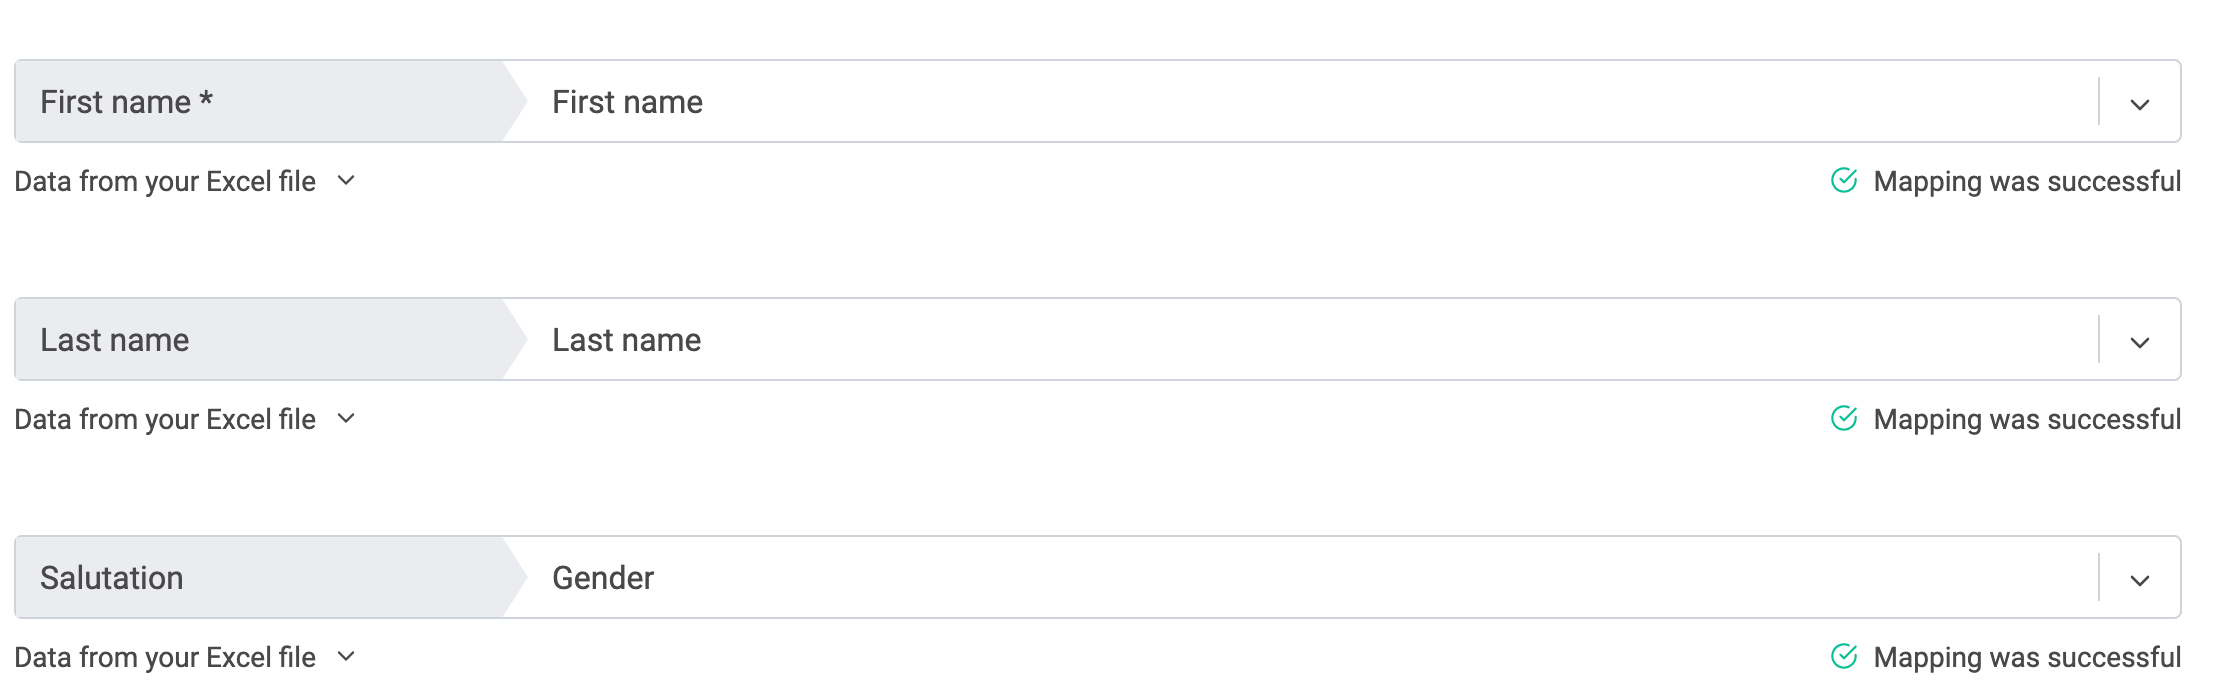
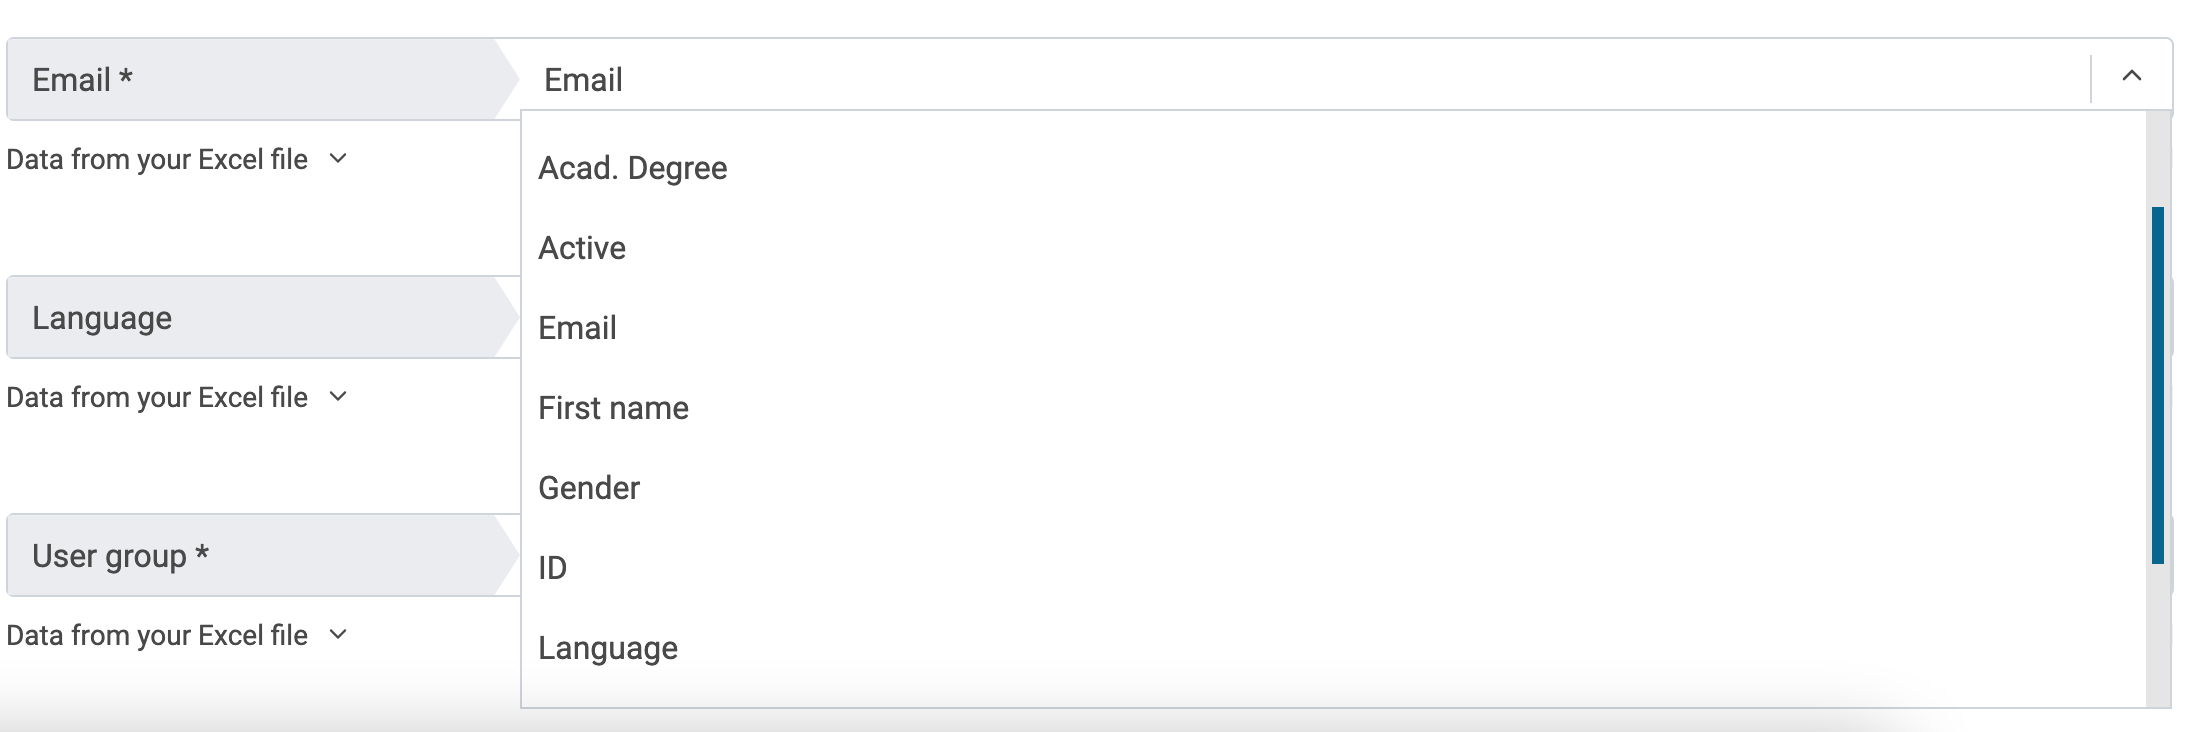
Note: Attributes marked with a star (*) are mandatory. Only if these fields are filled out will you be able to save the setting and proceed.
Enterprise: At the bottom of the page, you find a list of the Excel columns that could not be matched automatically and therefore could not be assigned to the attributes. Here you have the option to add extended user data. -
Fixing errors
-
No errors were found: You can skip to the next step.
-
Errors were found: When errors are found you are prompted to correct or delete incorrect user data. You can either correct the errors individually or at once:
Delete record: The record is completely deleted from the database (red trash bin).
Edit record: The error is visually highlighted and can be easily edited and corrected (blue pen).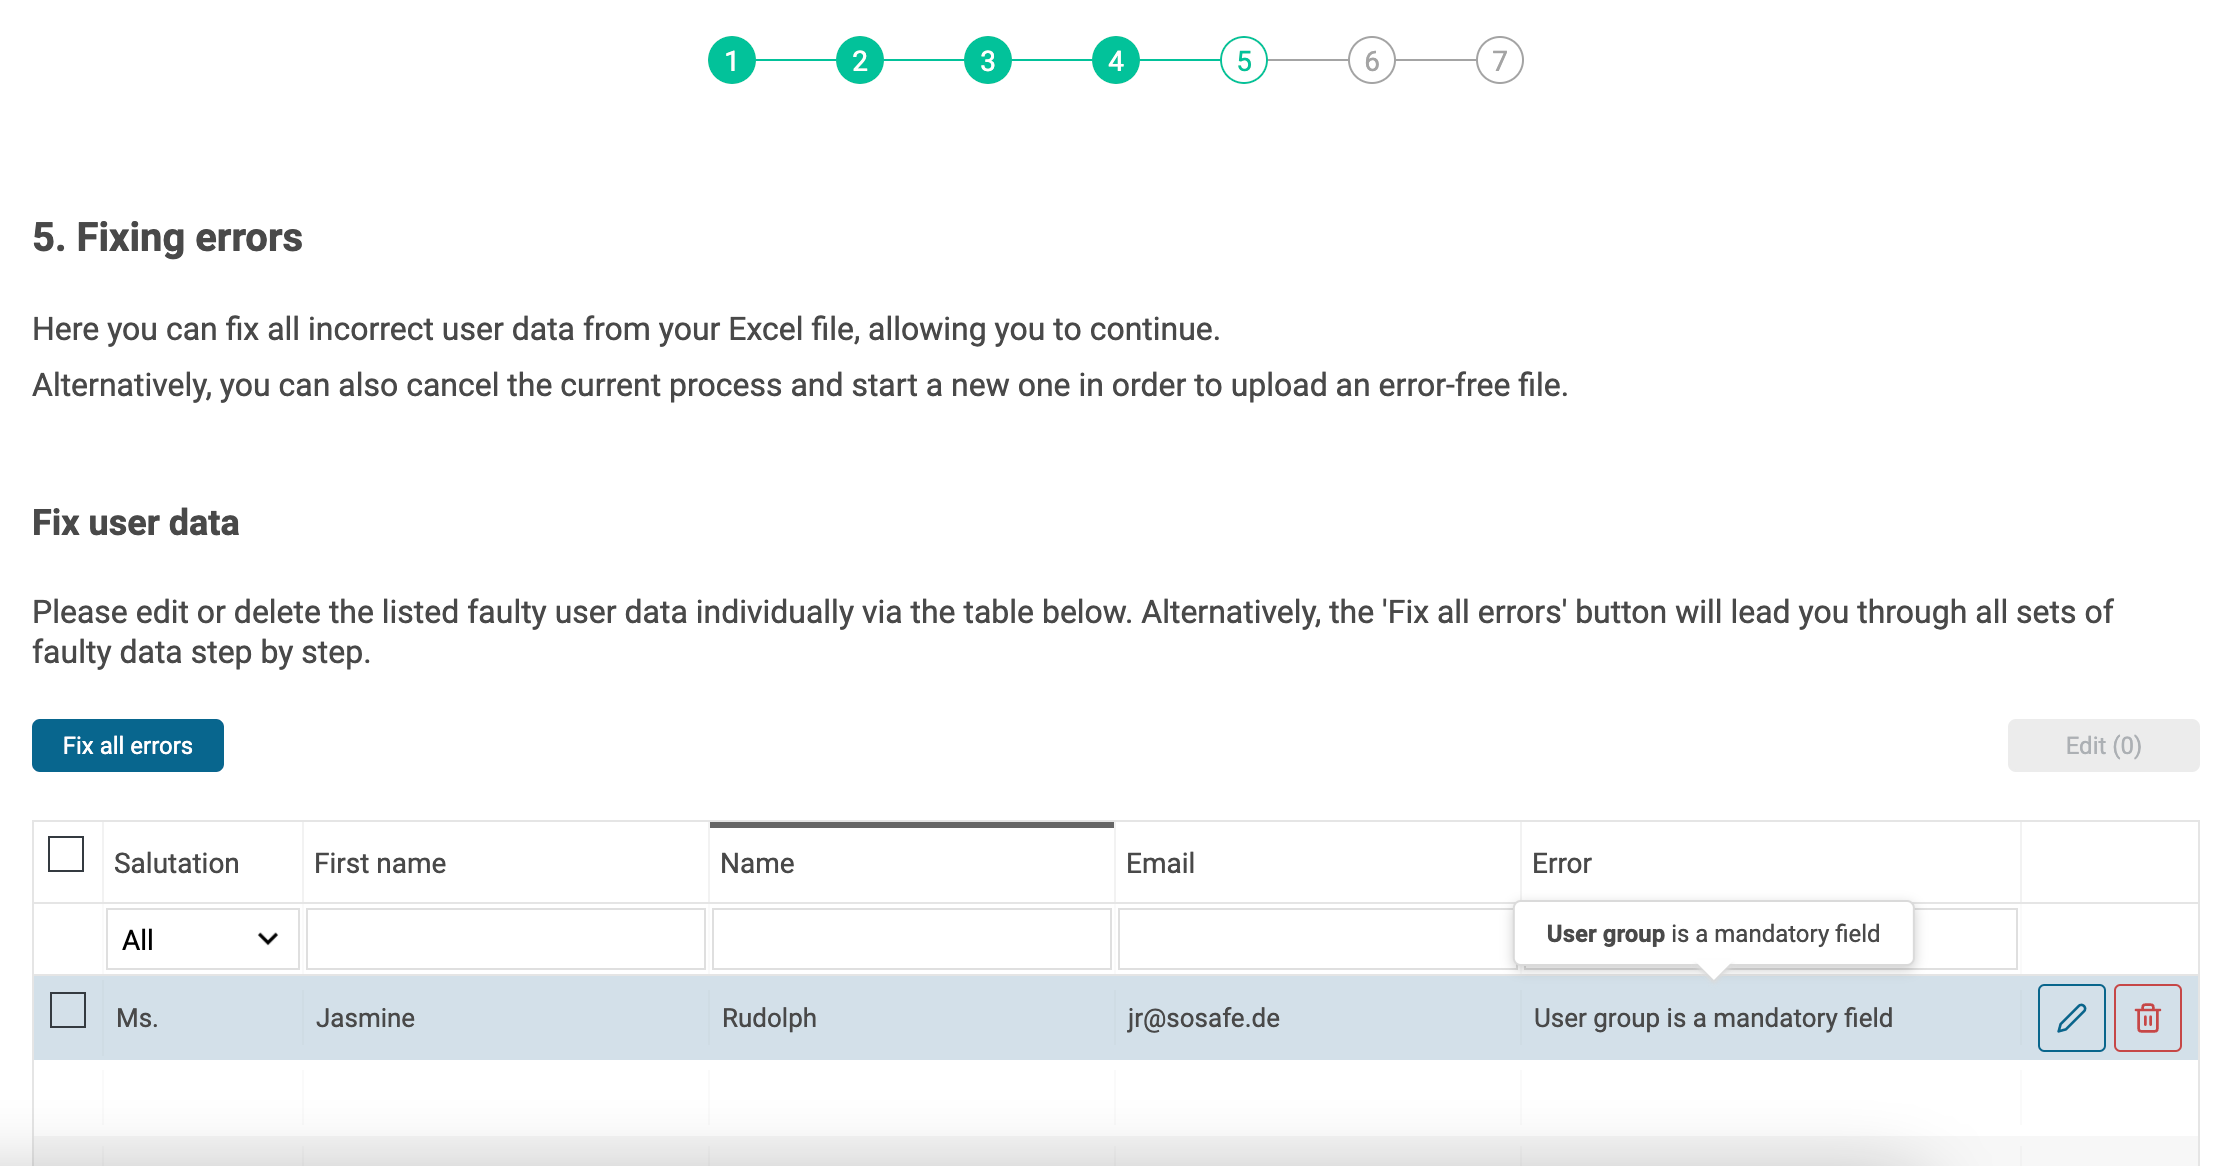
-
Common errors are:
-
Duplicates
-
Domain unknown
-
Empty field
-
Umlauts or spaces in the email addresses
-
Unknown salutation or academic degree (in this case, it is best to compare whether the name is available in the dropdown of the corresponding field).
-
Invalid declaration as collective address (please note that for collective addresses the first four fields (salutation, academic degree, first name and last name) must be empty)
You can find further information: User management: Troubleshooting
-
User group assignment:
-
When all user groups have been successfully uploaded and assigned, you can directly proceed with the next step.
-
This is not possible if users are not assigned to any user group or the assigned user group is too small. To proceed, you have these options:
-
Create a new user group: All unassigned records can be transferred to a new user group (at least 5 persons).
-
Add to existing user group: The users are collectively assigned to an existing user group.
-
Skip: If the user group is too small, the data records will not be considered in the Analytics. However, the upload is possible as well as the manual editing and group assignment in the User Management section.
-
Edit original Excel file so all users are assigned to a user group that includes at least 5 persons.
-
-
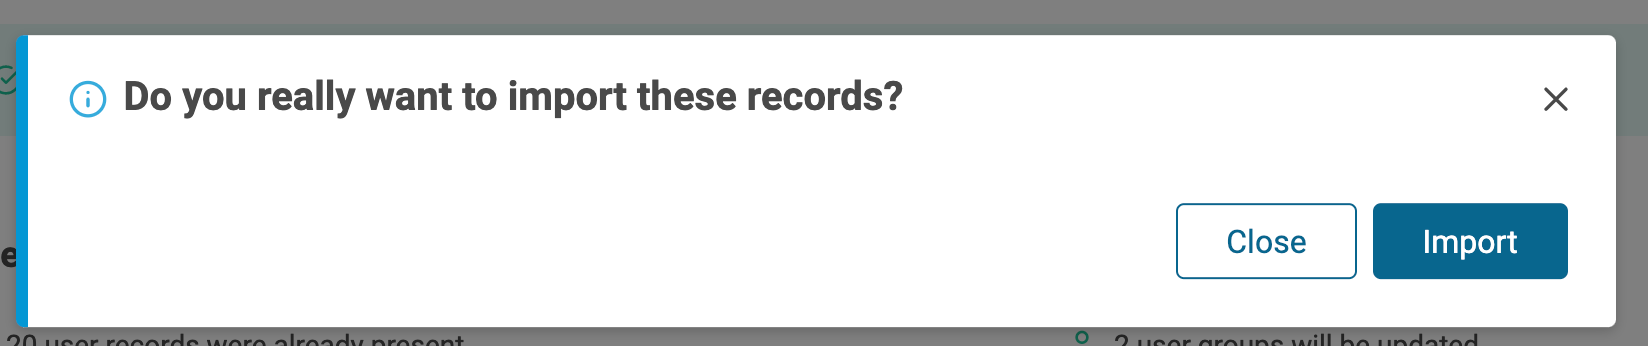
At the end there is a summary for newly added user data and user groups.

-
After the final confirmation the data records are imported.
Manually adding users
-
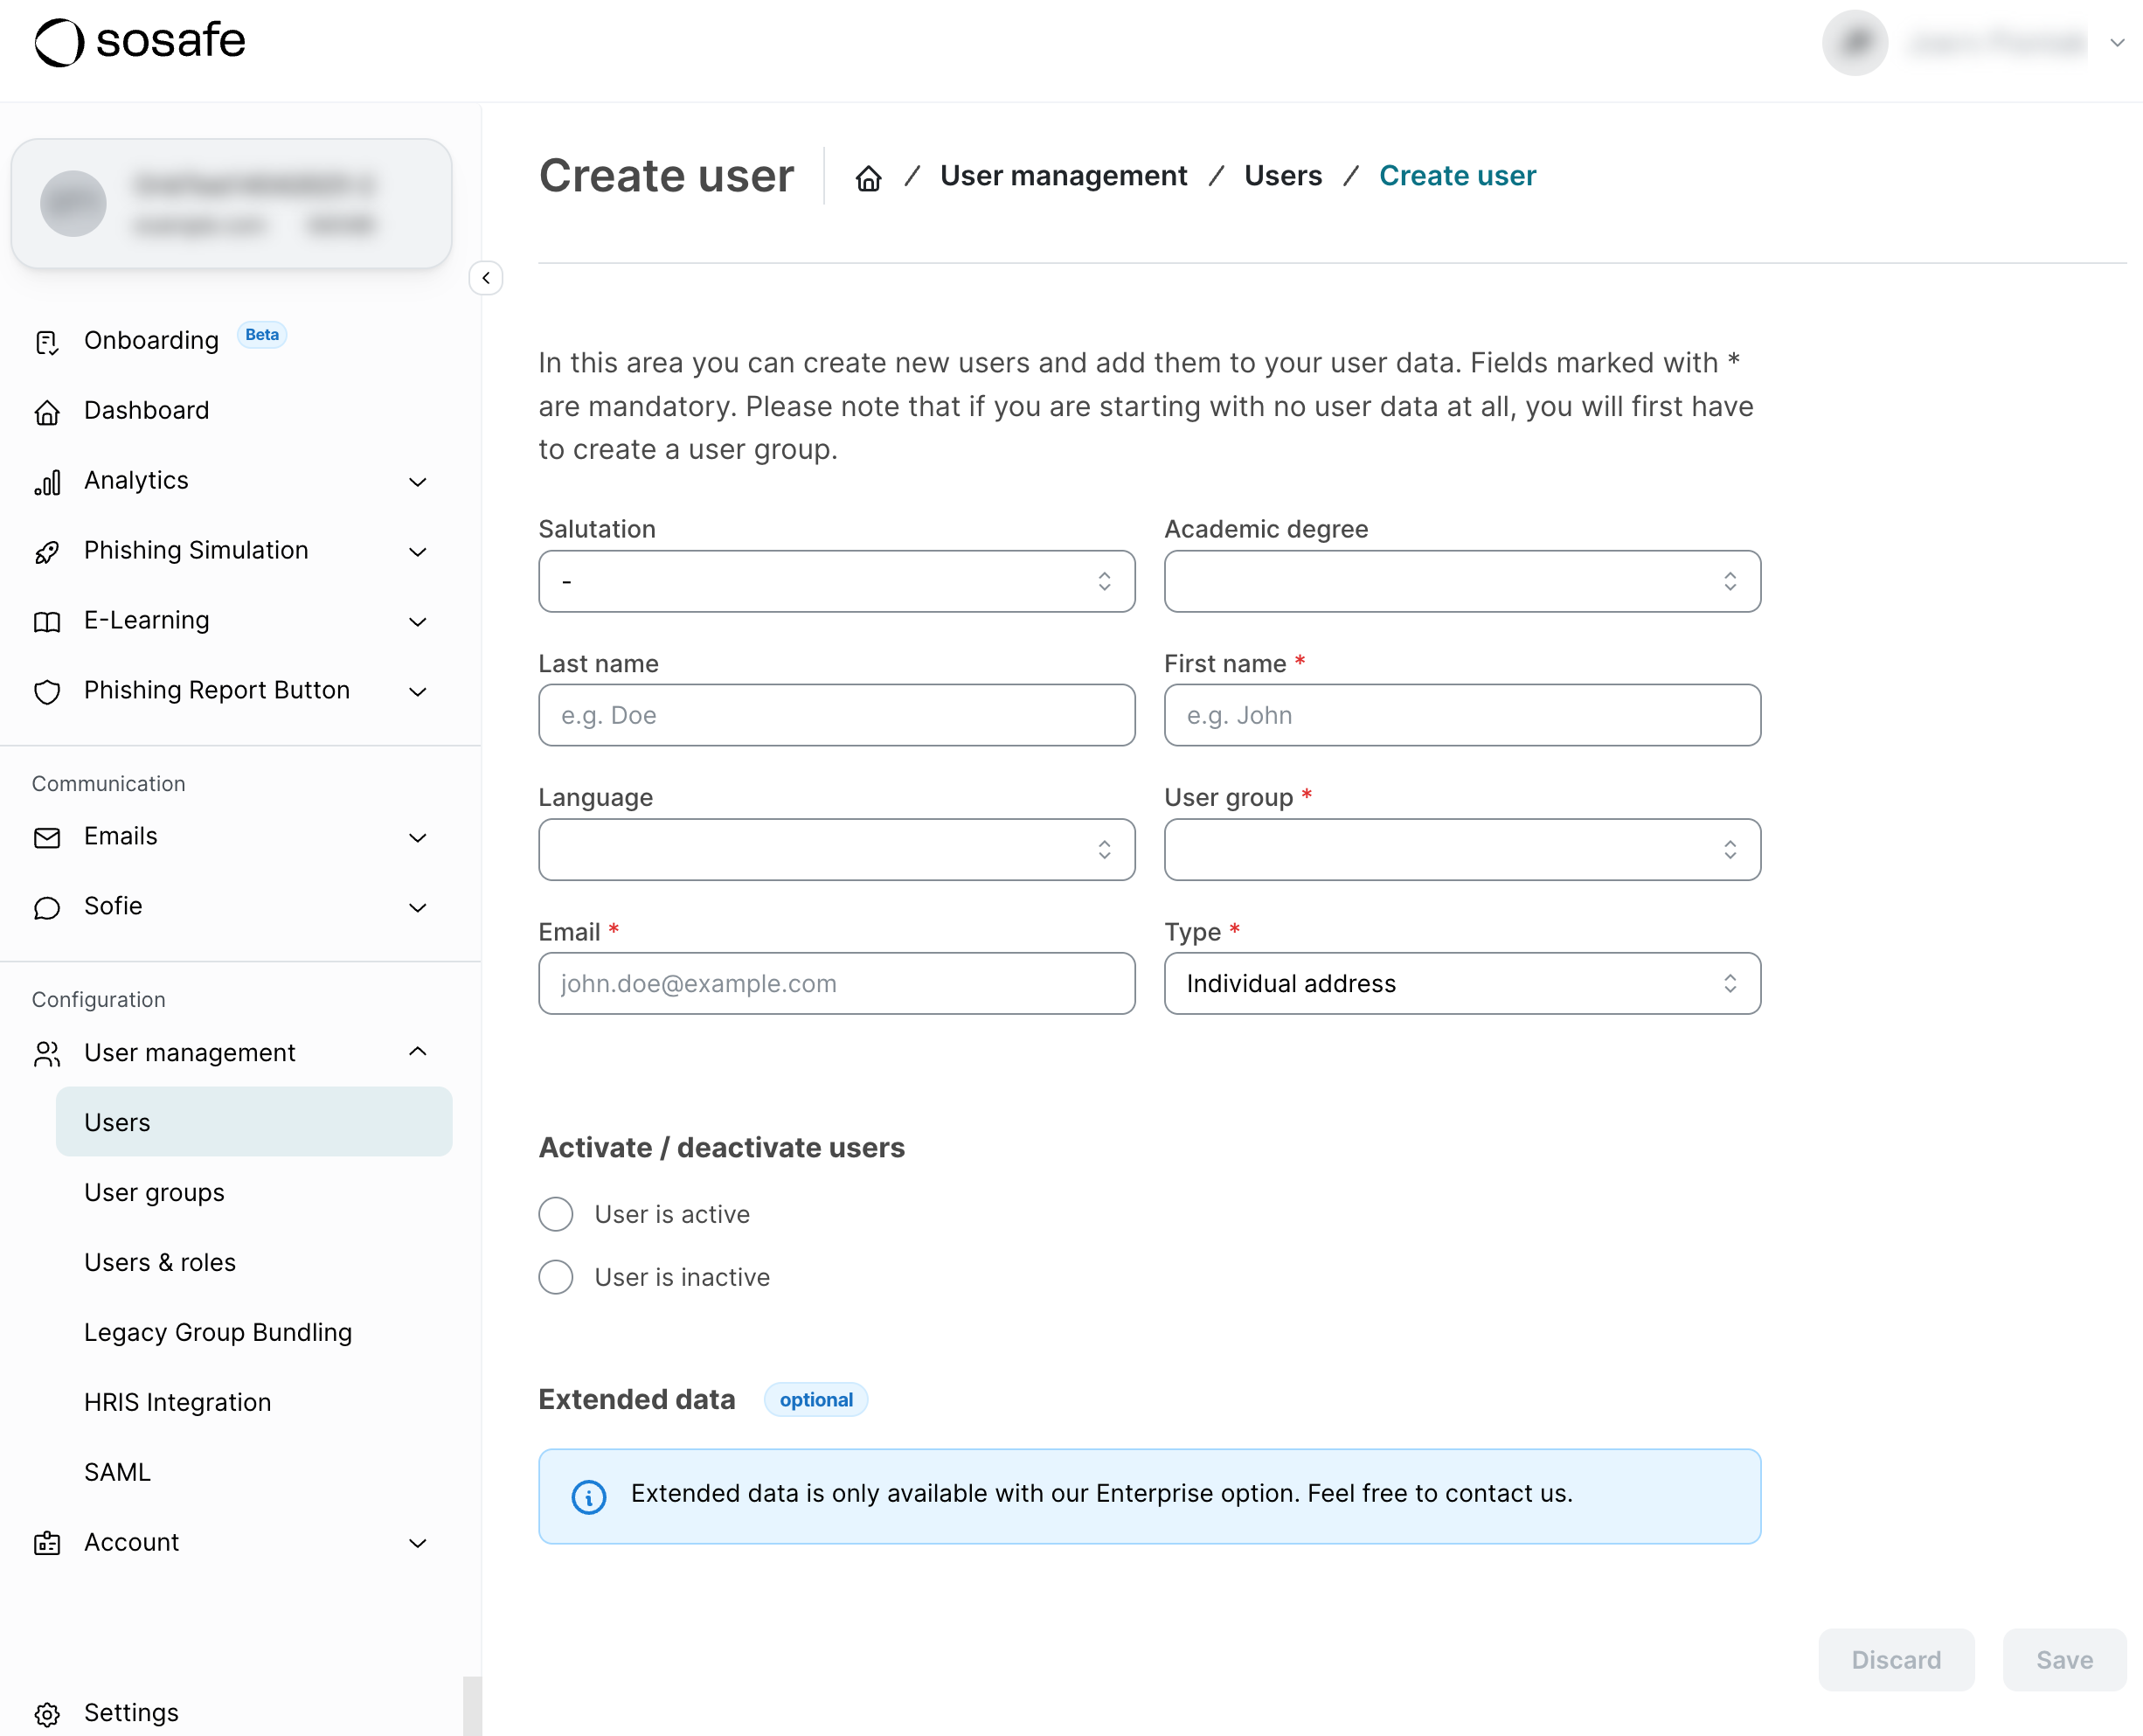
Select Add user manually.
-
Enter all user data here. Mandatory fields are marked with a red star. Create the user by selecting Save.
Updating user data
If you want to update existing user records (e.g., change surnames or email addresses), we recommend this procedure:
-
Export the current user data to receive the most recent data records including the SoSafe ID.

Please find further information on the SoSafe ID here:
-
Edit the user data directly in the Excel file.
-
Start the User Management and import the new Excel file as described in section I above.
-
In the final step you receive an overview of already existing and/or newly added user data and user groups.