
Read this article in: German
Setting up your first Phishing Simulation is easier than you thought! If you would like a preview of what the process will look like, check out the following demo. If you want a bit more detail, check the guide below.
1. Goal
When you start to set up your first Phishing Simulation, you can select which goal you want to pursue initially. This will determine the default selections for the rest of the process. Note that you will be able to change those default selections if you wish to do so.
We recommend starting out with Measure your organization’s risk level. This will default to a 4-week-long simulation during which all employees will receive 1 simulated phishing mail per week. The purpose here is to establish some baseline data for your organization’s current security awareness level. When the simulation has completed, you can check your Analytics to gain insights into potential awareness gaps and address those with more targeted simulations, for instance aimed at departments that are lagging behind or using templates your employees are particularly susceptible to.
Ongoing security awareness training, meanwhile, is focused on an easy long-term training setup. Depending on your SoSafe package, it will default to either a basic 1-year simulation with 48 simulated phishing mails (12 easy, 24 medium, 12 hard) or an open-ended behavior-based simulation. The latter currently also requires a SCIM connection (see User Provisioning ). We strongly recommend setting up ongoing security awareness training as your second simulation.
If you’re on the Premium or Ultimage package, the system will automatically adapt to each employee’s individual learning needs — no manual follow-up campaigns are required. This saves you time and ensures continuous, tailored training across your organization.
Here's a quick rundown on how it works:
-
Employees who successfully report easier phishing simulations will gradually receive more challenging ones (and at a lower frequency)
-
This personalized progression keeps users engaged and significantly boosts their phishing awareness over time
At a glance:
Run an initial simulation with the goal Measure your organization’s risk level. Follow that up Ongoing security awareness training.
2. Audience
In this step, you decide which employees will receive simulated phishing mails as part of this simulation. By default, all users included in your user data will be included. This also means that any users added to your user data (either through user provisioning or manual user data upload) will become part of the simulation.
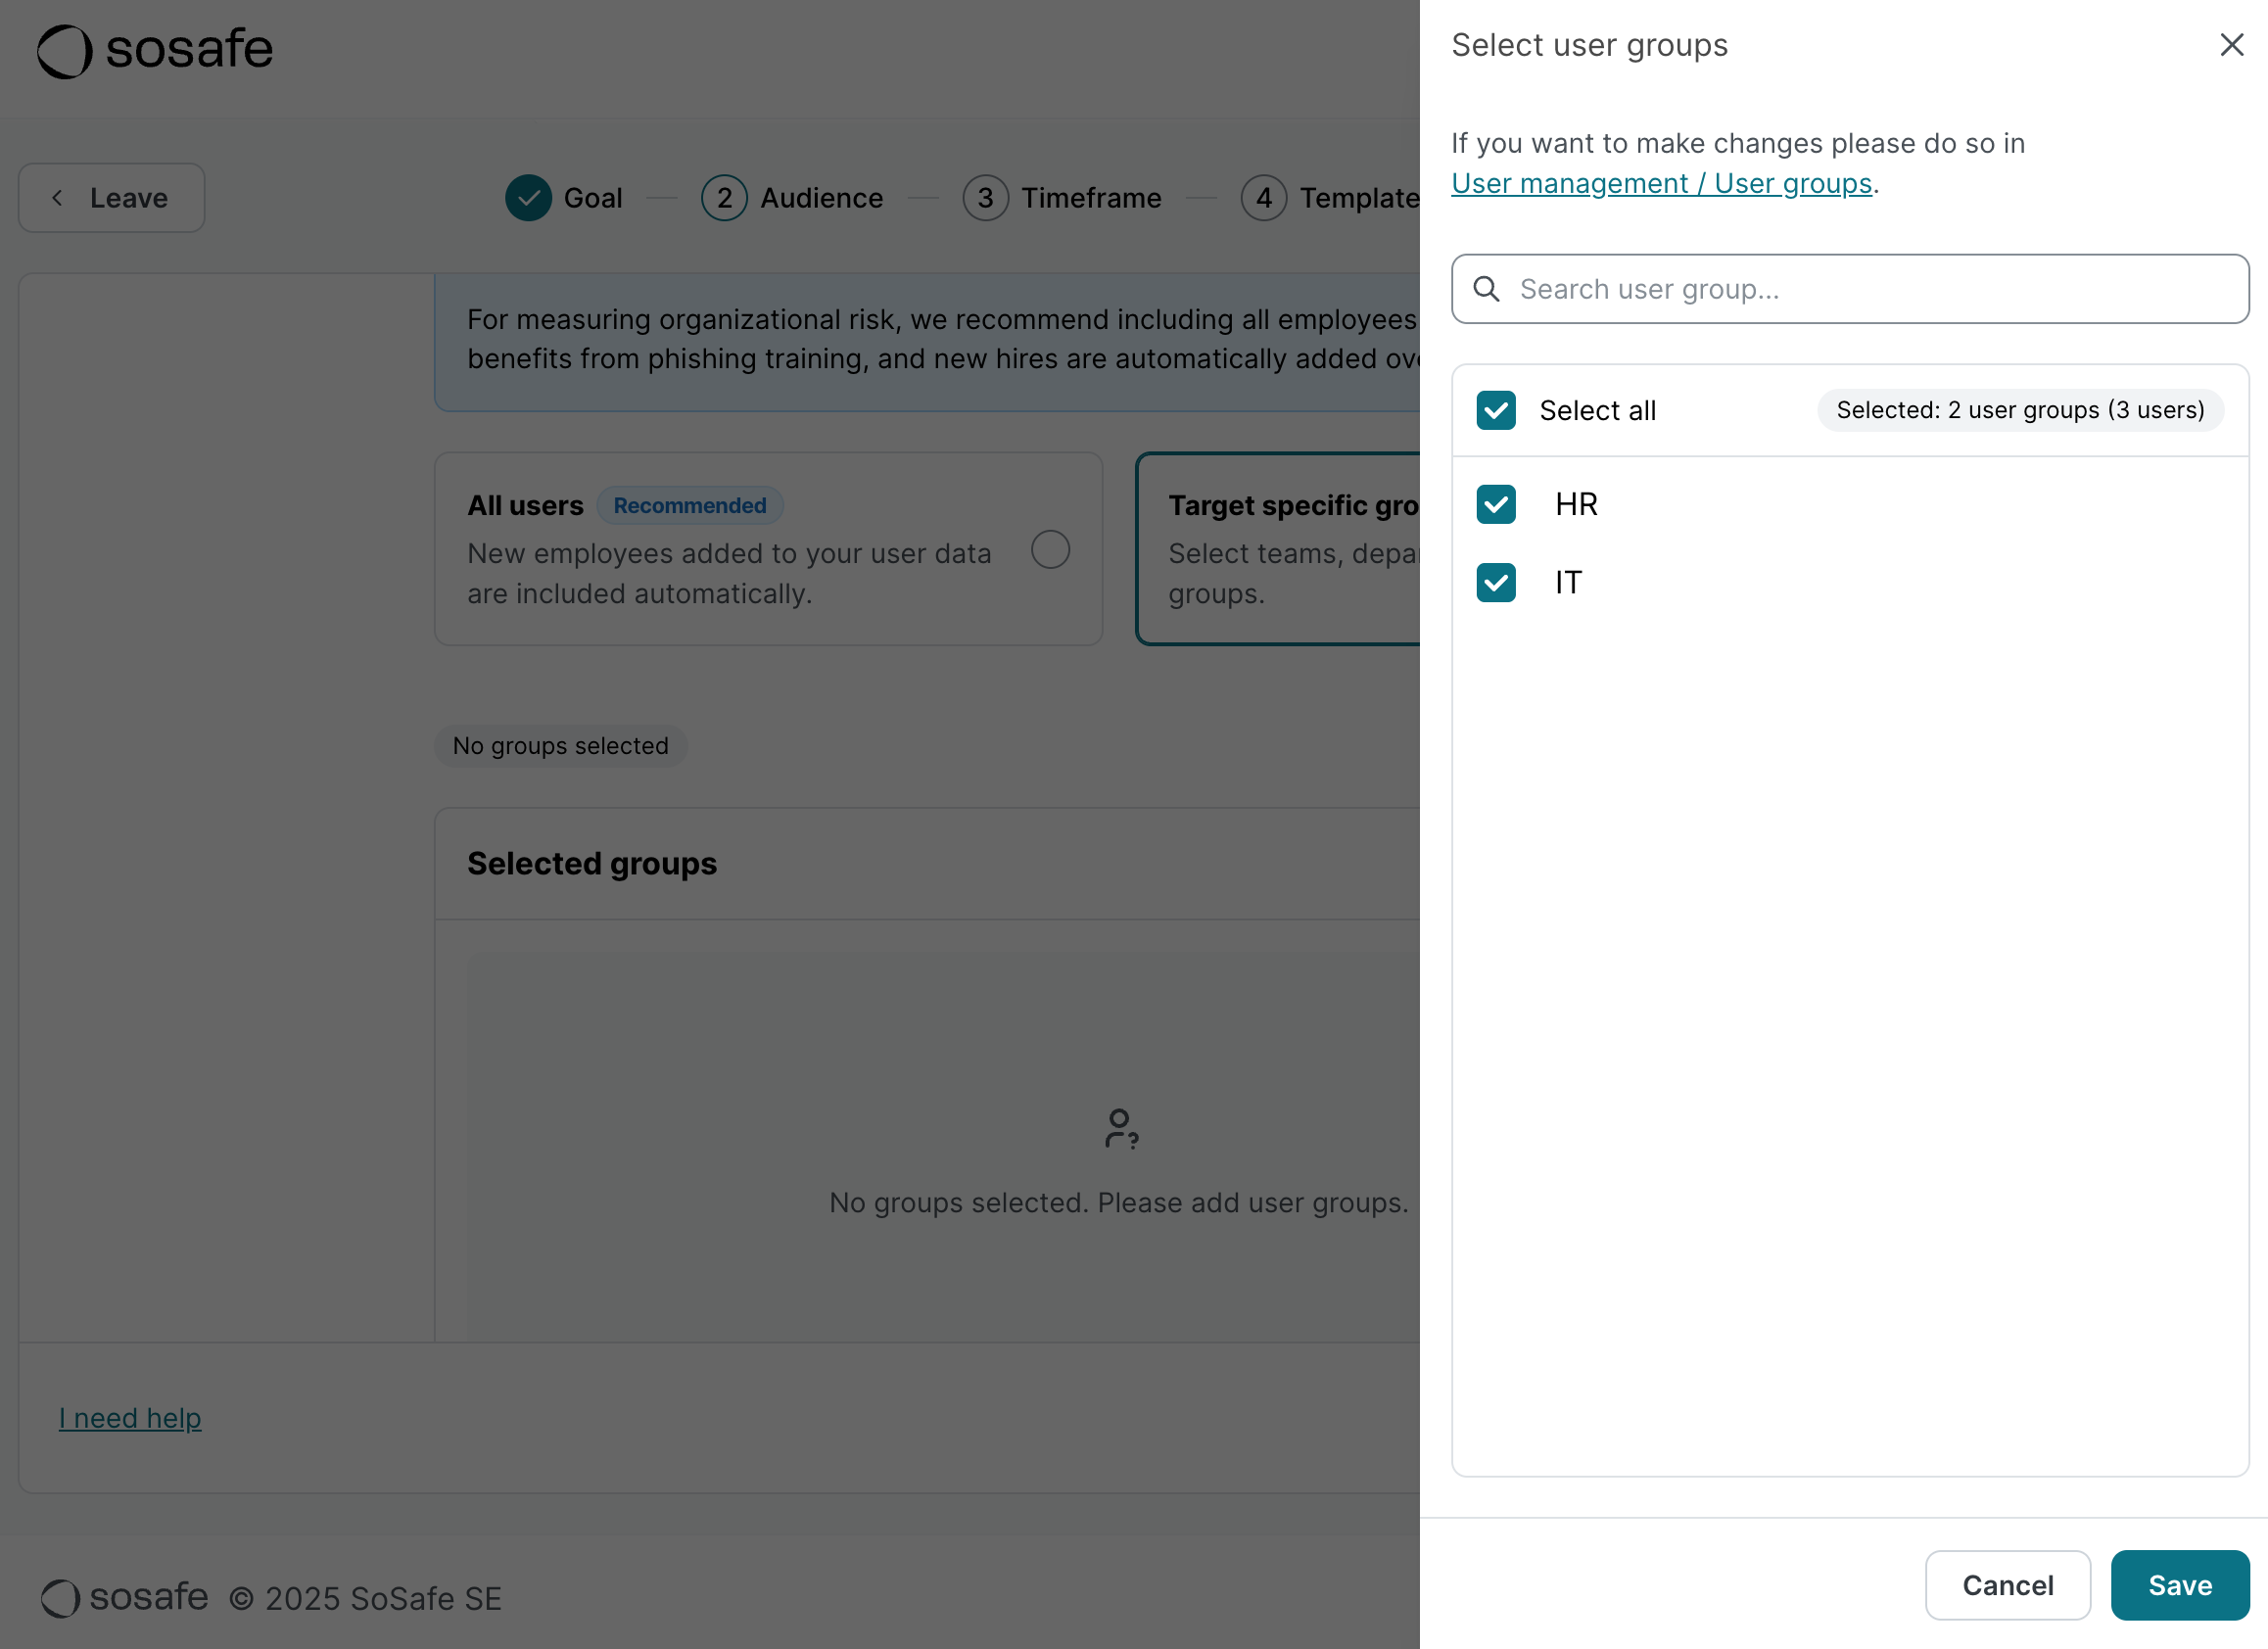
The second option, target specific groups, allows you to create a simulation that will include only specific user groups. This can be used for more advanced, targeted simulations, or for testing with a smaller audience. To do this, select Target specific groups and then Add. You will also be shown how many actual users will be added.
3. Timeframe
In this step, you decide when your simulation should start and for how long it will last. The default setting will be based on the goal you selected in the first step and we recommend staying at least somewhat close to these dates. Note that combined, the timeframe and the number of templates you select in the next step will determine how many simulated phishing mails will be sent. A 4-week simulation with 4 templates will result in 1 simulated phishing email per week per user. The simulated phishing emails themselves will be sent out at different times throughout the simulation to emulate realistic phishing conditions.
In addition, we recommend giving yourself some time before the simulation start. On the one hand, you will need to go through the whitelisting process, which can take a while. On the other hand, you can use that time to inform your organization of the upcoming phishing simulation. In this context, we’d like to point out the info material that is mentioned at the bottom of the onboarding dashboard.
4. Templates
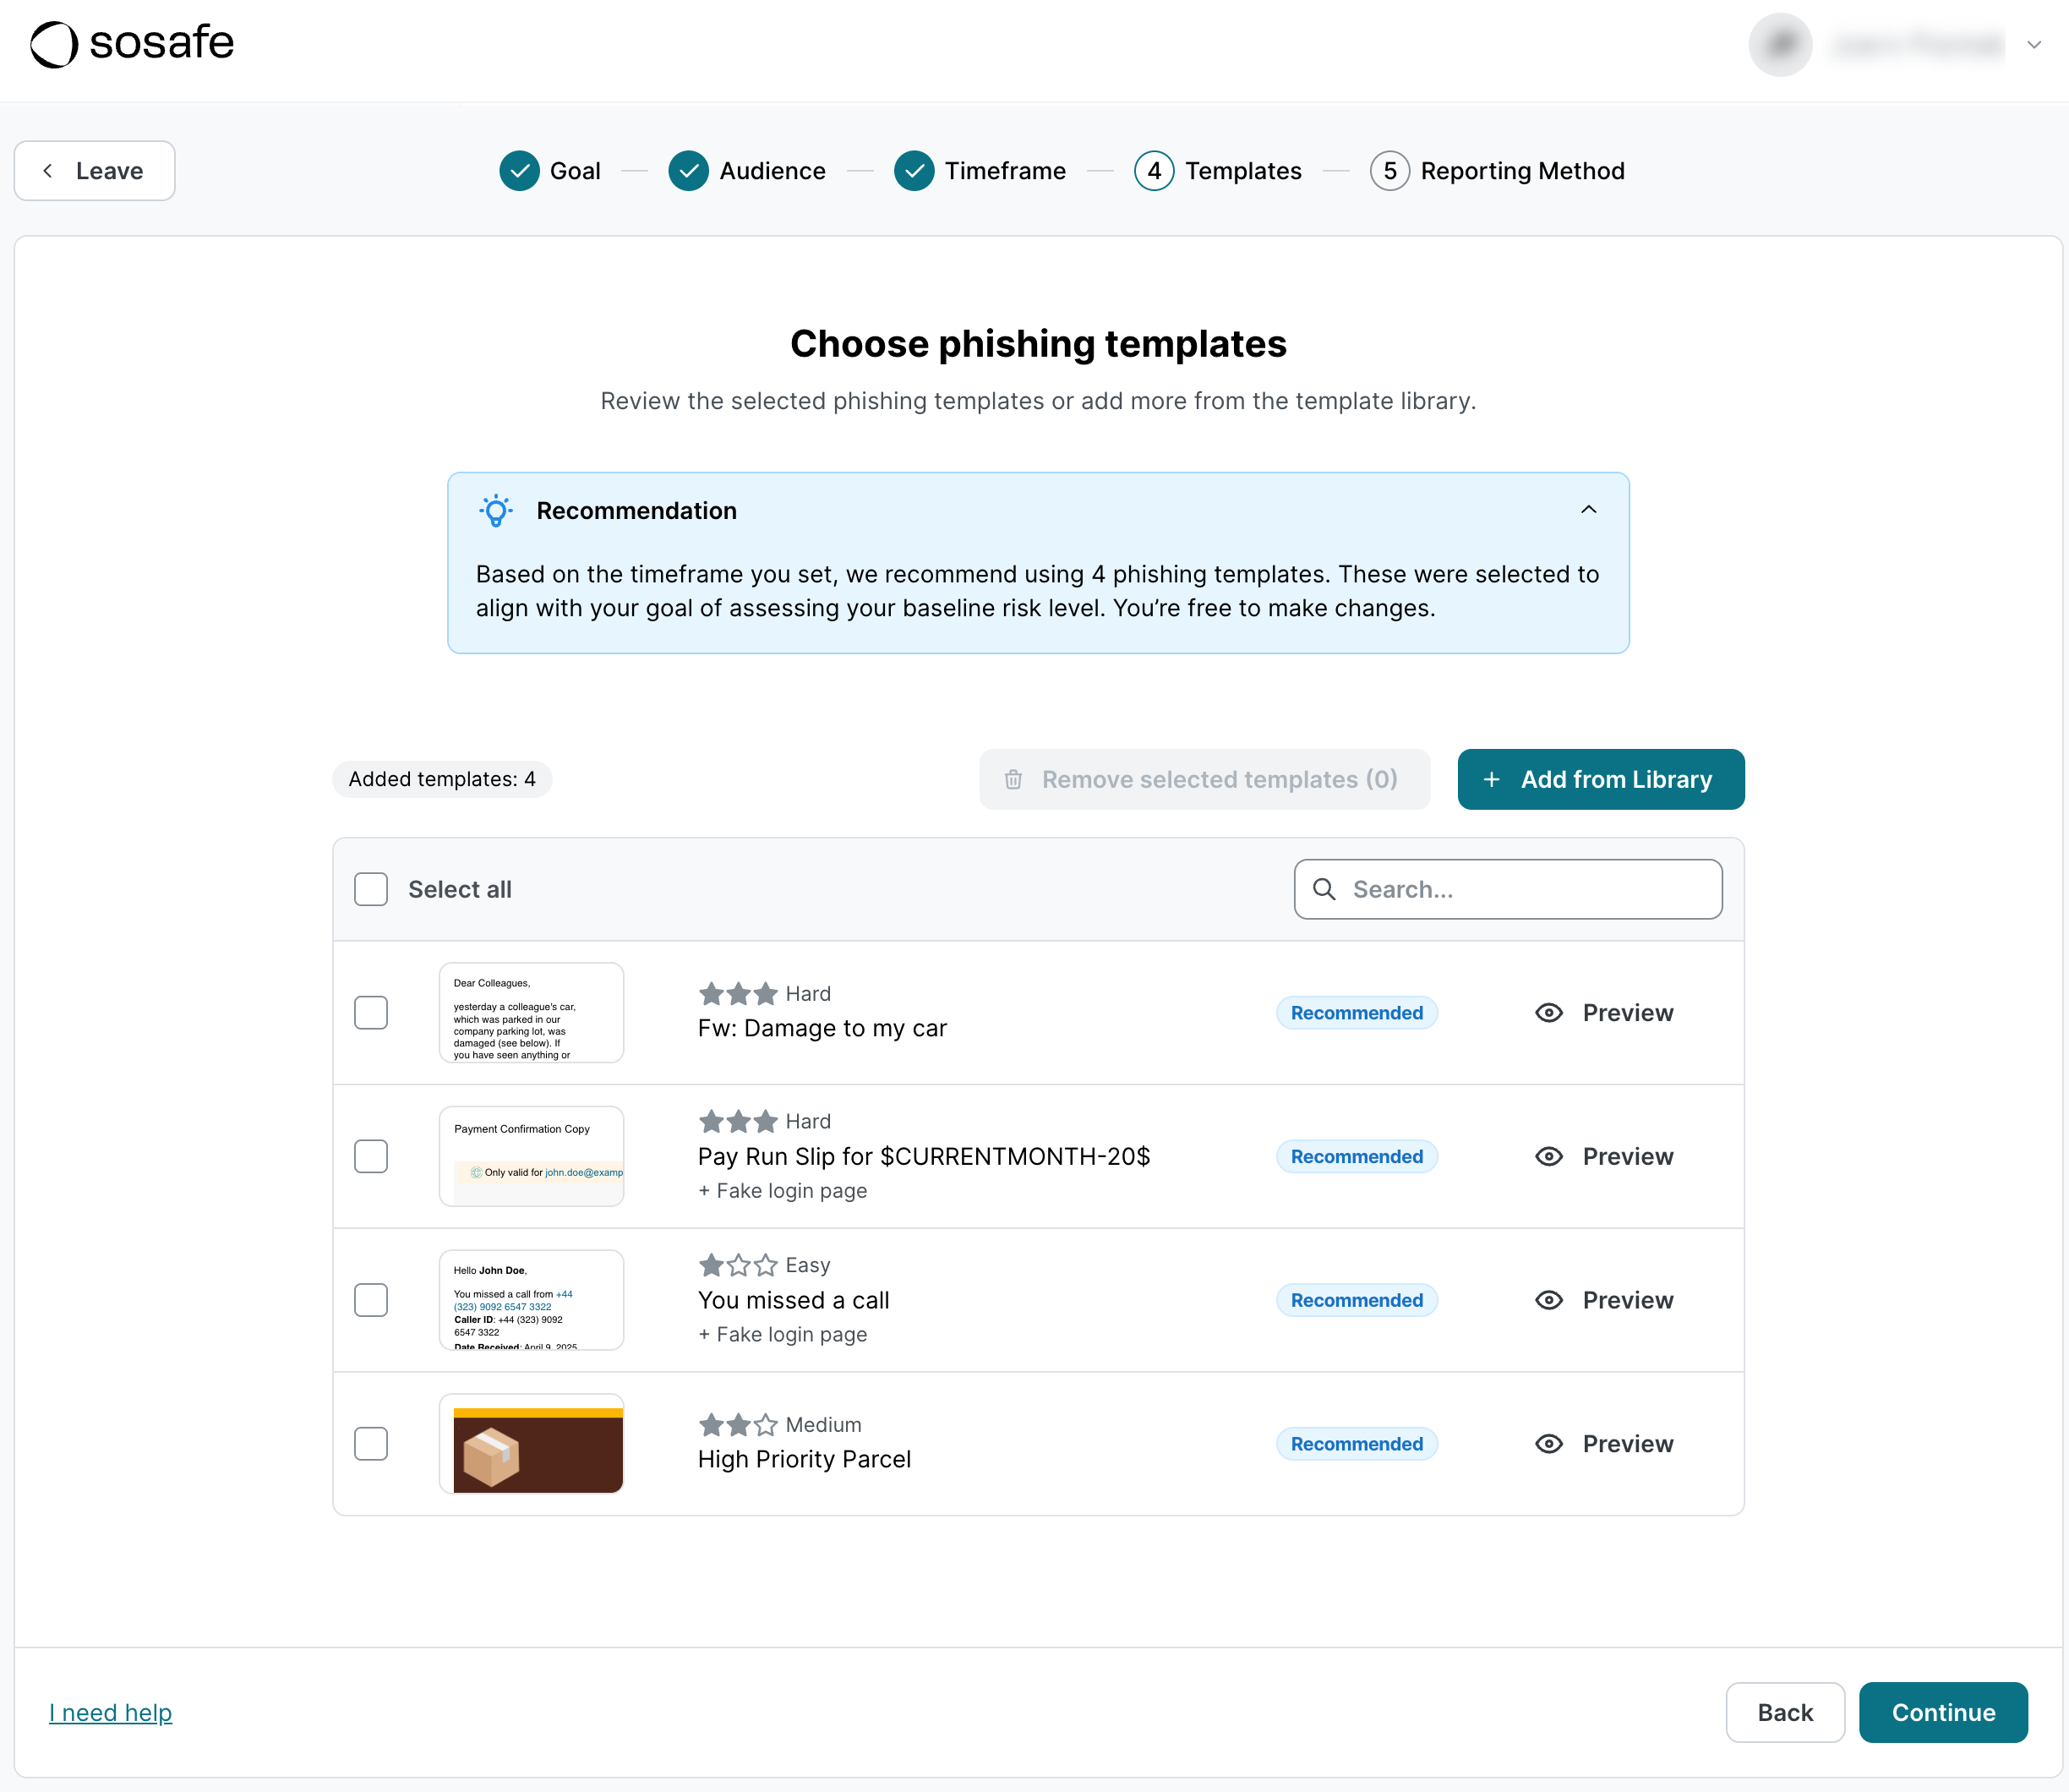
In this step, you decide which templates will be used throughout the simulation. To make things easier for you, we curate a default selection based on your specific goals to make sure the experience is in line with your organization’s needs and priorities. Nevertheless, you can go through our template library to adapt the selection and pick templates you think will work best. This can be especially helpful if you’re creating a simulation for a specific audience. Your finance department will be more susceptible to templates tailored to their role within your organization, for instance.
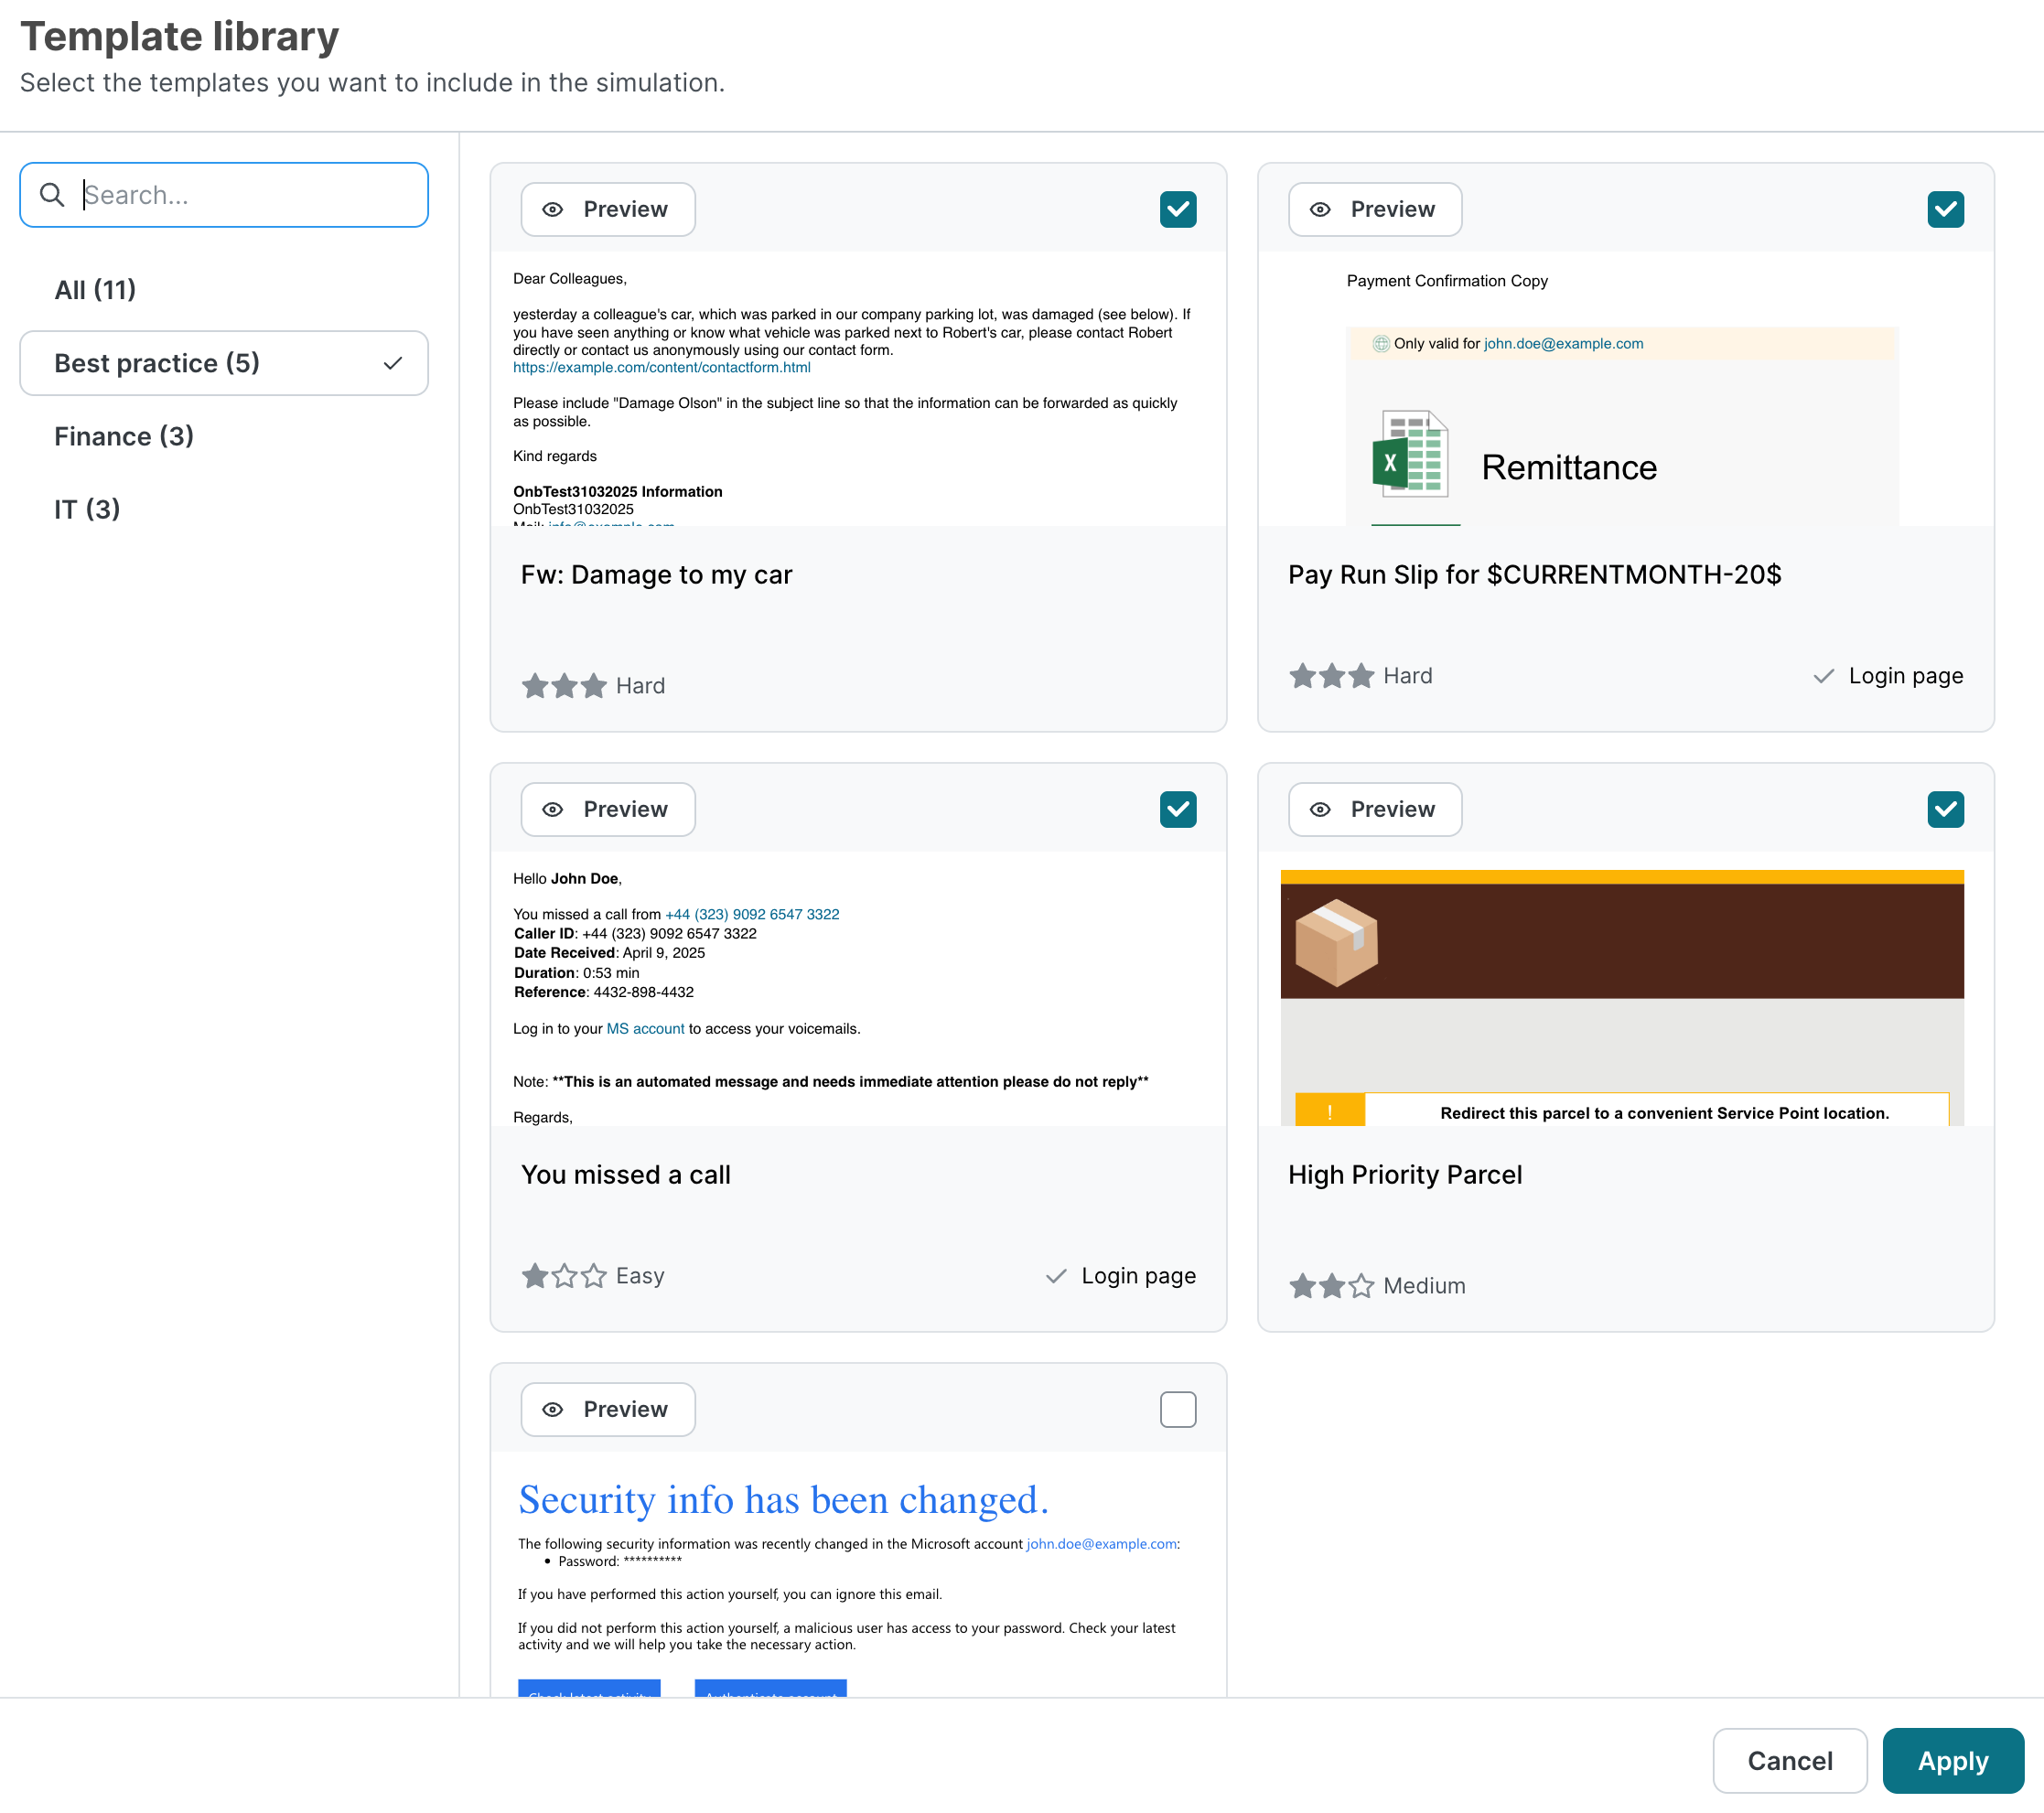
To add templates, select Add from library and browse through our selection. Select the checkbox for the ones you want to add and then select Apply. To remove templates from your selection, select the corresponding checkbox(es) and then select Remove selected templates.
5. Reporting method
In this step, you need to make a decision about the level of data that will be available in the Analytics. Individual reporting provides you with information about each individual user’s interactions with simulated phishing emails. Anonymous reporting, meanwhile, limits data to the user group level. This still provides you with important insights about potential awareness gaps without the ability to identify individuals. Note that this setting has data privacy implications. Note that you cannot change this setting after a simulation has started.
6. Summary
In this step, you get an overview of the decision you just made. You can also give your simulation a name. We recommend giving it a descriptive name to make it easier to identify later if you choose to create multiple simulations.
For phishing simulations to be successful, you need to go through the next step called Whitelisting. Email security gateways and firewalls often block phishing simulations because they appear identical to actual phishing attacks. This can prevent security awareness training from reaching your users. We recommend starting the whitelisting process early since it usually requires involvement from your IT department and can thus take a while.