Skip table of contents

Whitelisting envelope sender addresses (Microsoft 365)

Read this article in: English, Deutsch, Dutch, French

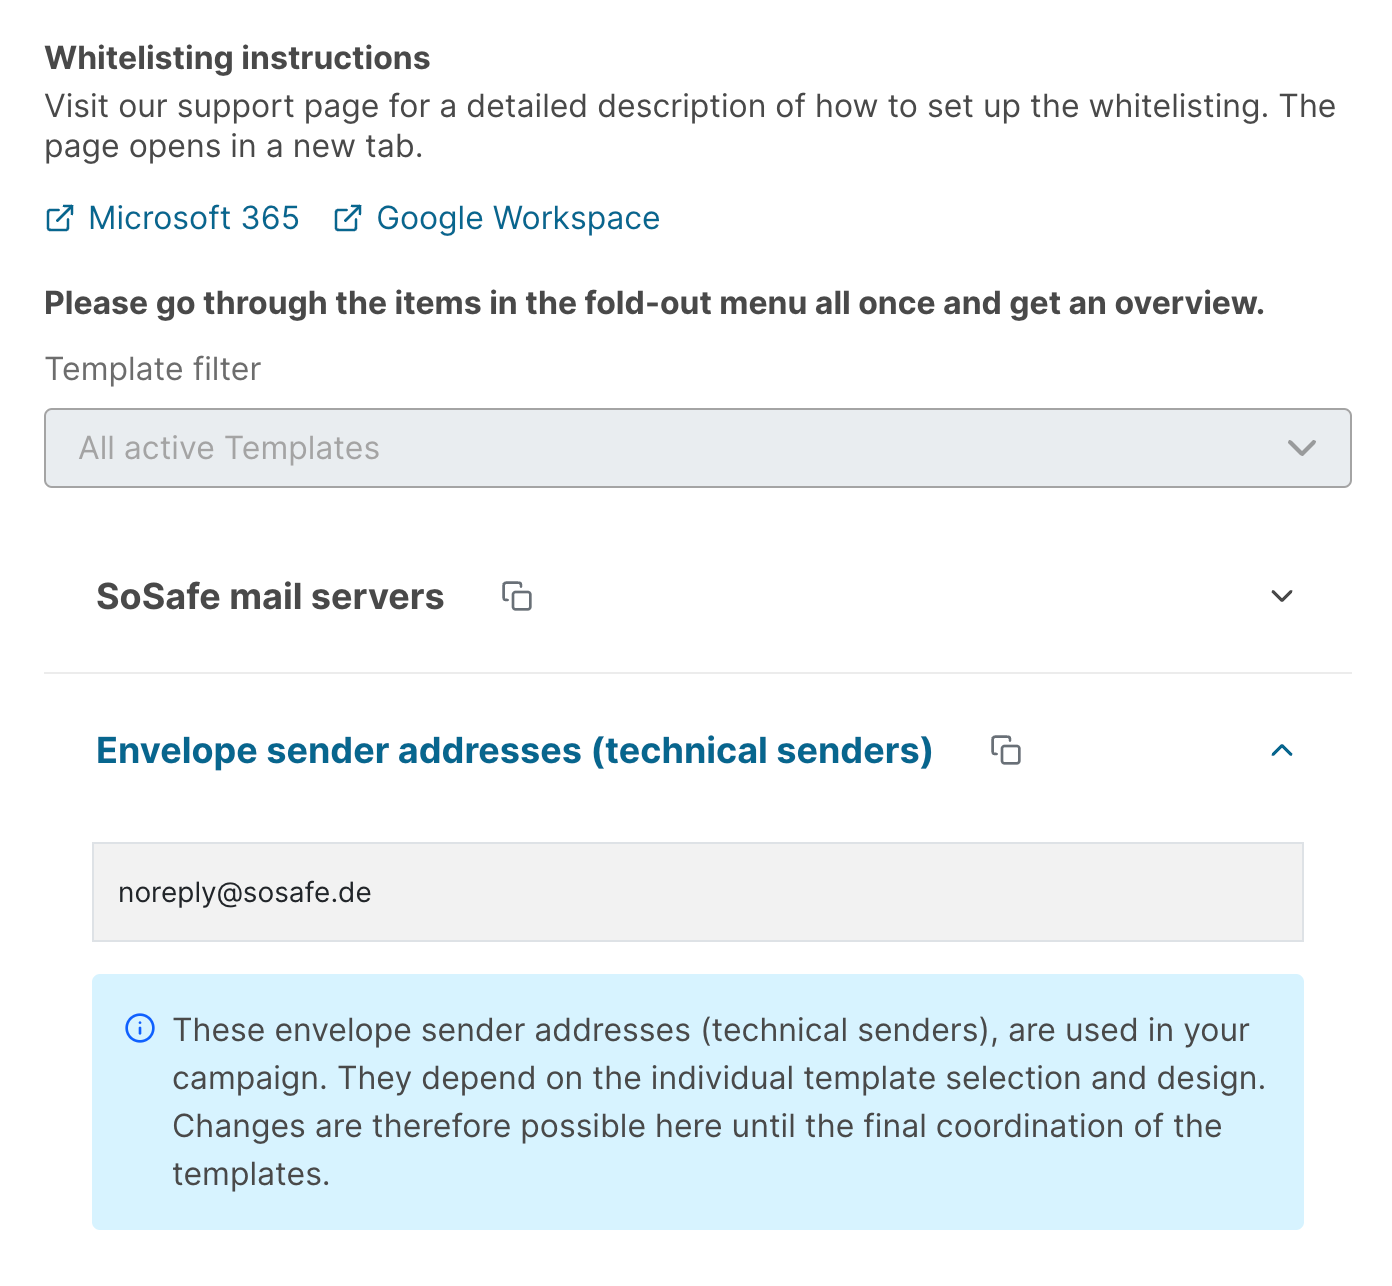
Depending on your Microsoft 365 setup, it might not be enough to only whitelist IPs. If that is the case, you should also whitelist the so-called envelope sender addresses (technical senders). Doing so only takes a few minutes and we have prepared a step-by-step guide to make things easy for you.

  1. Log in to your email server portal with an administrator account and select Security

  1. Select Policies & rules and then Threat policies.

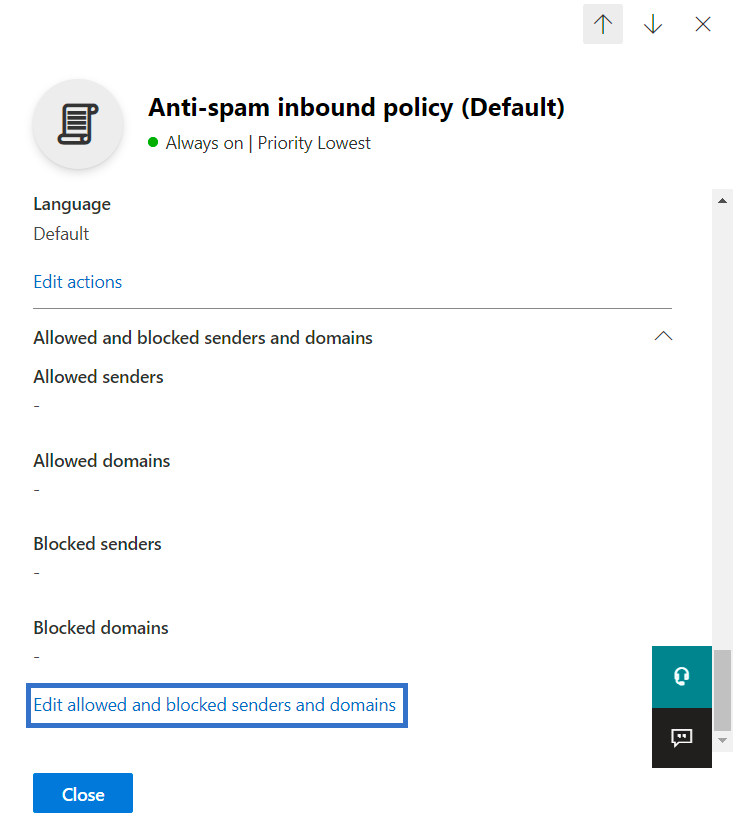
  1. Select Anti-spam, followed by Anti-spam inbound policy (Default). A new dialog will open.

  1. Towards the bottom of this dialog, select Edit allowed and blocked senders and domains.

  1. Under Senders (x), click Manage Sender(s).

  1. Here, enter the Envelope sender addresses (technical senders) shown in the SoSafe Manager (Settings / Whitelisting).

  1. Select Done to finish the process.

Whitelisting-Envelope1.png

Whitelisting-Manager.png

JavaScript errors detected

Please note, these errors can depend on your browser setup.

If this problem persists, please contact our support.