
Read this article in: German
Setting up your E-Learning by yourself is an easy 6-step process that only takes a few minutes. It’s a great option for simpler and leaner setups.
How to set up your first E-Learning campaign
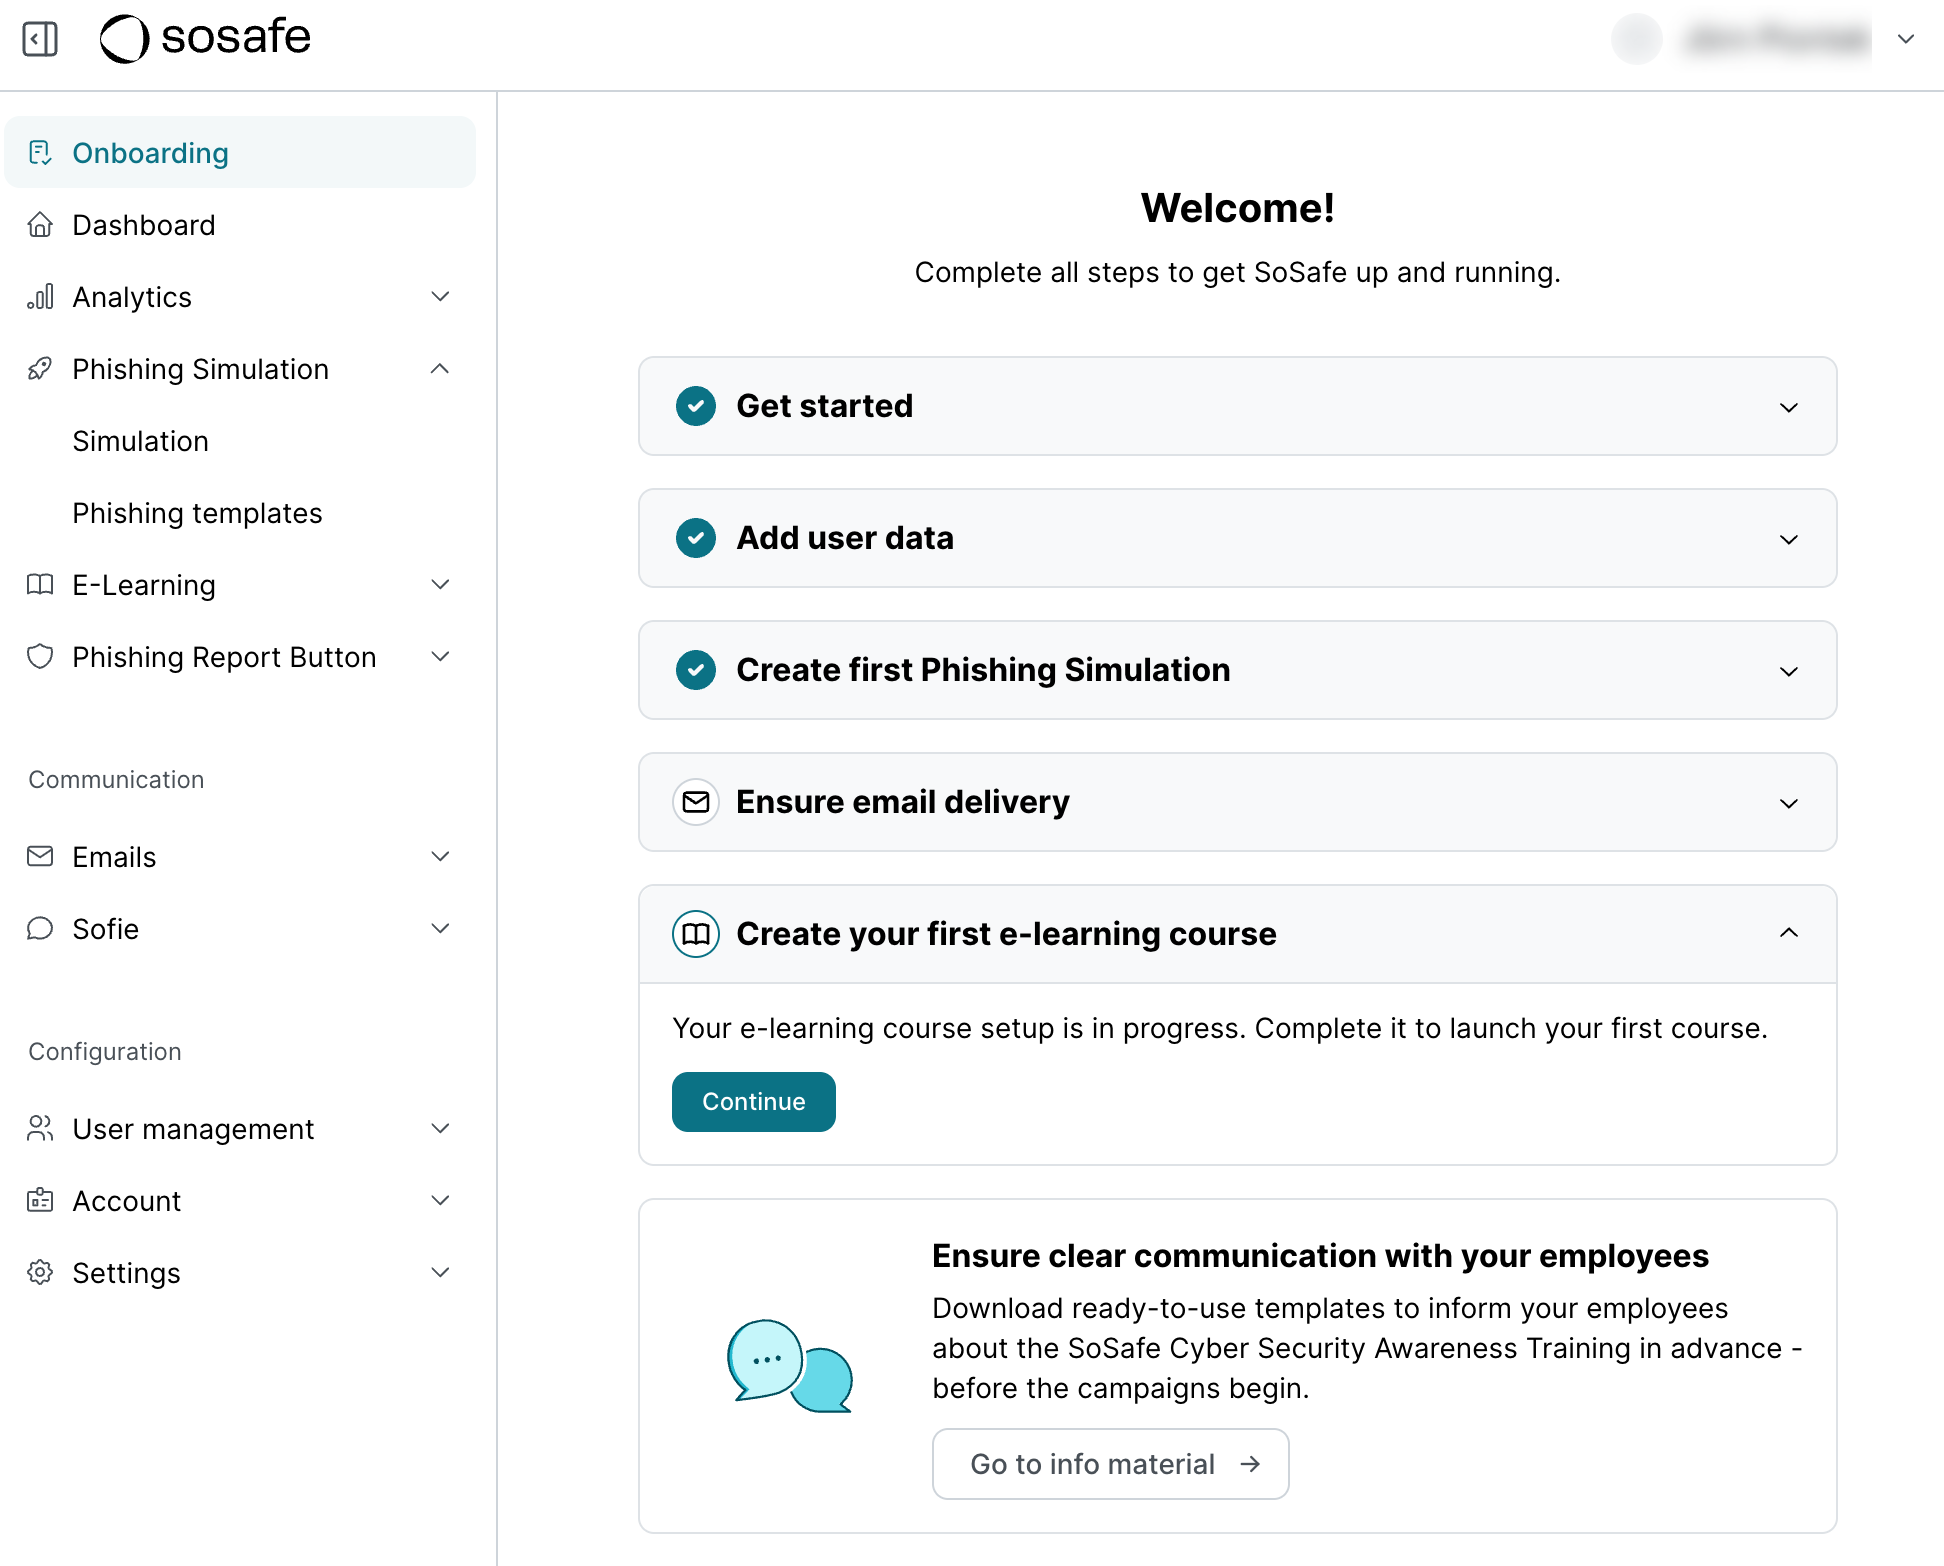
Let’s get started! In your onboarding checklist, select Create your first e-learning campaign and then Continue.
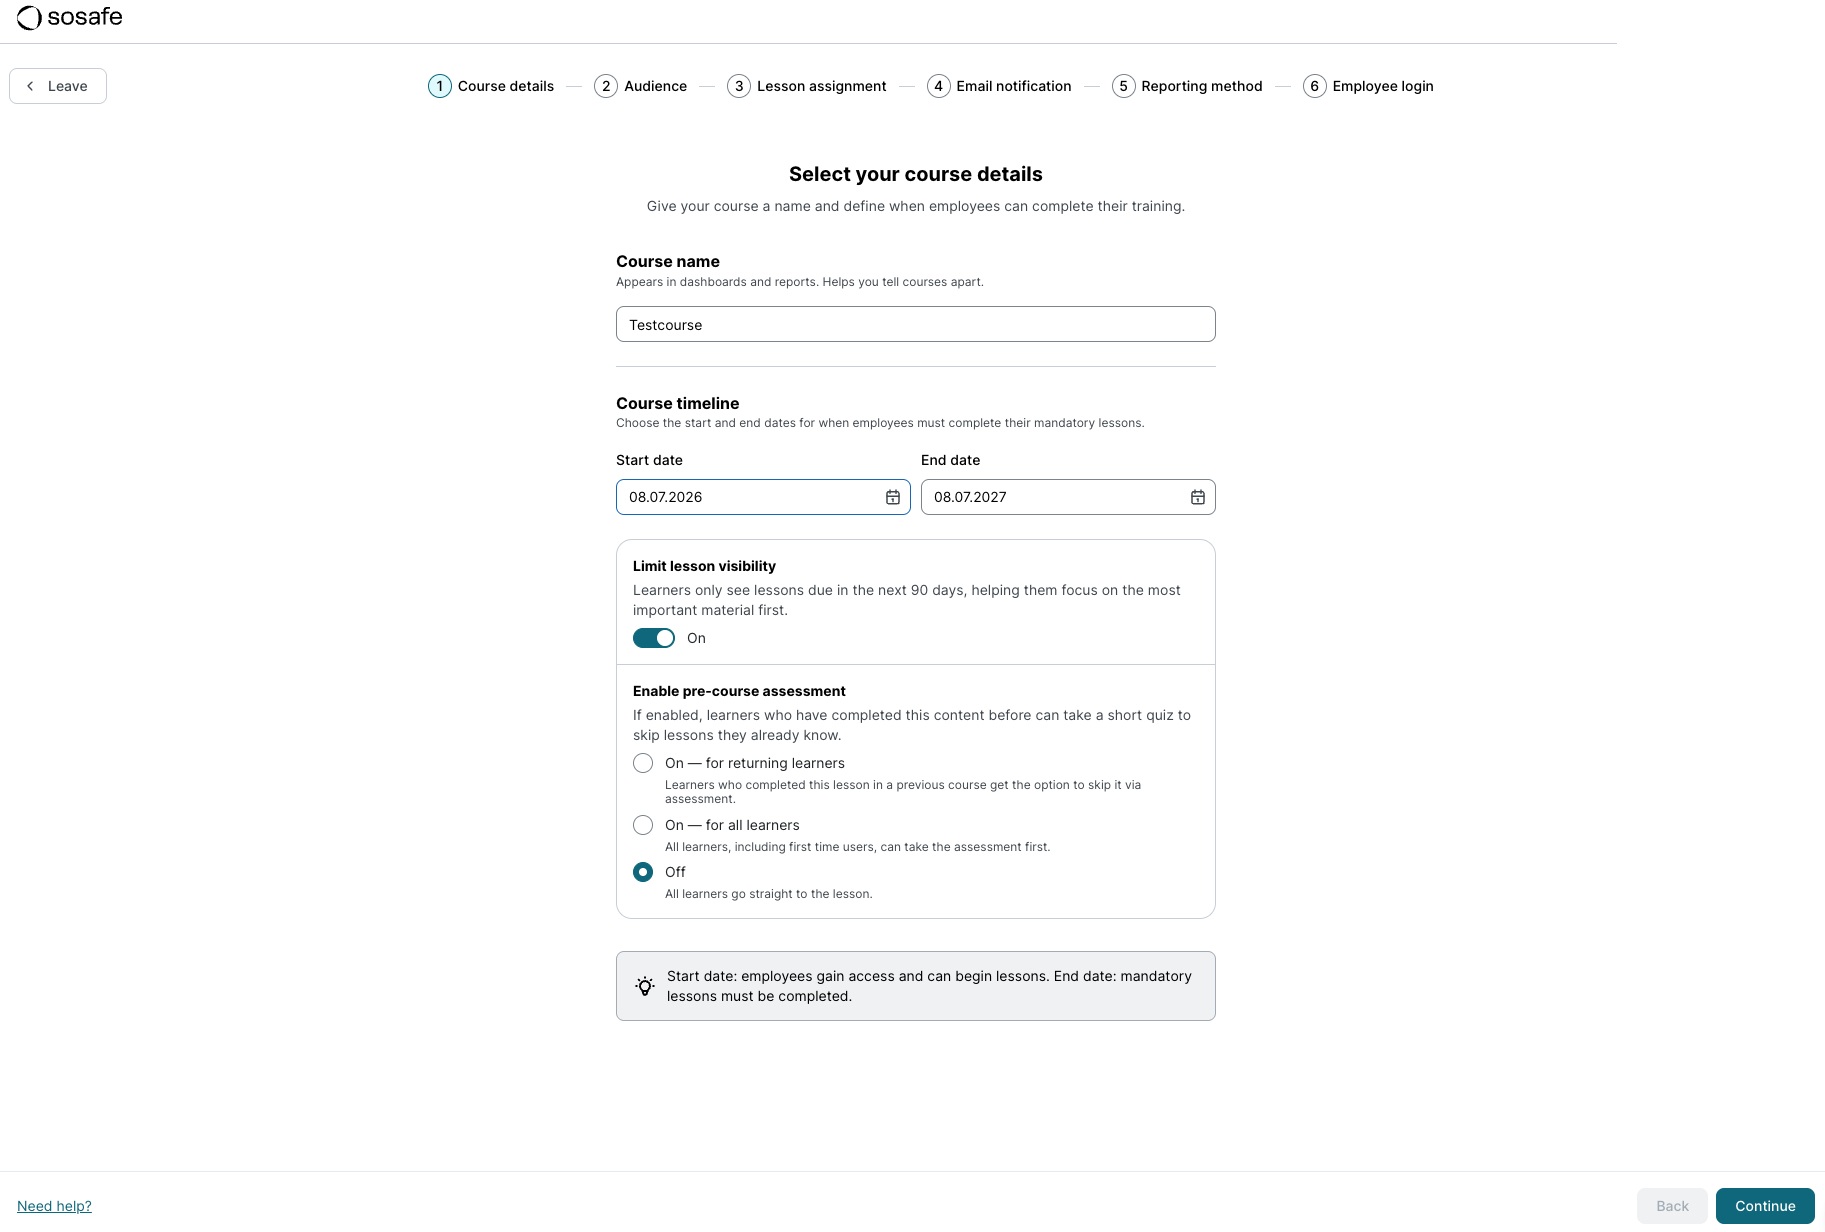
1. Course details
Give your course a name and select the start and end date. We recommend a 2-week window before the course start date to give you time to communicate the upcoming e-learning to employees.
In addition, you can limit lesson visibility. This means that learners will only be shown lessons that are due within the next 90 days. The purpose of this setting is to focus learner efforts on what is most critical and to support continuous, sustainable engagement instead of a one-time learning rush.
You also have the option to activate a pre-course assessment. Pre-course assessments are short knowledge checks on the contents of selected lessons. These are designed within our system to allow lessons to be skipped if learners successfully complete the corresponding pre-course assessment.
Several options are available for this setting:
-
On – for returning learners: This option is suitable if you are launching a second or a follow-up E-Learning course and some lessons from the previous course are repeated. Learners who have already participated in the previous course can test their existing knowledge of the familiar content via the pre-course assessment and skip the lesson if applicable.
-
On – for all learners: All learners are given the opportunity to complete the pre-course assessment in advance to skip lessons directly if they possess the relevant prior knowledge.
-
Off: No pre-course assessment will be presented, and all learners proceed directly to the lesson.
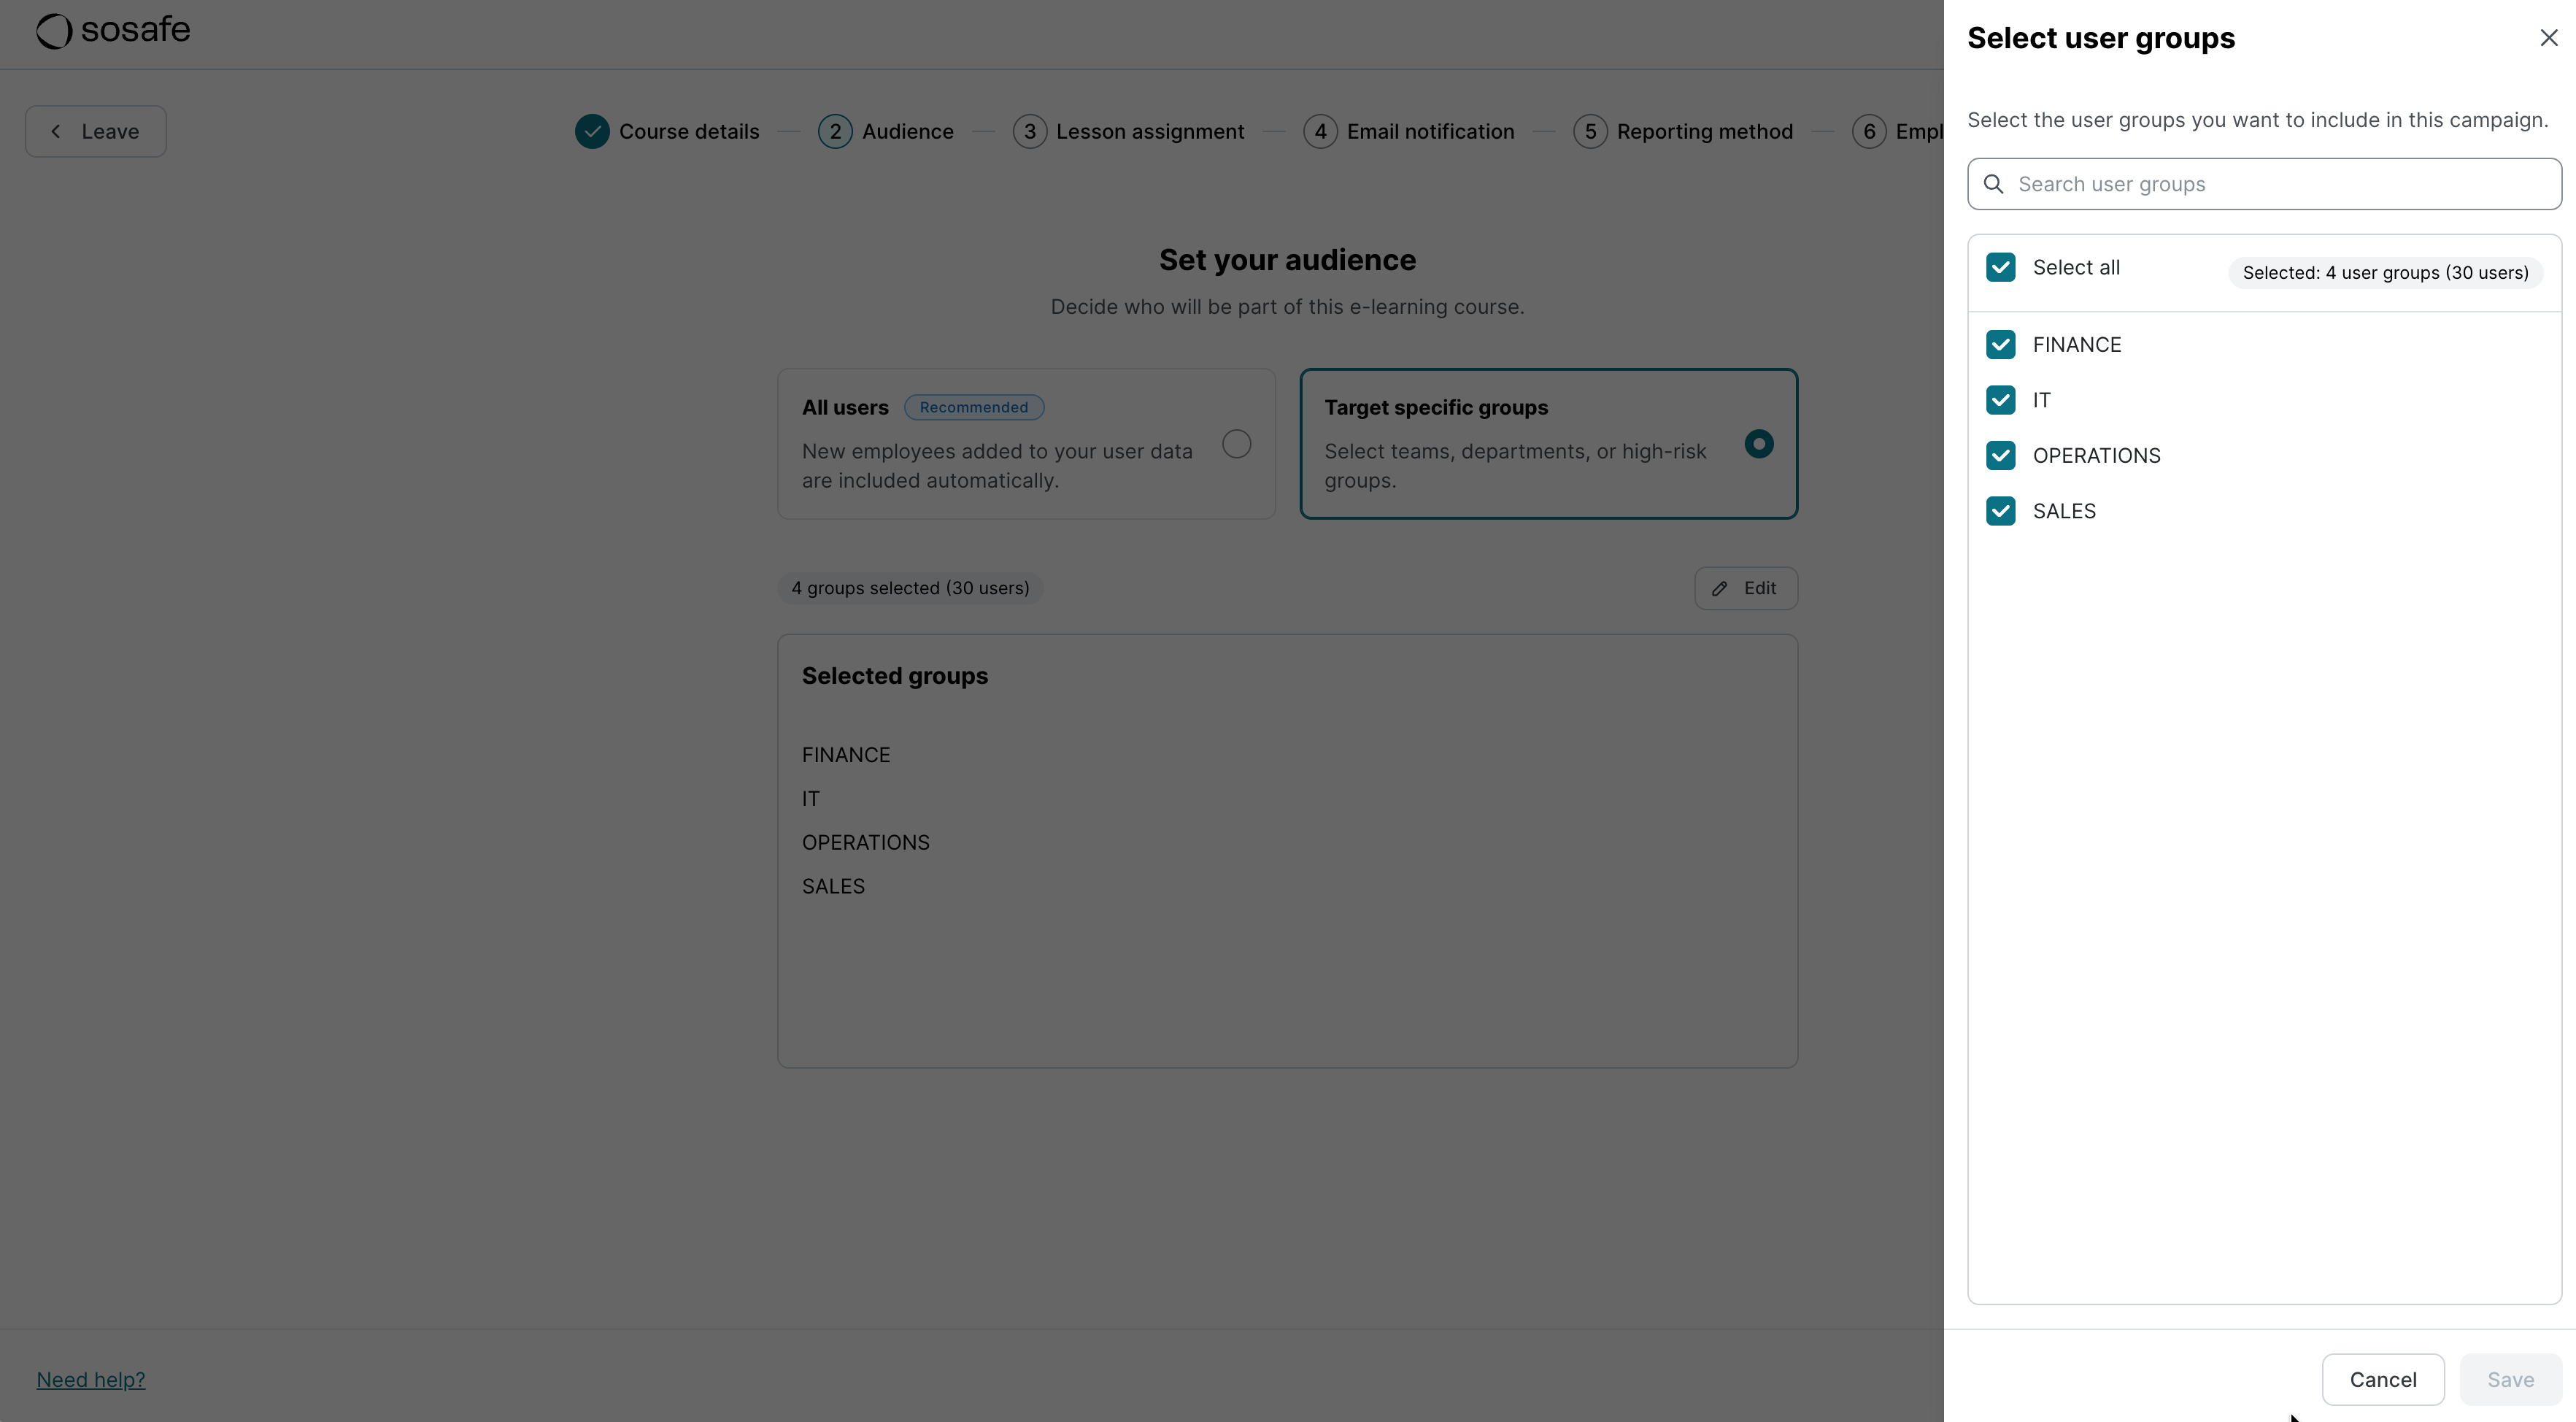
2. Audience
The course can include either all users or only the user groups of your choice. Either way, this screen will show you how many employees will be part of the course. Select Save changes to proceed.

3. Lesson assignment
By default, all lessons in your package will be included here, in our recommended order. You can preview lessons by selecting View. You can also remove them by selecting ╳ and then Remove.
Based on the list of lessons you choose, the platform will determine learning paths for all course participants. This means that lessons will unlock over time with corresponding deadlines to encourage continuous engagement and sustainable learning.
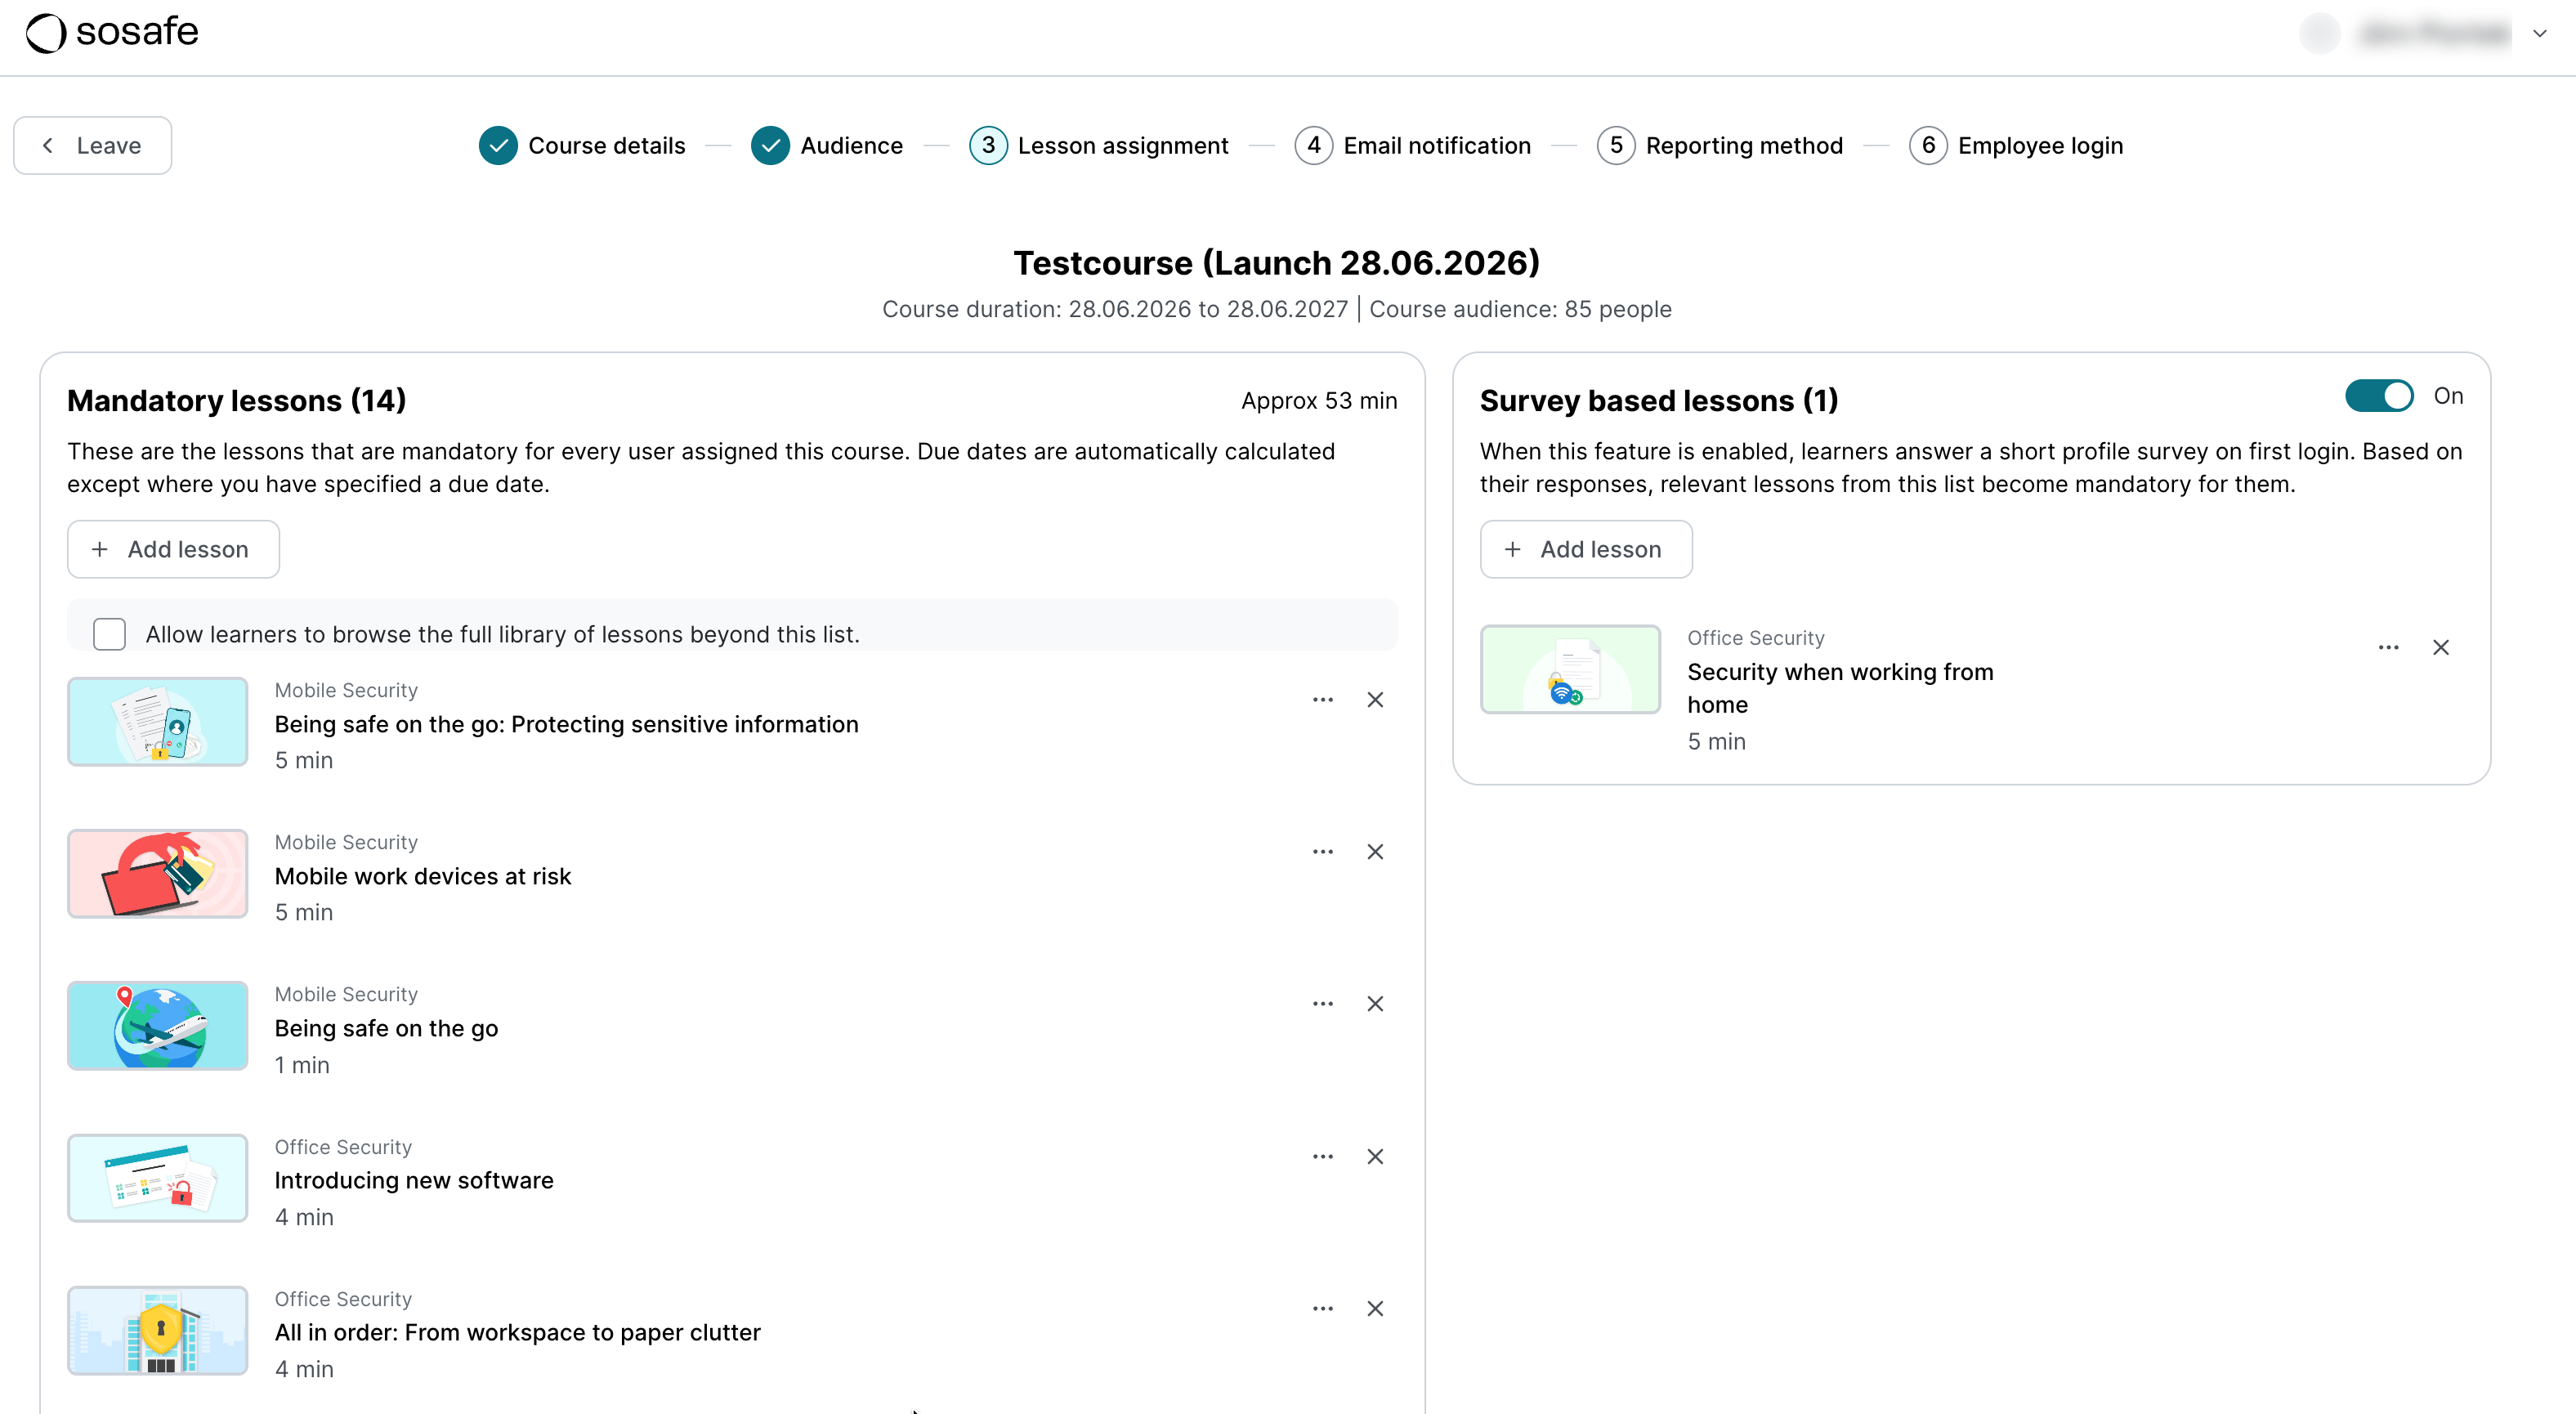
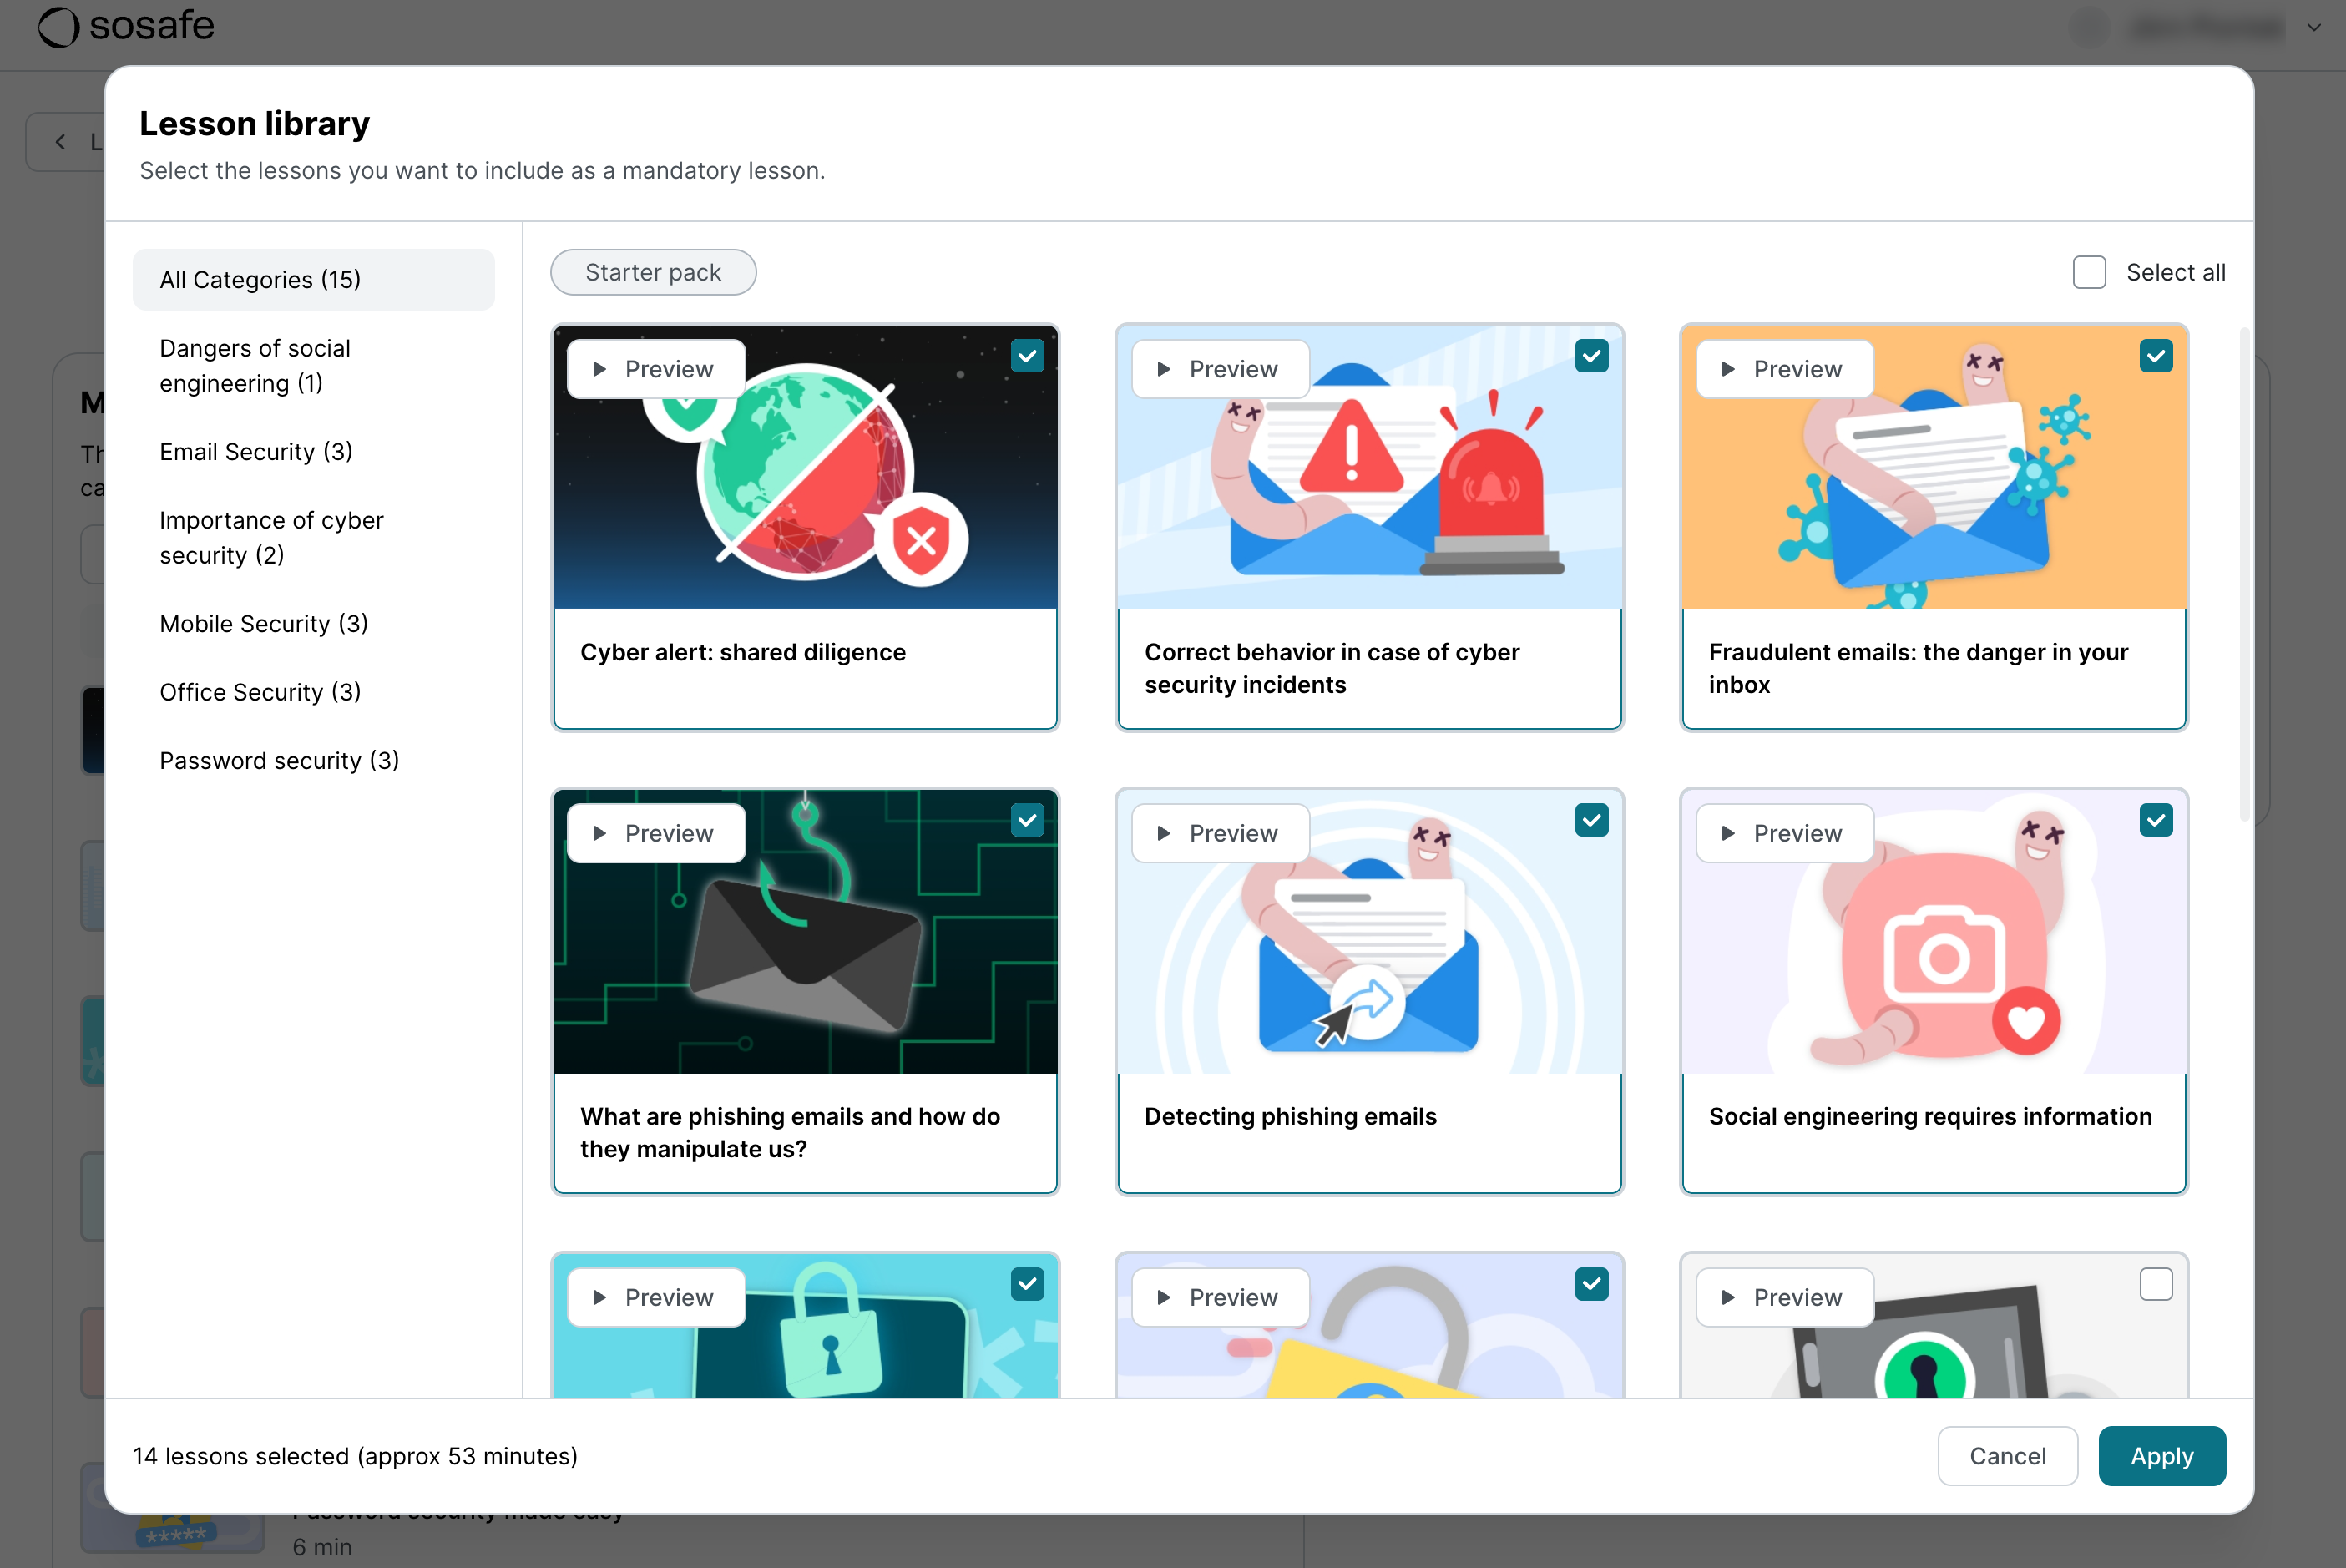
To add more lessons, select Add lesson. A new dialog window will open, giving you access to the full library. You can use the category filters to the left and the Preview button to help you identify which lessons are the right fit for your organization. Once you’re happy with your choices, select Apply, and any new lessons will be added to the bottom of the list.
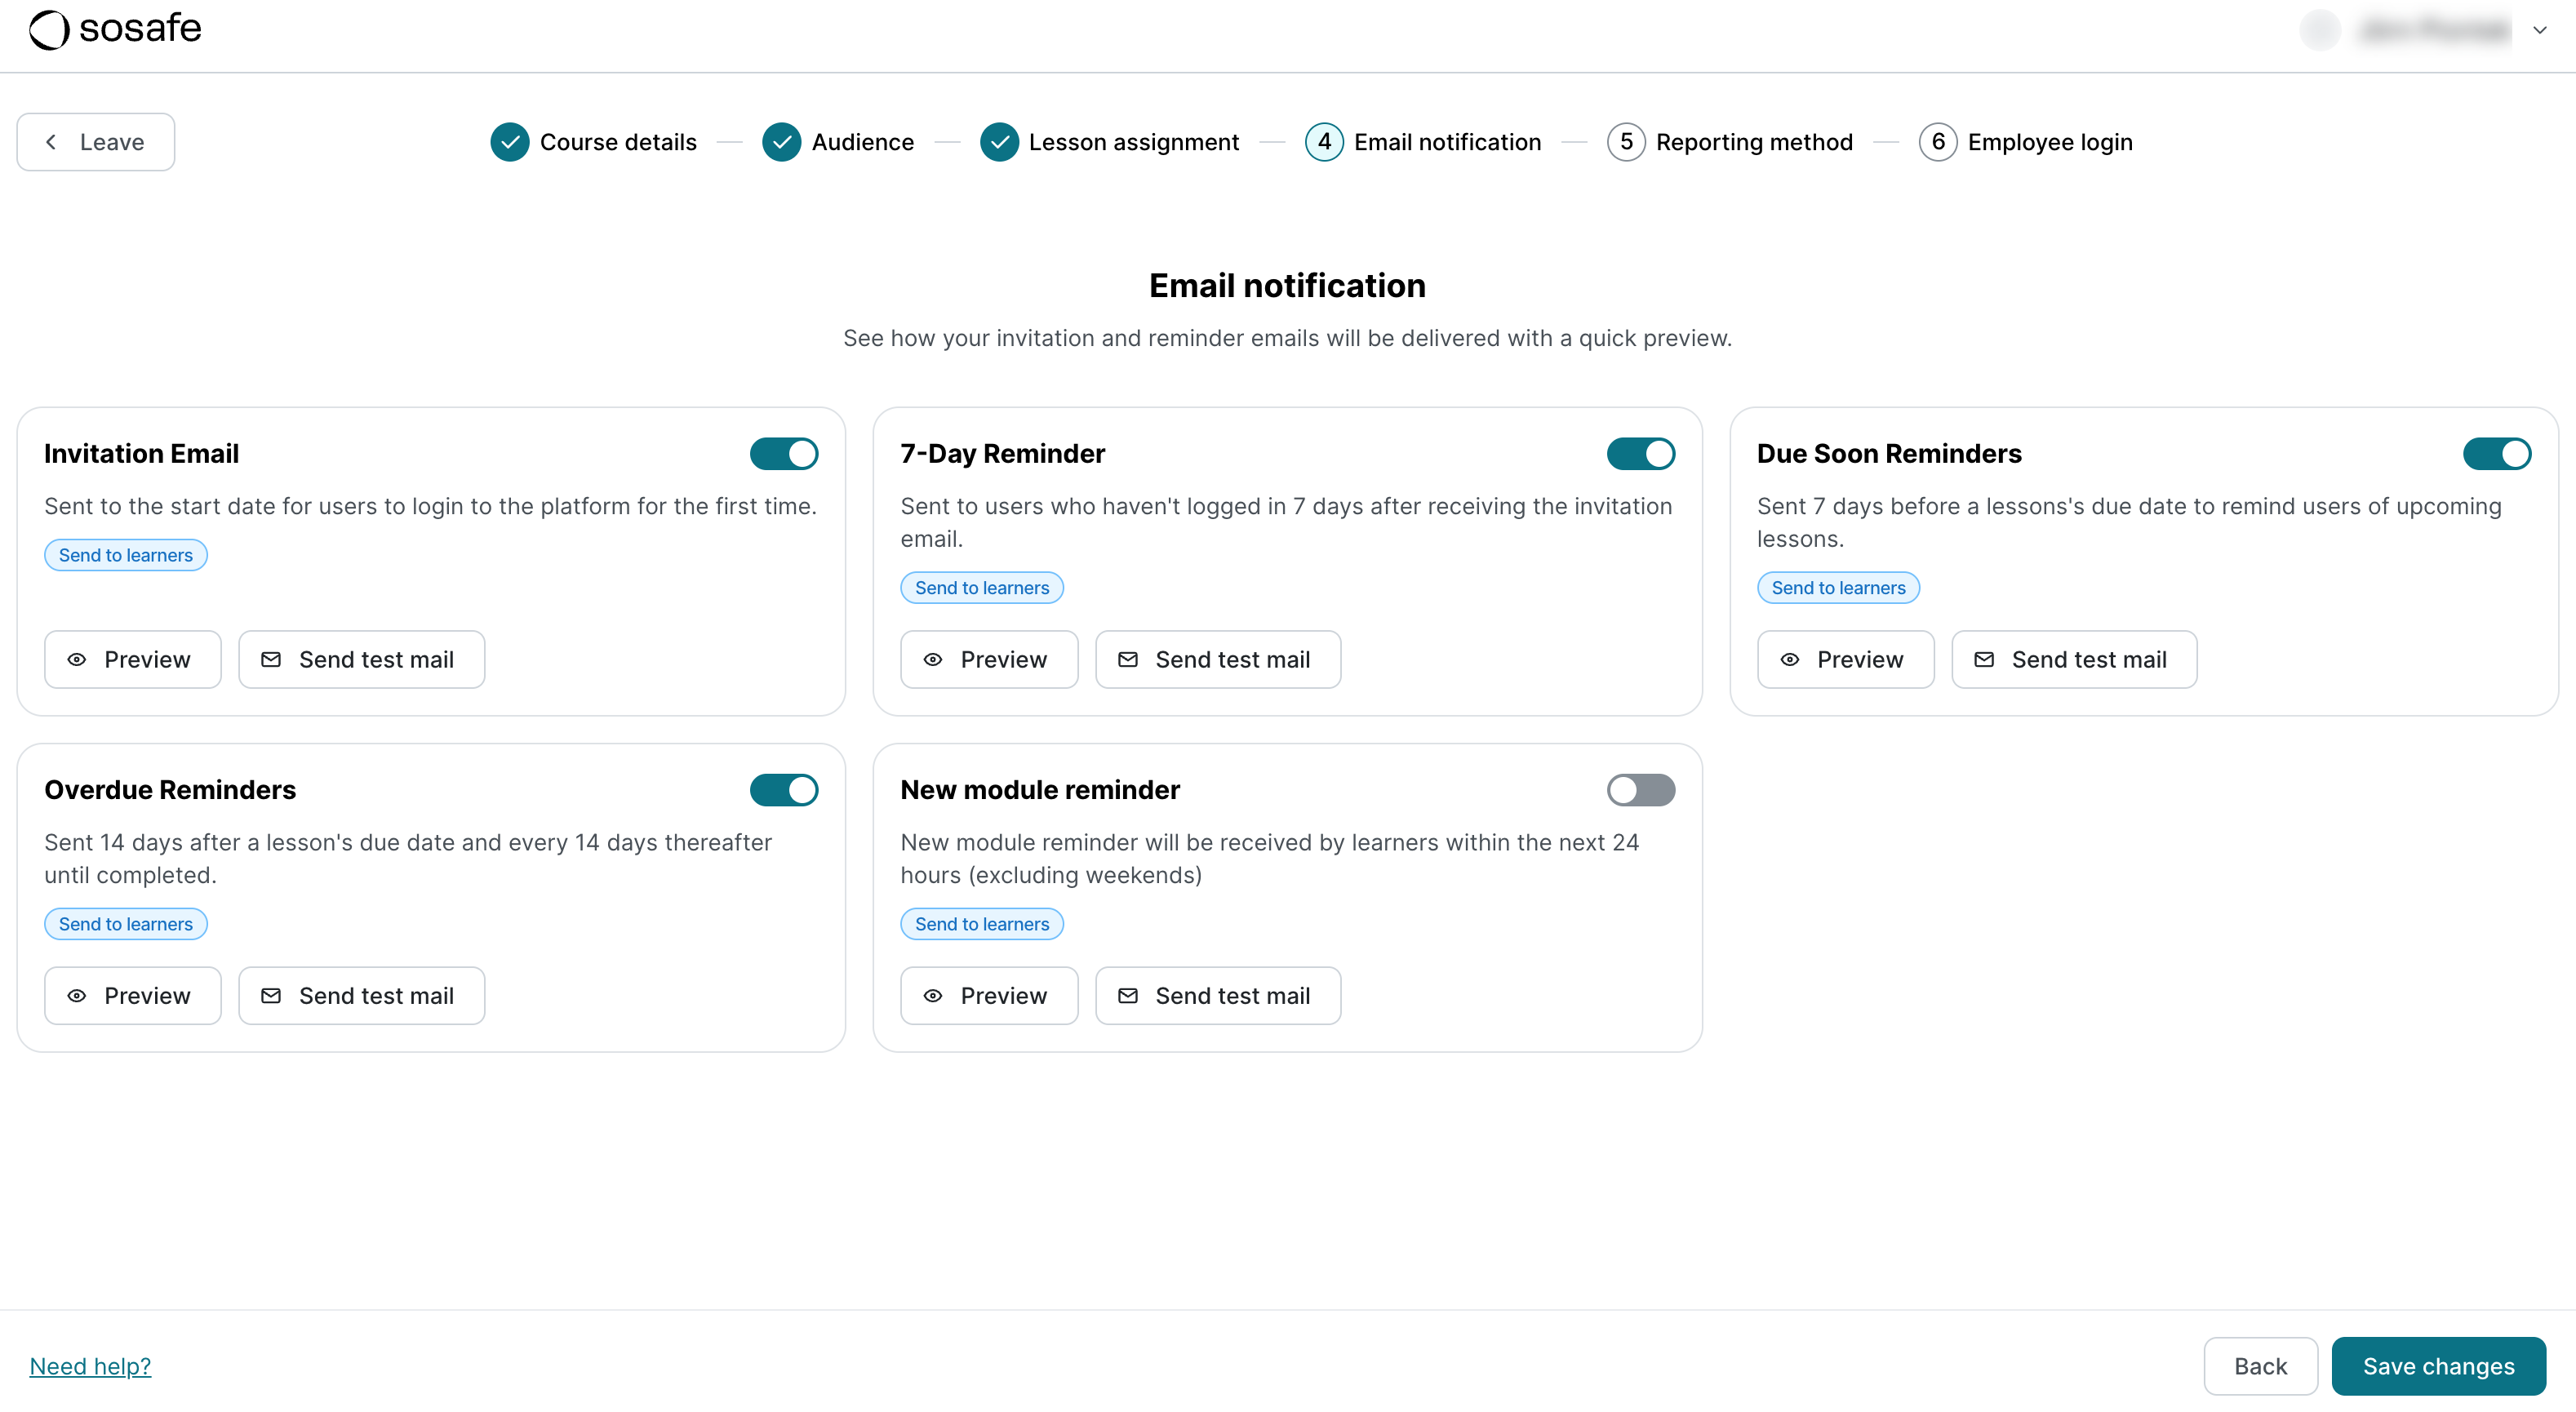
4. Email notification
Campaigns include different types of emails that can be sent automatically. You can preview them or send a test version of them to your own email address. Use the toggle switches next to each type to enable or disable them.
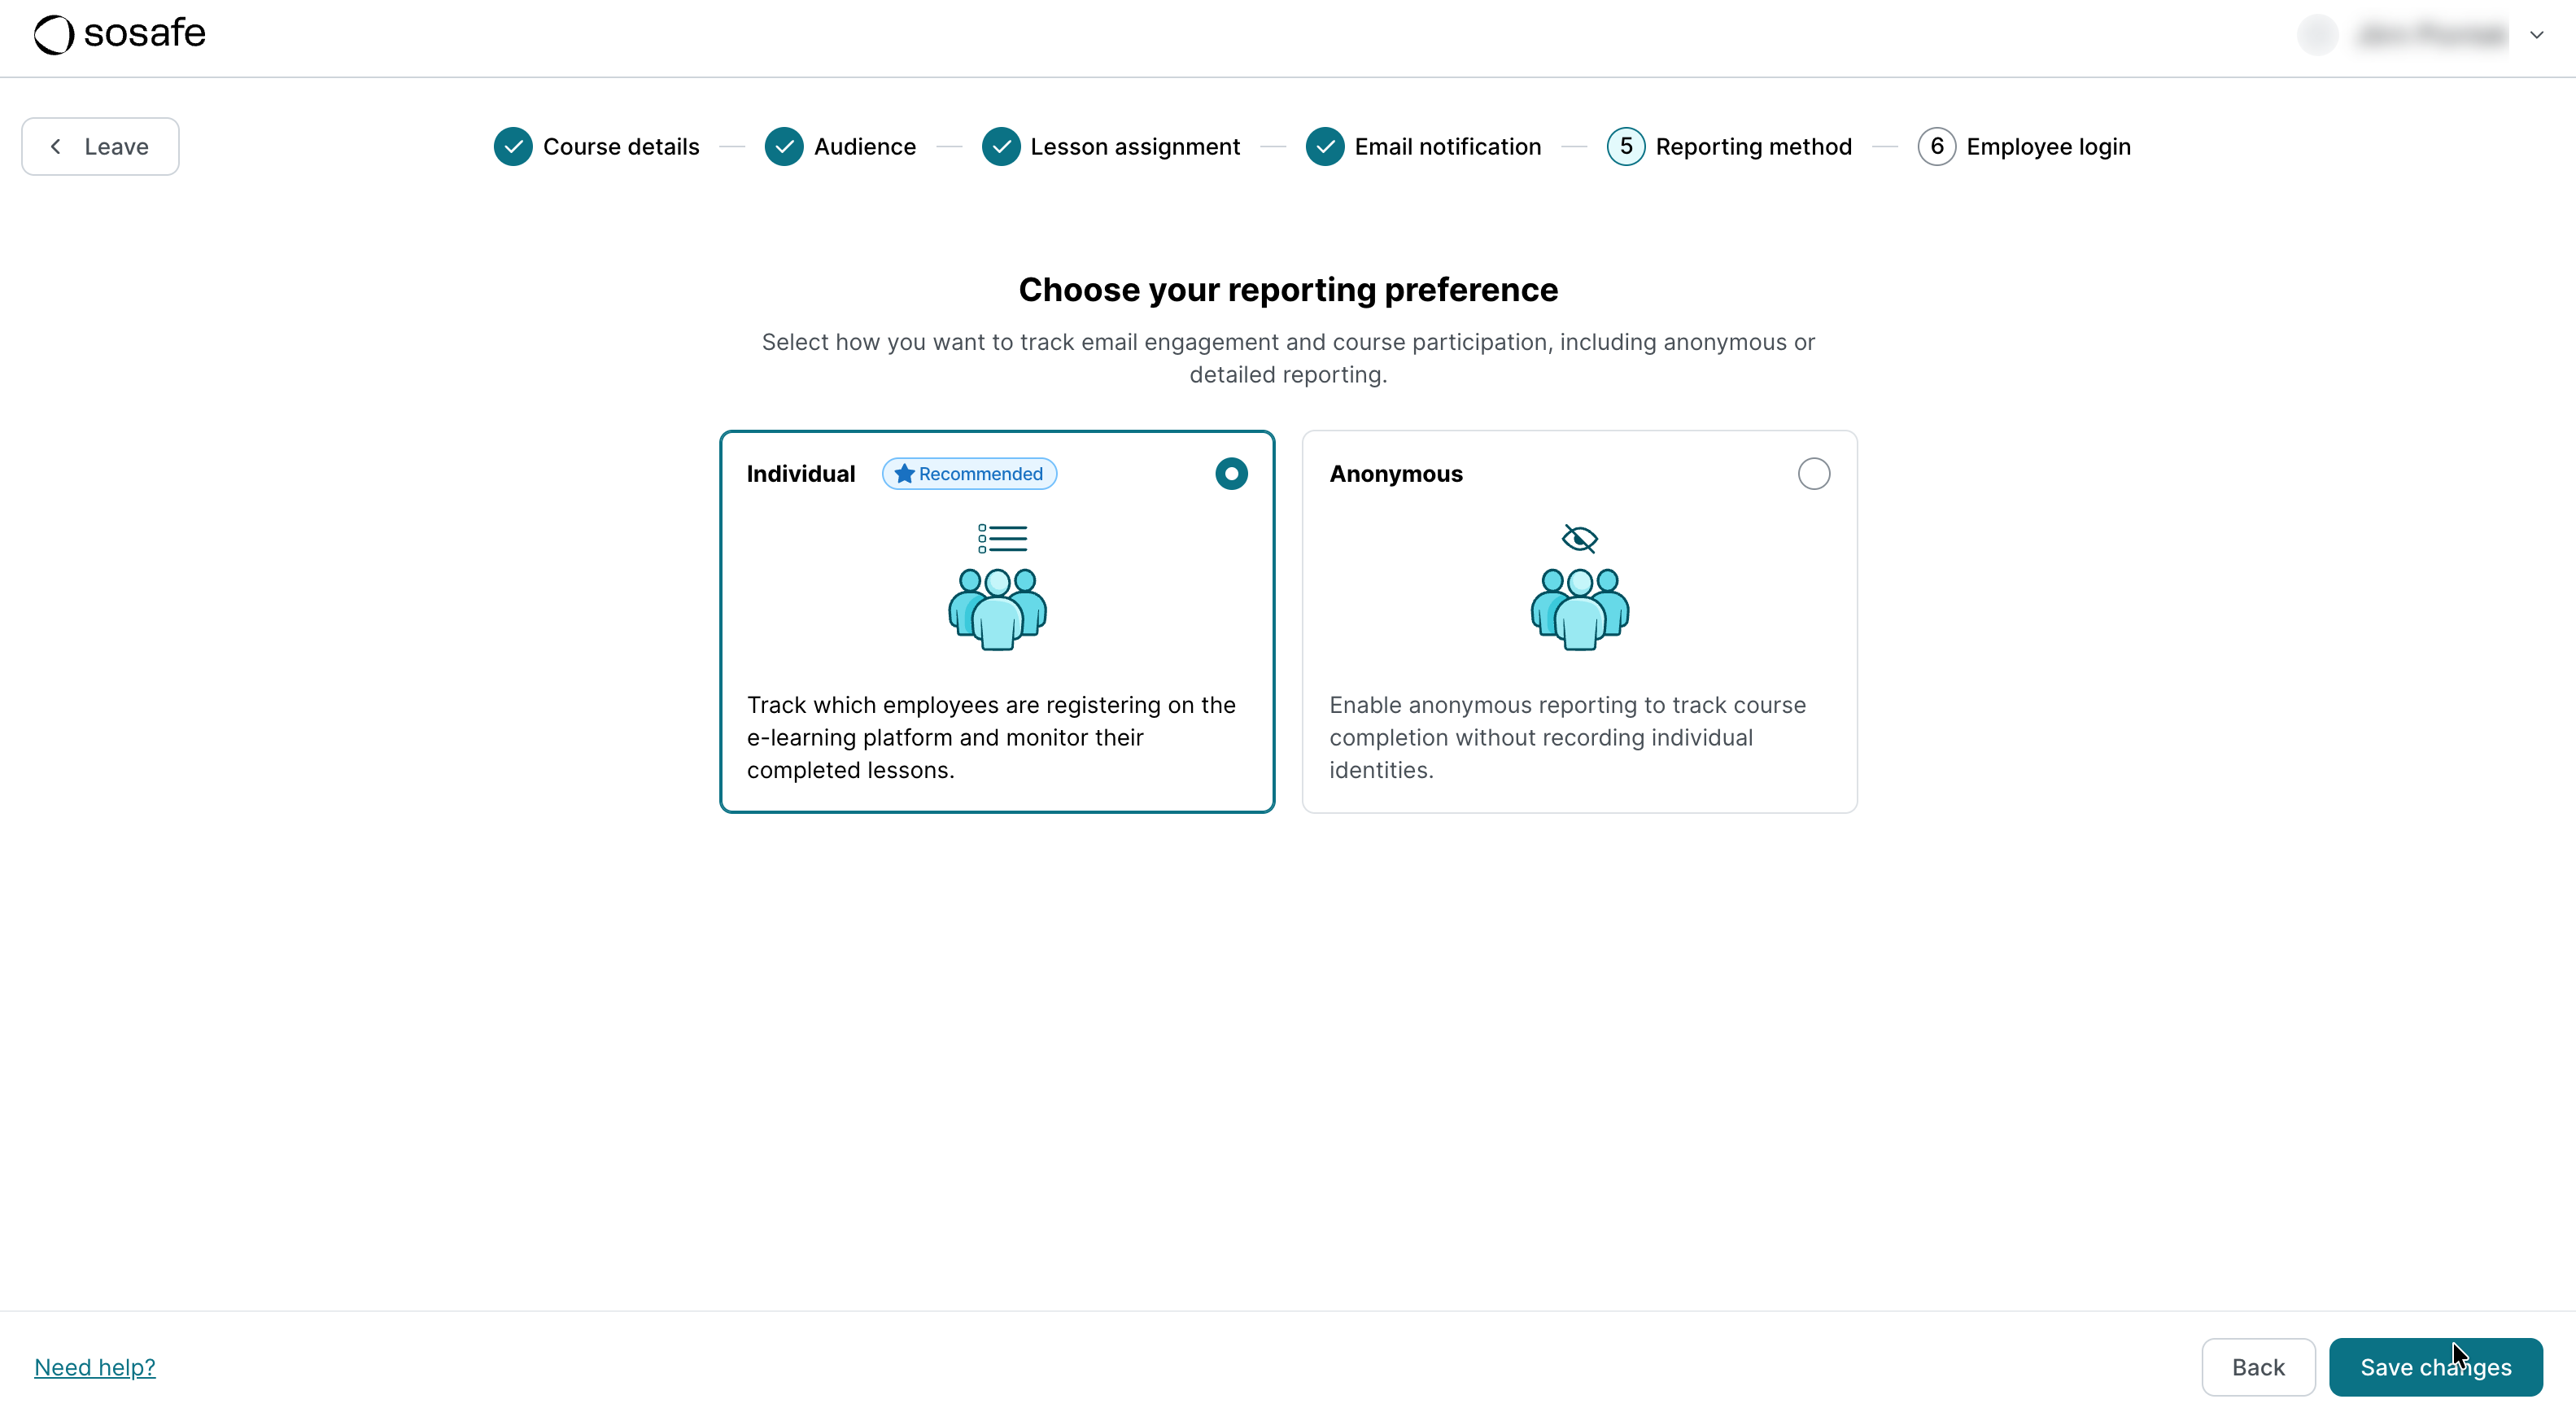
5. Reporting method
This setting determines how learner data is stored and reported.
-
Individual reporting (recommended): Track individual employee sign-ups and lesson completion.
-
Anonymous reporting: Tracks overall participation without storing employee names or data.
This option has data privacy implications.
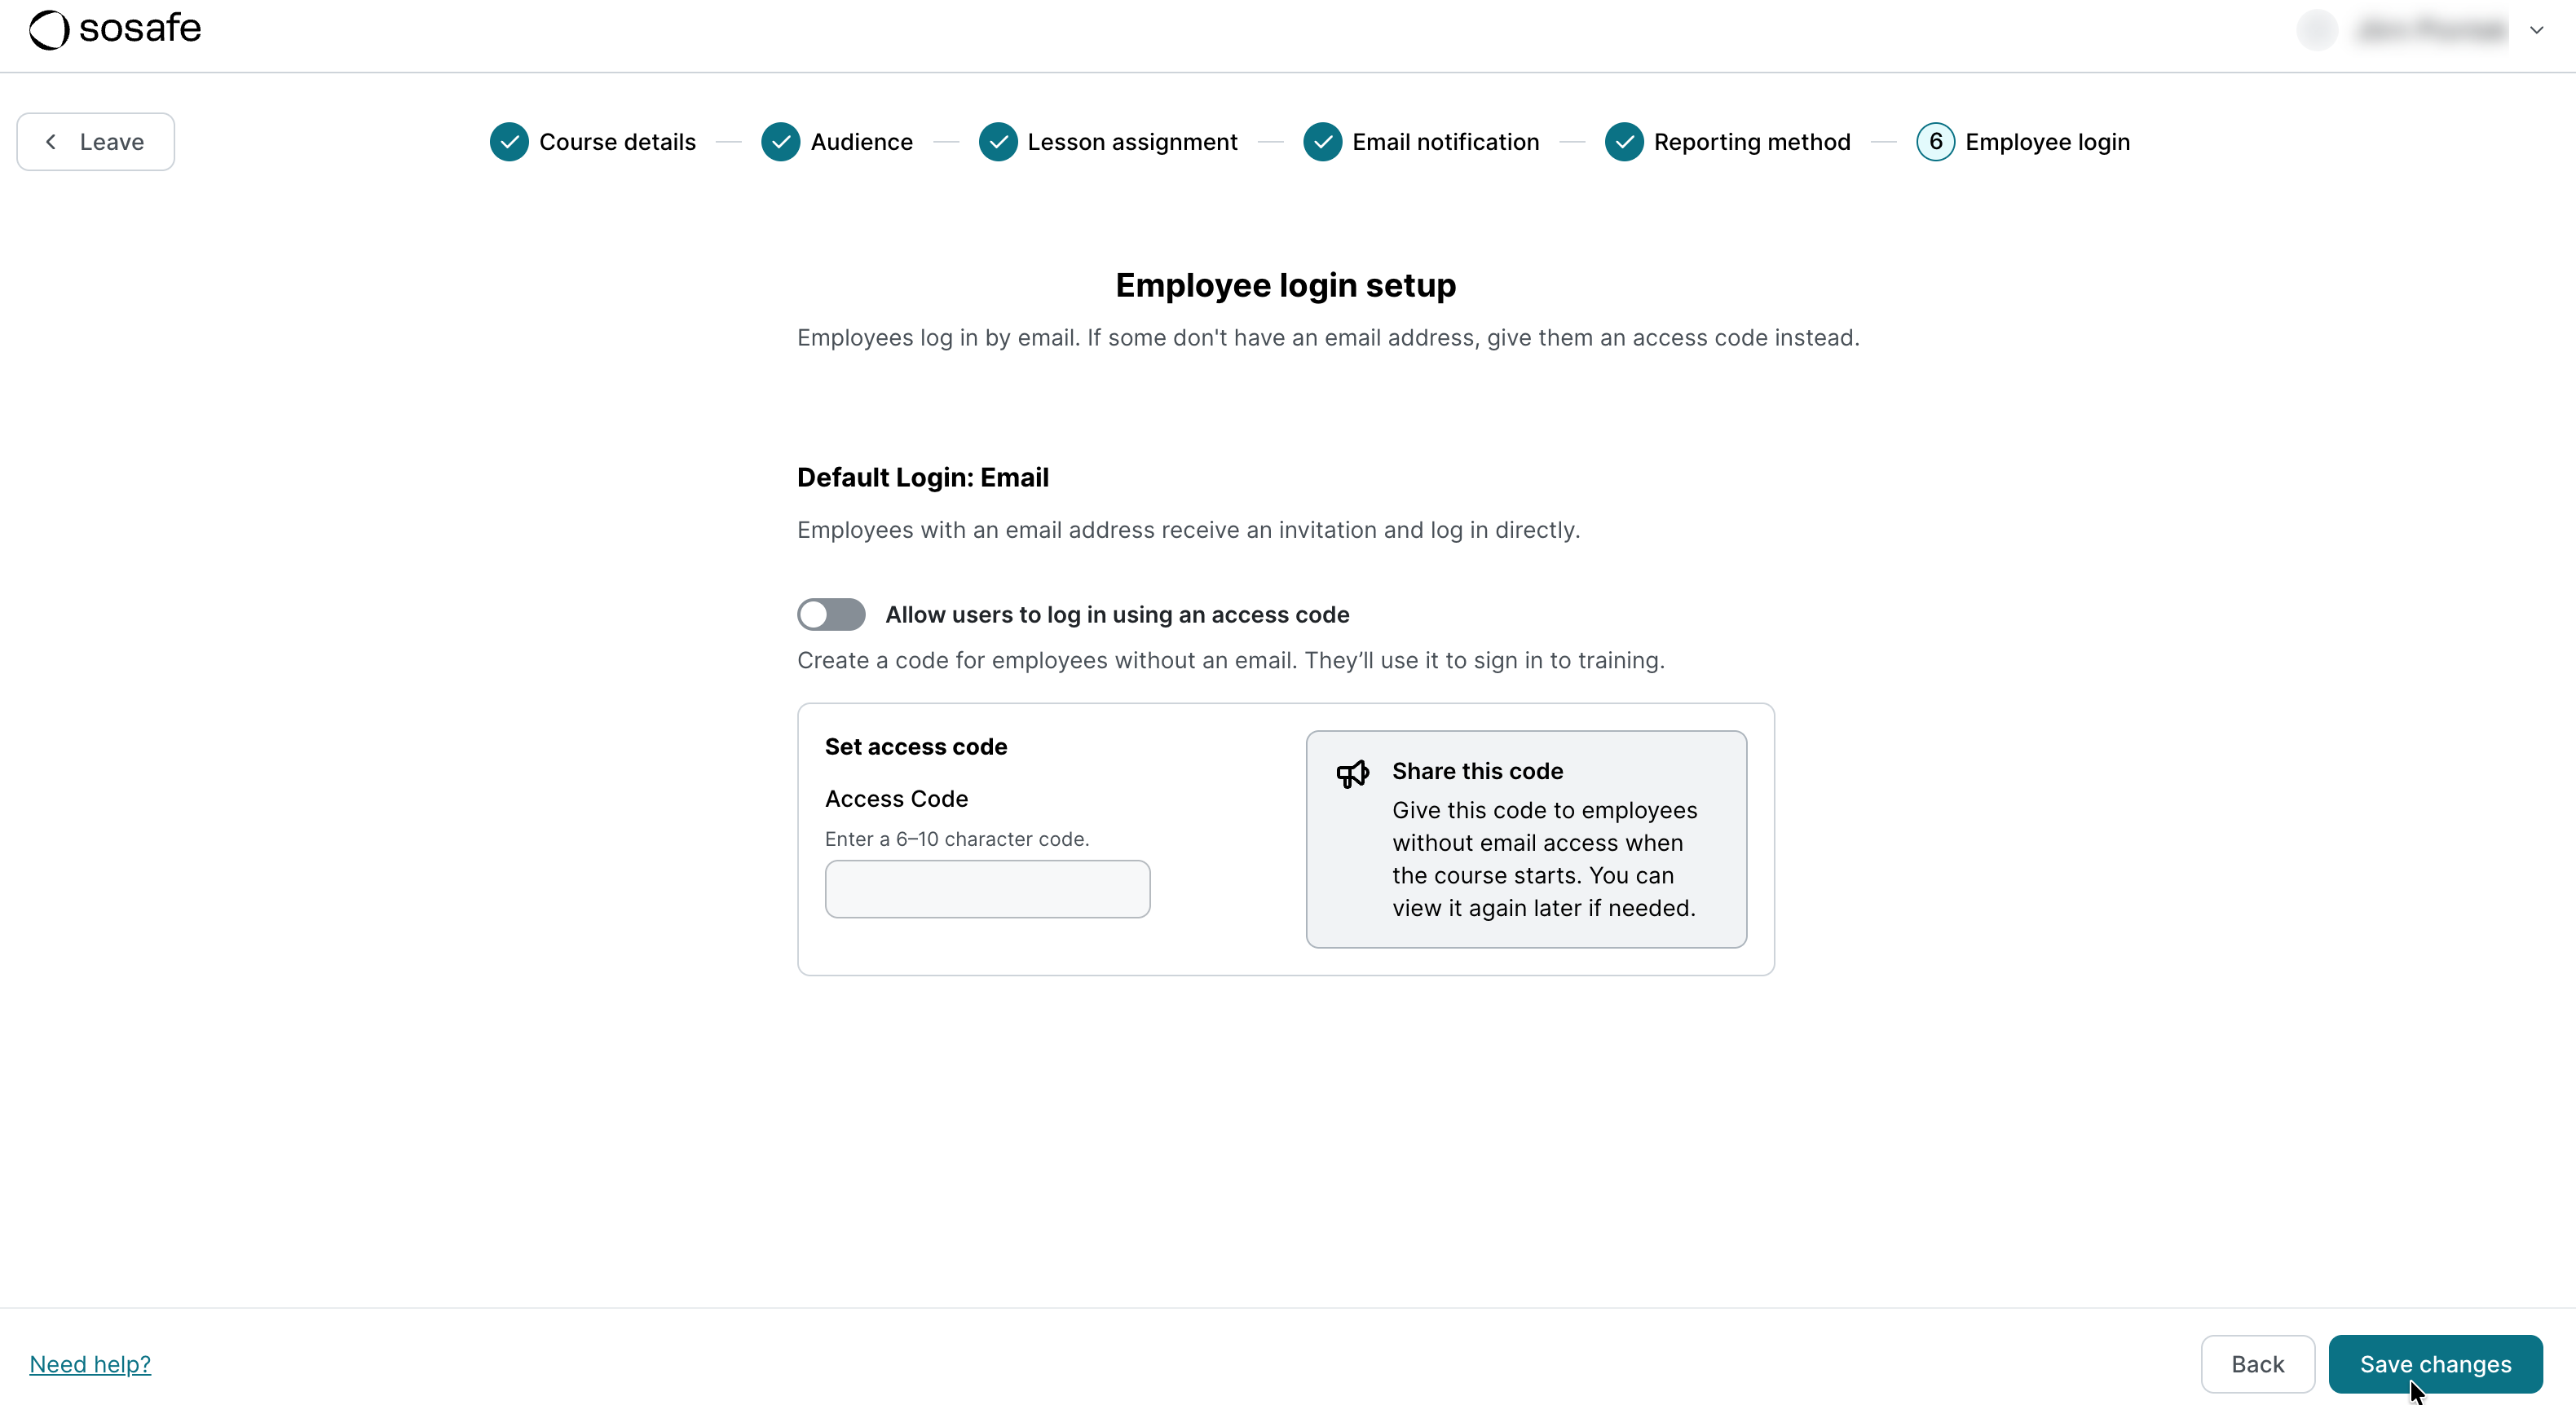
6. Employee login
By default, employees will be using their email address to log in (either through SSO or using a SoSafe-specific password). You can also enable access to the course using a code that you can specify. This is a great solution for employees without a dedicated email address. See https://support.sosafe.de/ADOC/access-code-users for more details.
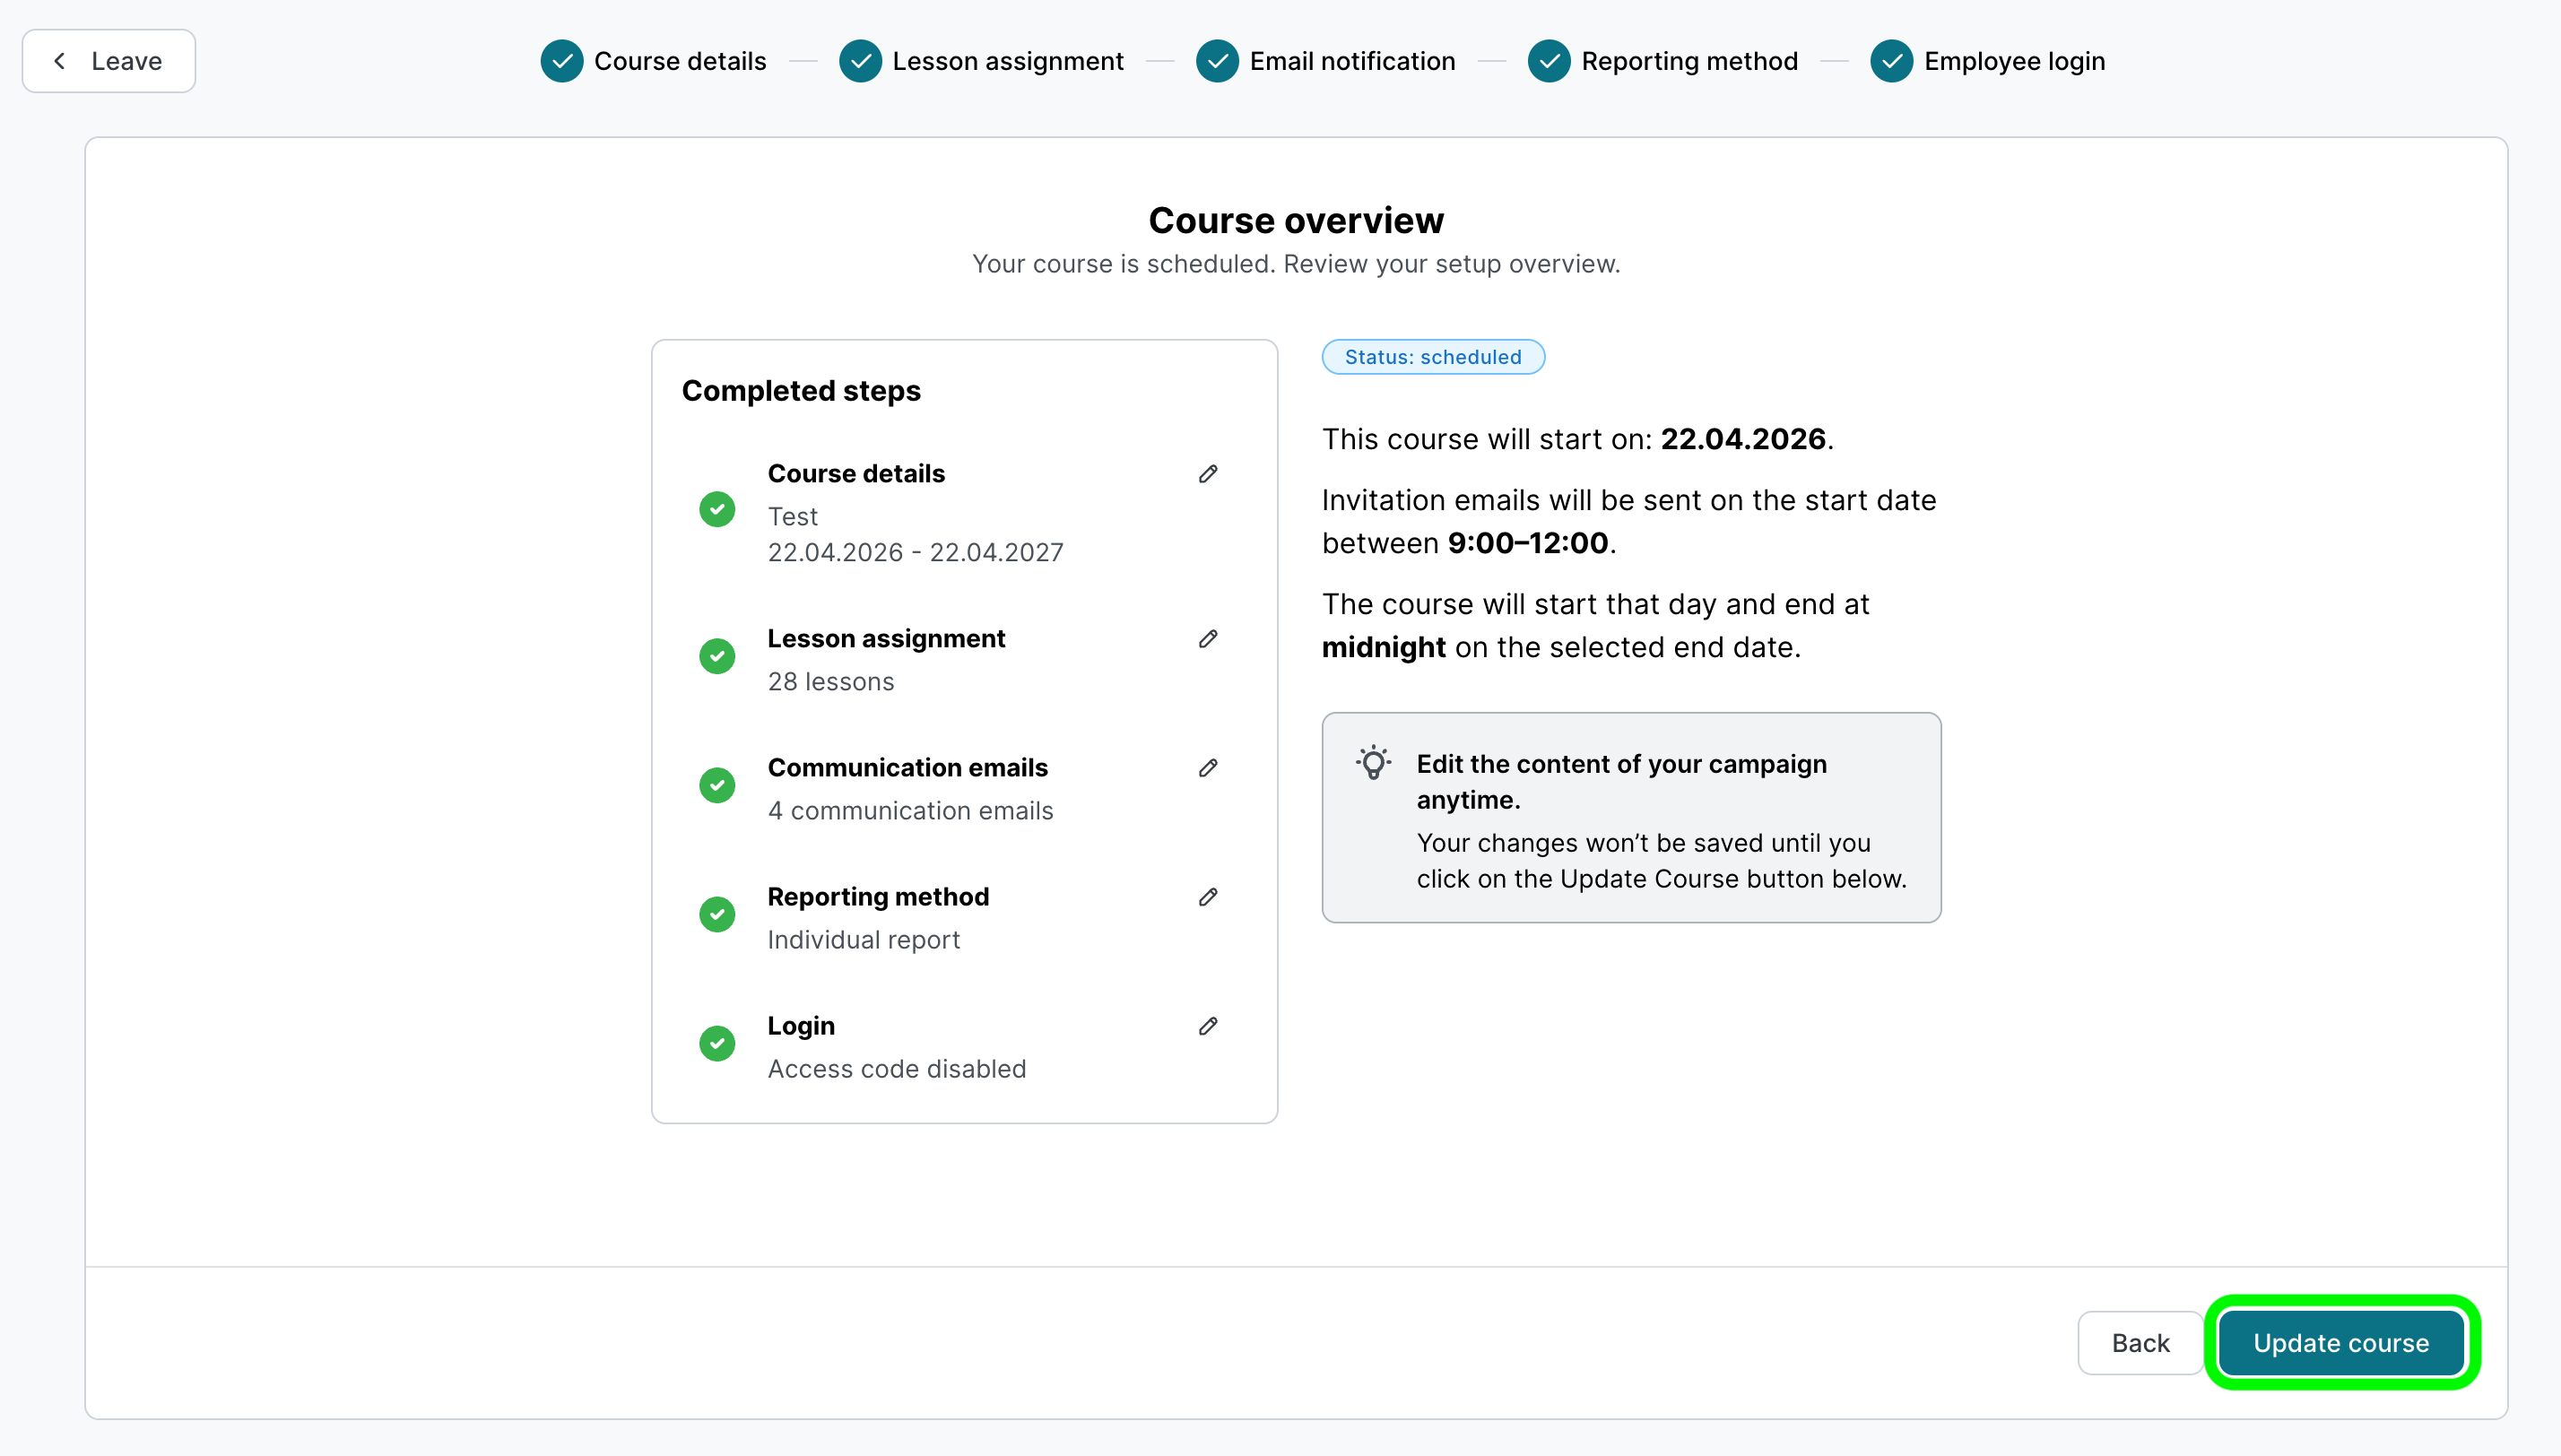
7. Review and launch
On the final screen, you will see an overview of all settings you just made. You can change these settings by selecting the pen icon or selecting back to navigate to the previous steps. If you’re happy with your settings, select Launch course. Congrats!

Editing your E-Learning
Making changes to your E-Learning is just as easy as setting it up. To do so, navigate to the Onboarding checklist, select Create your first e-learning course and then Details. You will be presented with an overview of your existing settings. To make changes, simply select the Pen button next to any of the completed steps. Confirm by returning to the overview and selecting Update course.
Changes are only applied once you select Update course at the bottom right of the overview.
Full learning path details