
Read this article in Deutsch
Below you will find the steps to import the manager of your users into the SoSafe Manager.
Be aware: The manager needs to be member of the SoSafe user list.
When using SCIM user provisioning
-
Open Entra ID in your Microsoft Azure tenant.
-
Go to Enterprise Application and select the SoSafe App
-
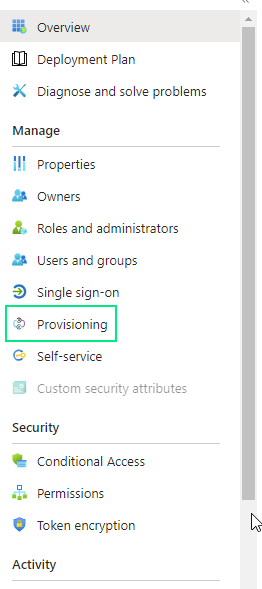
Select Provisioning on the left hand side
-
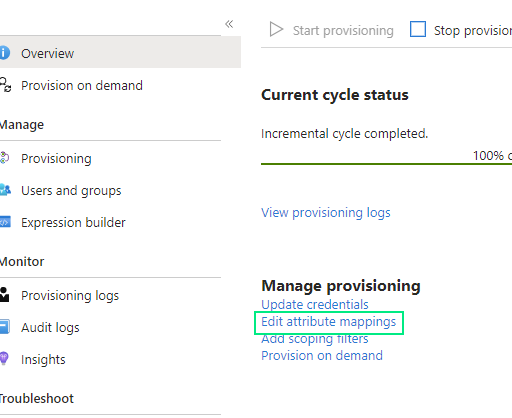
Click on Edit attribute mappings
-
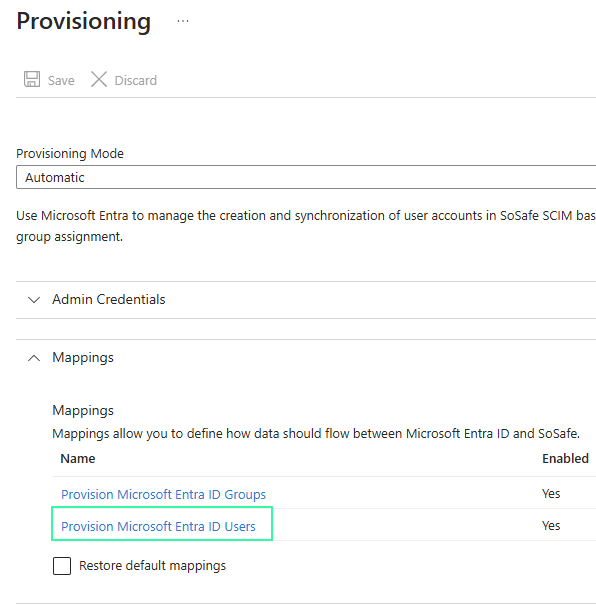
Expand the Mappings an click on Provision Microsoft Entra ID Users
-
Adding target attribute “urn:ietf:params:scim:schemas:extension:enterprise:2.0:User:manager”
Here you have 2 options which target attribute type should be used.Option 1: You use the manager attribute which is available in Entra ID => target attribute type is Reference
Option 2: You use another attribute where the managers email address is maintained => target attribute type is String
-
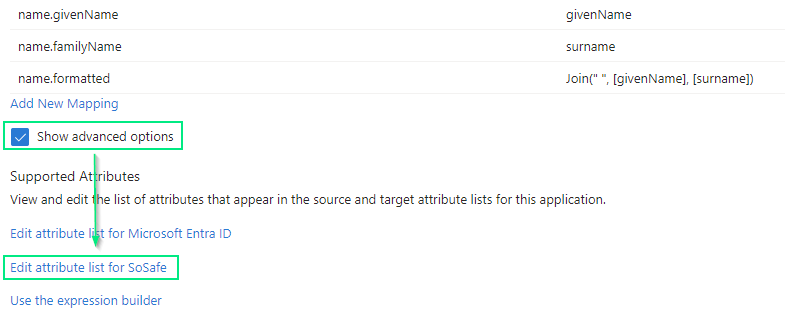
Under the Attribute List click Show advanced options. You will find Edit attribute List for SoSafe there (if unavailable, follow steps 6b-d).
-
If the link Edit attribute list for SoSafe is missing, please use one of the following links to make this option visible.
You are using the Microsoft Azure Portal
https://portal.azure.com/?Microsoft_AAD_Connect_Provisioning_forceSchemaEditorEnabled=true
You are using the Microsoft Entra Admin Center:
https://entra.microsoft.com/?Microsoft_AAD_Connect_Provisioning_forceSchemaEditorEnabled=true
-
After you opened the attribute list of the SoSafe App please create the following new attribute:
-
Option 1 - Reference attribute:

NOTE: The reference attribute needs to refer to the user attribute (urn:ietf:params:scim:schemas:extension:enterprise:2.0:User), which you can select from the drop down in the last column
-
Option 2 - String attribute

-
-
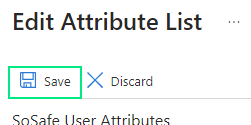
Once you added the new attribute click on Save to save the changes:
-
-
Below the attribute list click on Add New Mapping
-
Now select “manager” as Source attribute and enter “urn:ietf:params:scim:schemas:extension:enterprise:2.0:User:manager” as Target attribute
The other fields retain with the default values.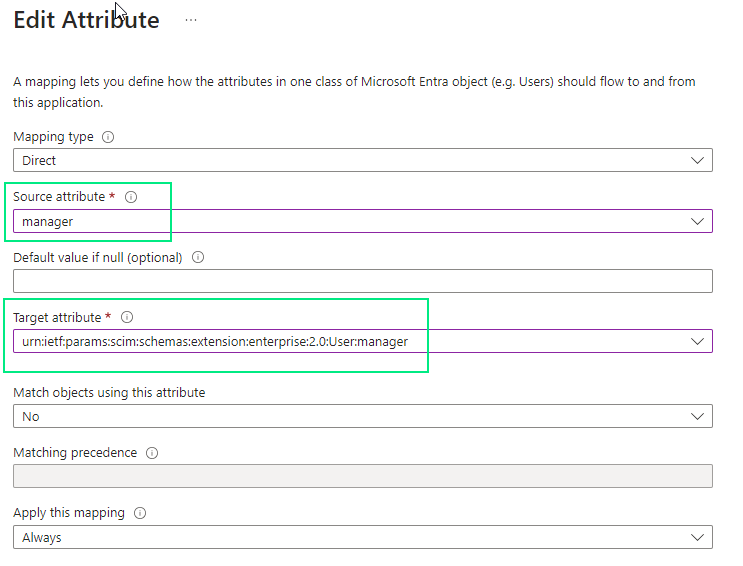
-
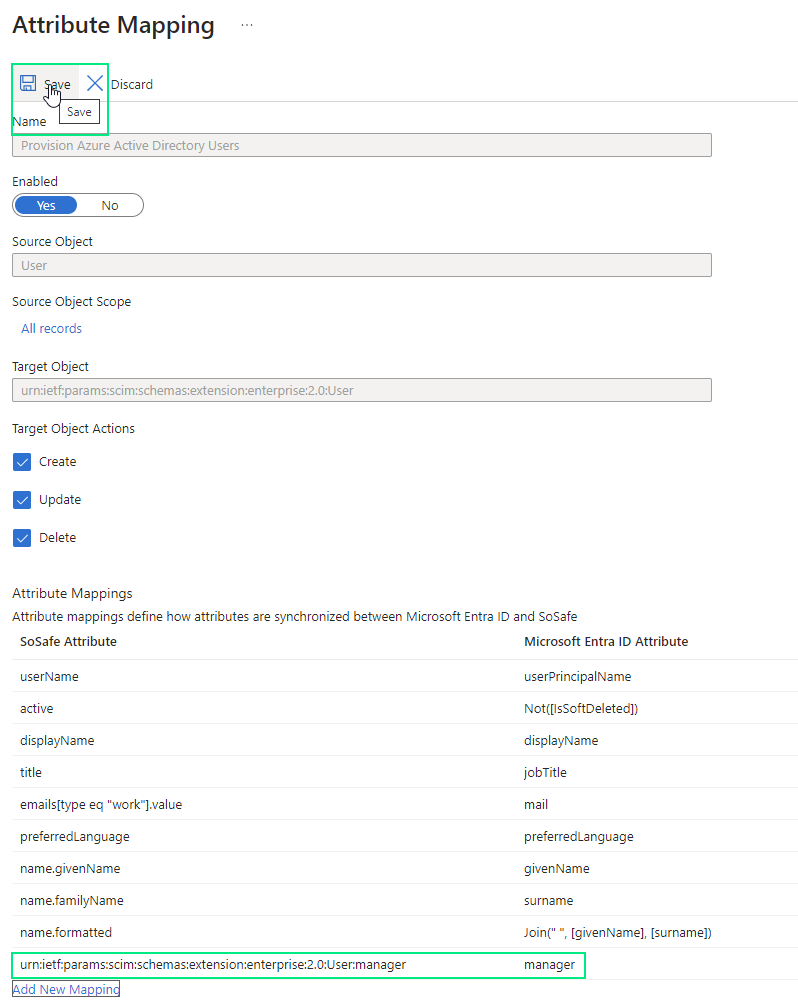
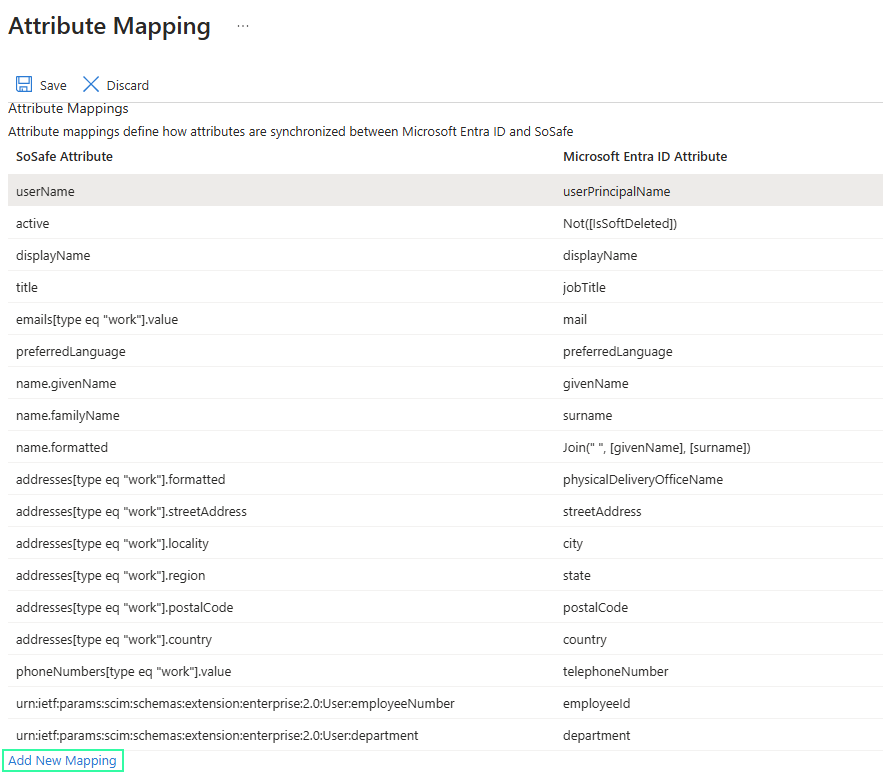
Click on OK to get back to the attribute list. You should see the new mapping now. Do not forget to click on Save to save all changes.
-
To test the setup do a Provision on Demand for a specific user object. Once it finish check if the manager attribute is being provisioned and appear in the SoSafe Manager. The email address should appear the SoSafe Manager in the User Management > Users in column Responsible person email
Manager provisioning fails
It could happen that the objectId has not been provisioned. This is an issue on the Entra ID side, which could be solved using the below workaround:
-
Please reopen the attribute list in the SoSafe application in Entra ID and click on Add New Attribute
-
Add a new mapping:
Source attribute = objectId
Target attribute = externalId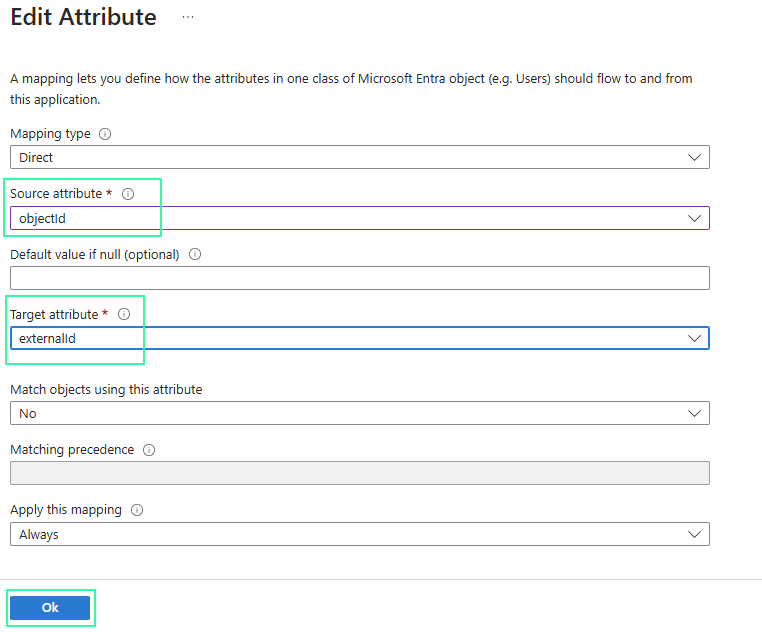
-
Click on OK to save the changes and restart provisioning