Whitelisting domains with safe links (Microsoft Defender)
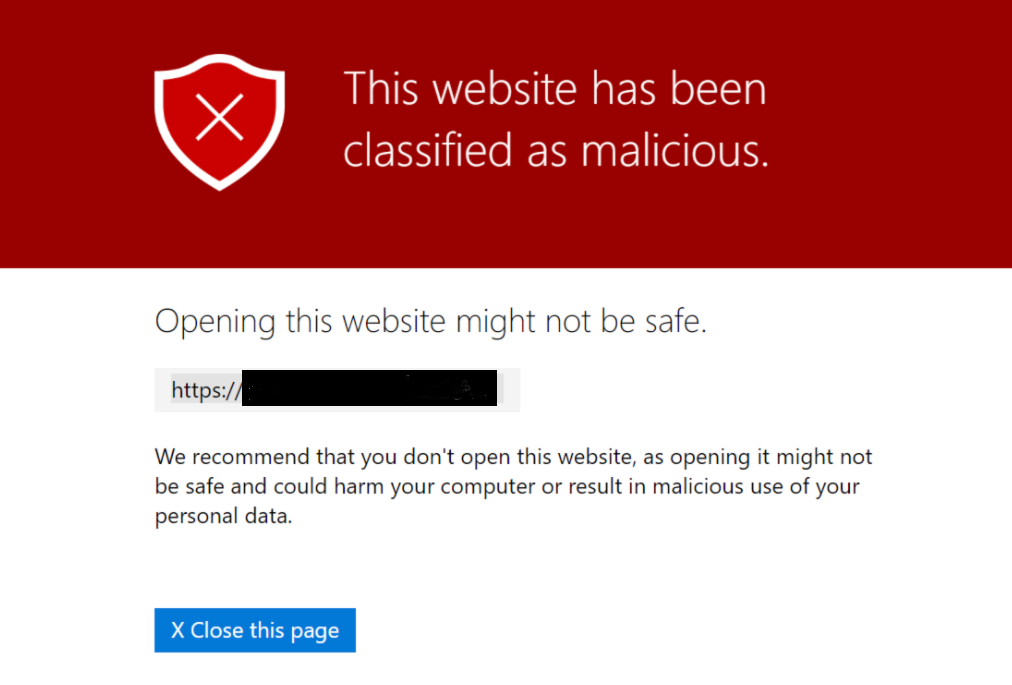
By default, Microsoft Defender blocks certain elements, including our learning pages. To prevent that, certain domains used by SoSafe must be added to a policy in Microsoft Defender for Microsoft 365. Doing so only takes a few minutes and we have prepared a step-by-step guide to make things easy for you.
Log in to your Microsoft Defender with an administrator account.
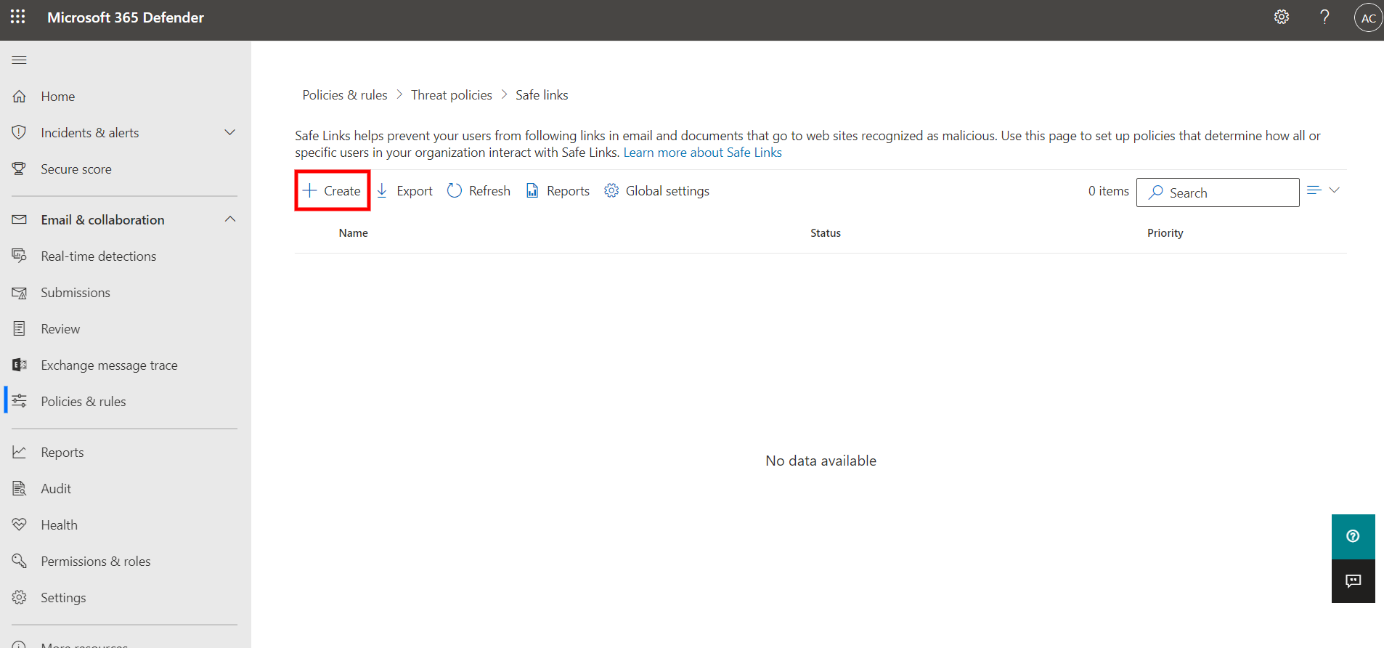
Expand the Email & collaboration menu, select Policies & rules, and then choose Threat policies. On this page, select Safe Links.
Select Create to add a new policy.
If you already have Safe Links policies in place, keep in mind that only the policy with the highest priority will apply to users in scope.
Give the policy a name and description so you can identify it if you need to make changes in future. Select Next to continue to the Users and domains step.
Here, add your organization’s domain(s) in the input box titled Domains. Select Next to continue to the URL & click protection settings step.
Make sure the checkbox On: Safe Links checks a list of known, malicious links when users click links in email. URLs are rewritten by default is active.
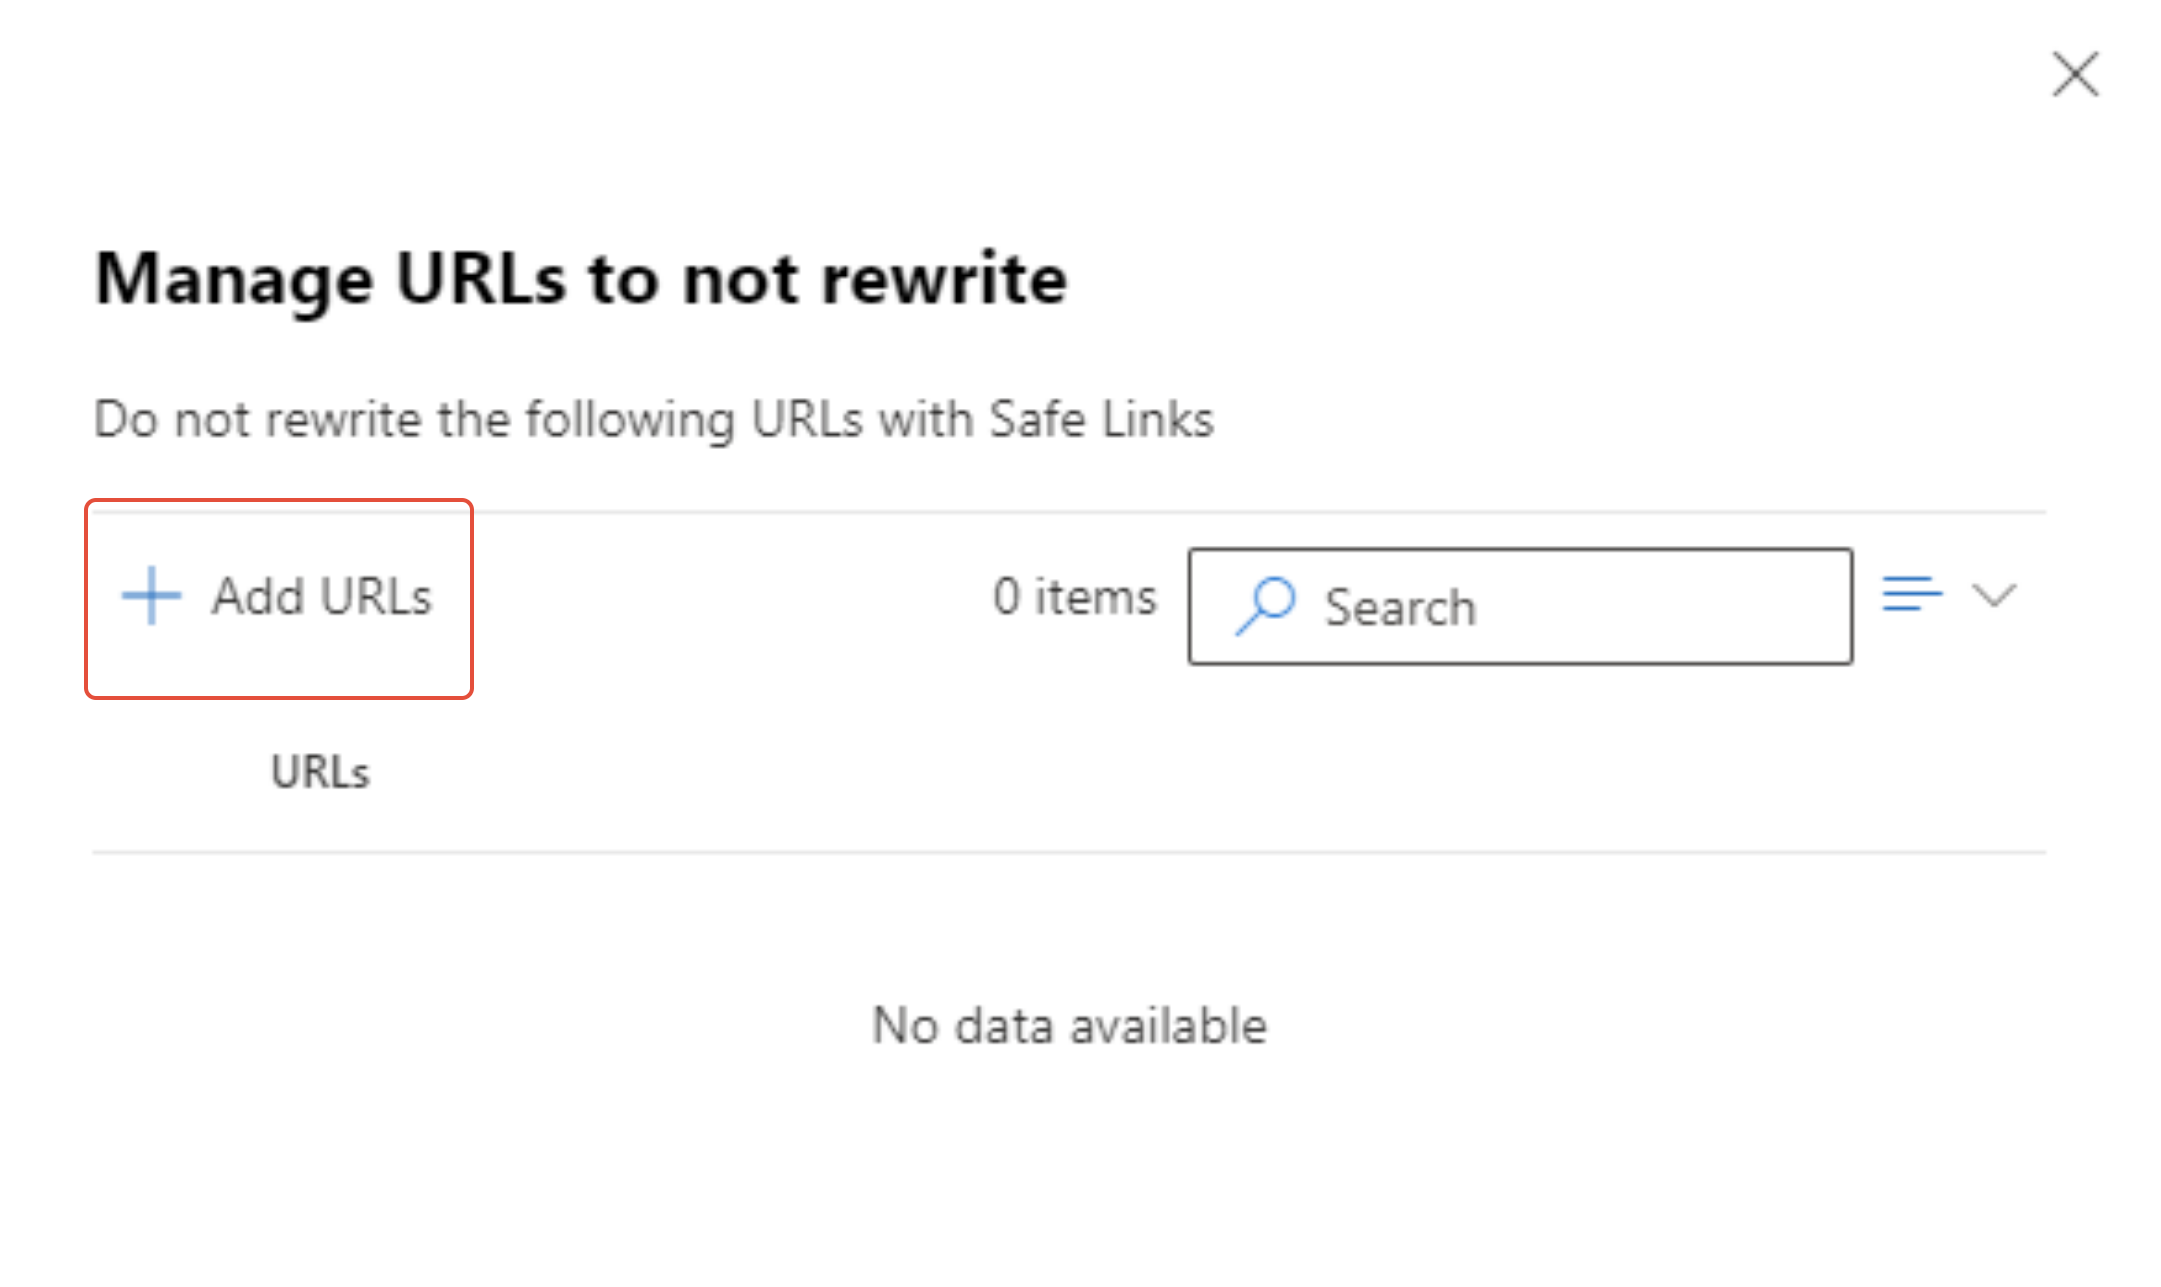
On the same page, select Manage 0 URLs. A new dialog will open.
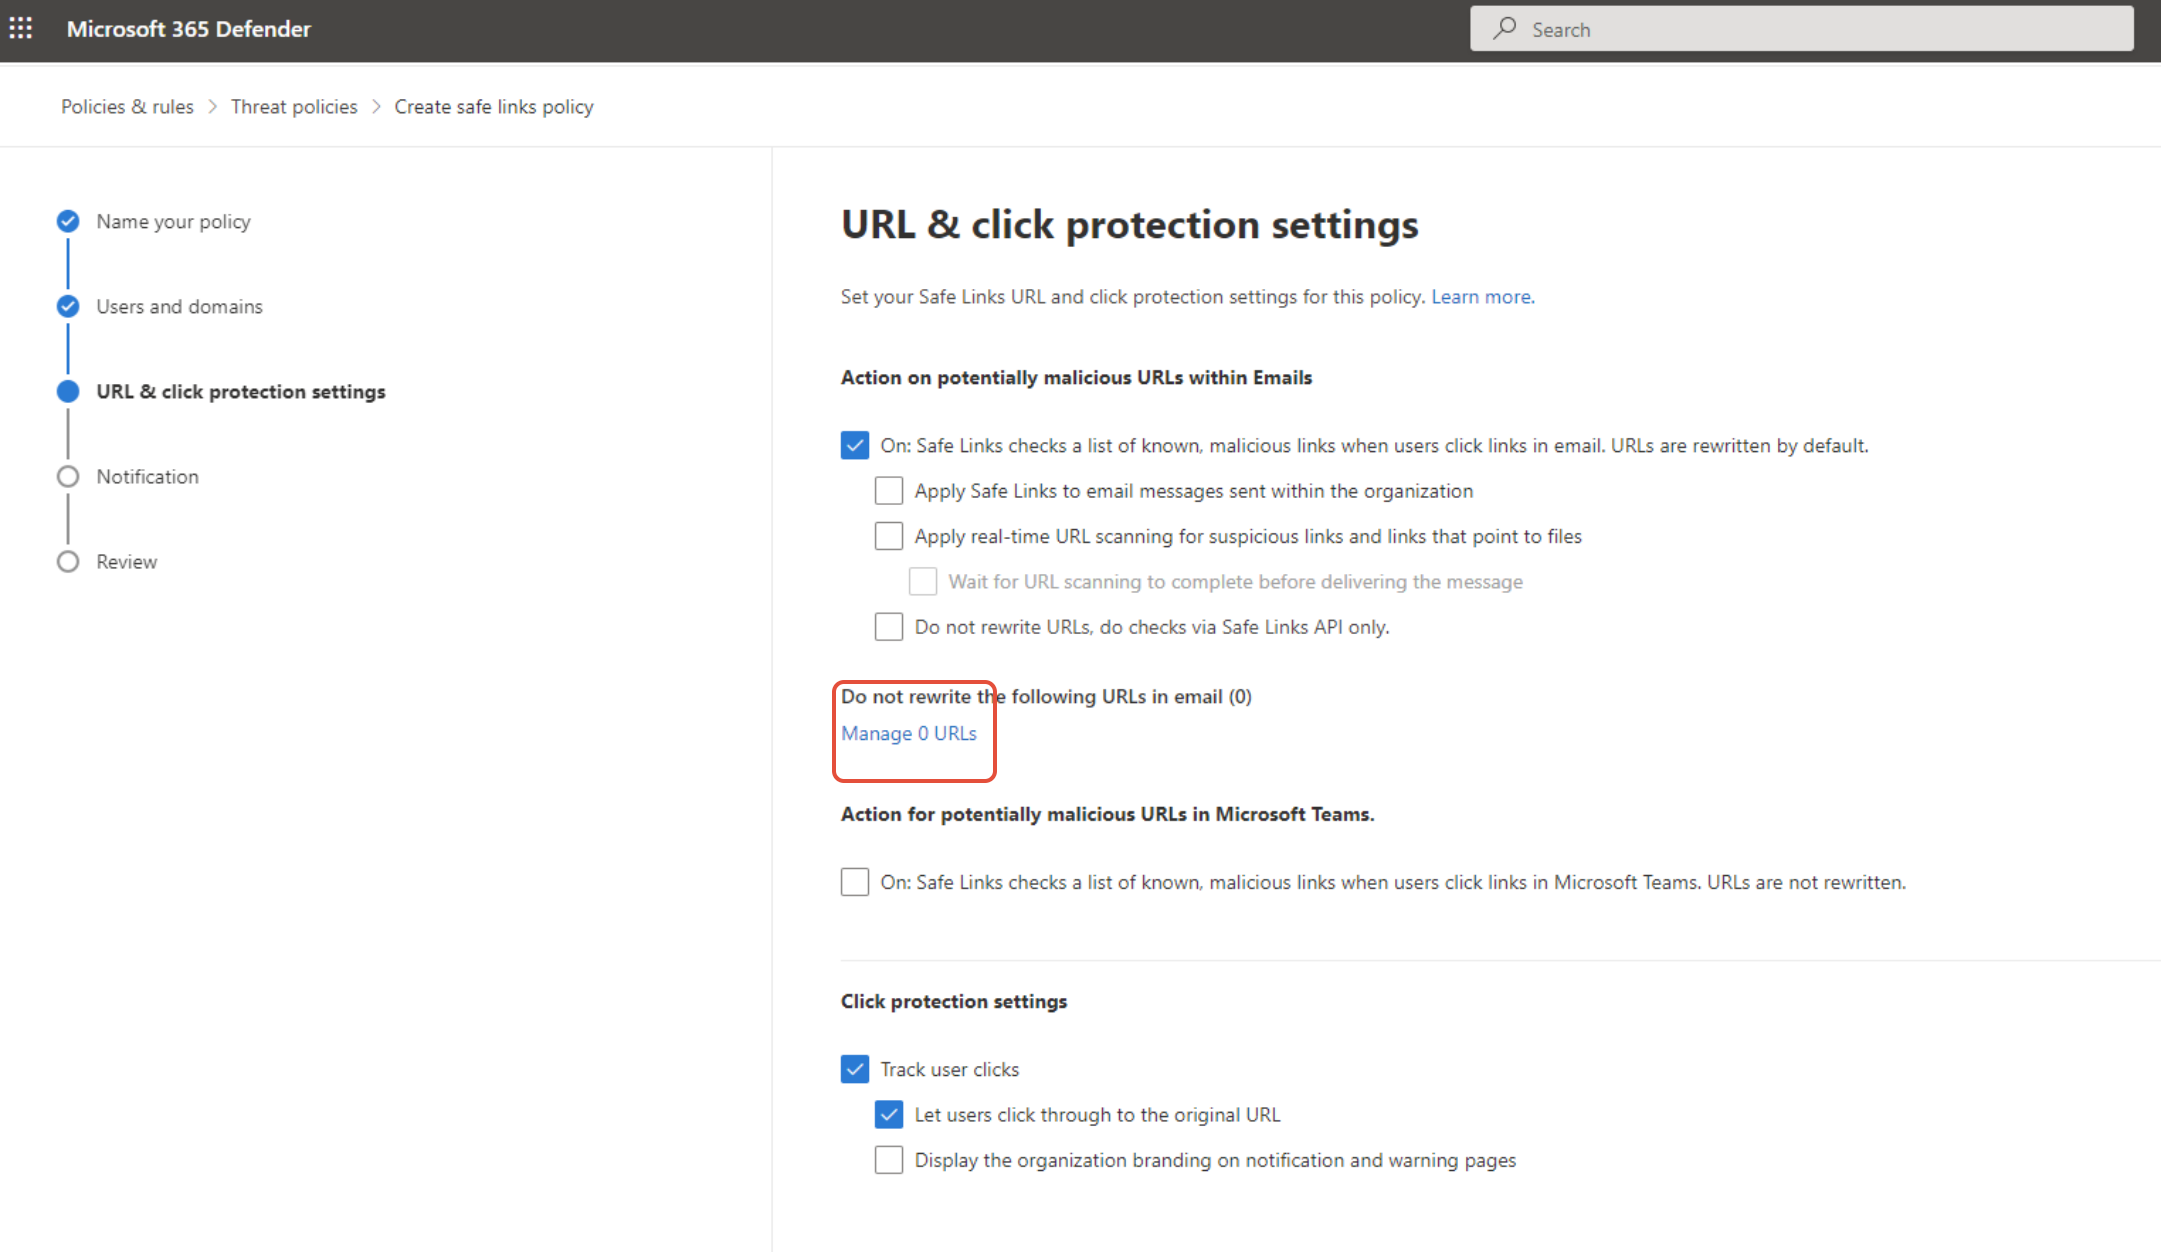
You will now have to add all URLs shown under List of domains used in the phishing links in the SoSafe Manager (Settings > Whitelisting).
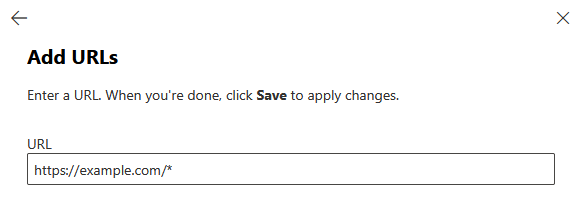
Important: The format of the domain should always be like this: https://myDomain.com/* (e.g. https://elearning.sosafe.de/*).Select Add URLs on the Microsoft page.
Enter the first URL shown in the SoSafe Manager.
Select Save and repeat steps a-c until you have added all URLs.
