Simulation Studio How-to-Guide
We’re here to help you navigate the essential capabilities of Simulation Studio, empowering you to seamlessly create, customize, and manage phishing email templates with ease. Whether you’re building templates from scratch, using AI for quick generation, or managing templates across multiple languages, this guide provides instructions to streamline your workflow.
Getting started
Accessing Simulation Studio
Log in to your SoSafe Manager
Navigate to Phishing Simulation > Simulation
Start by clicking on Create new simulation

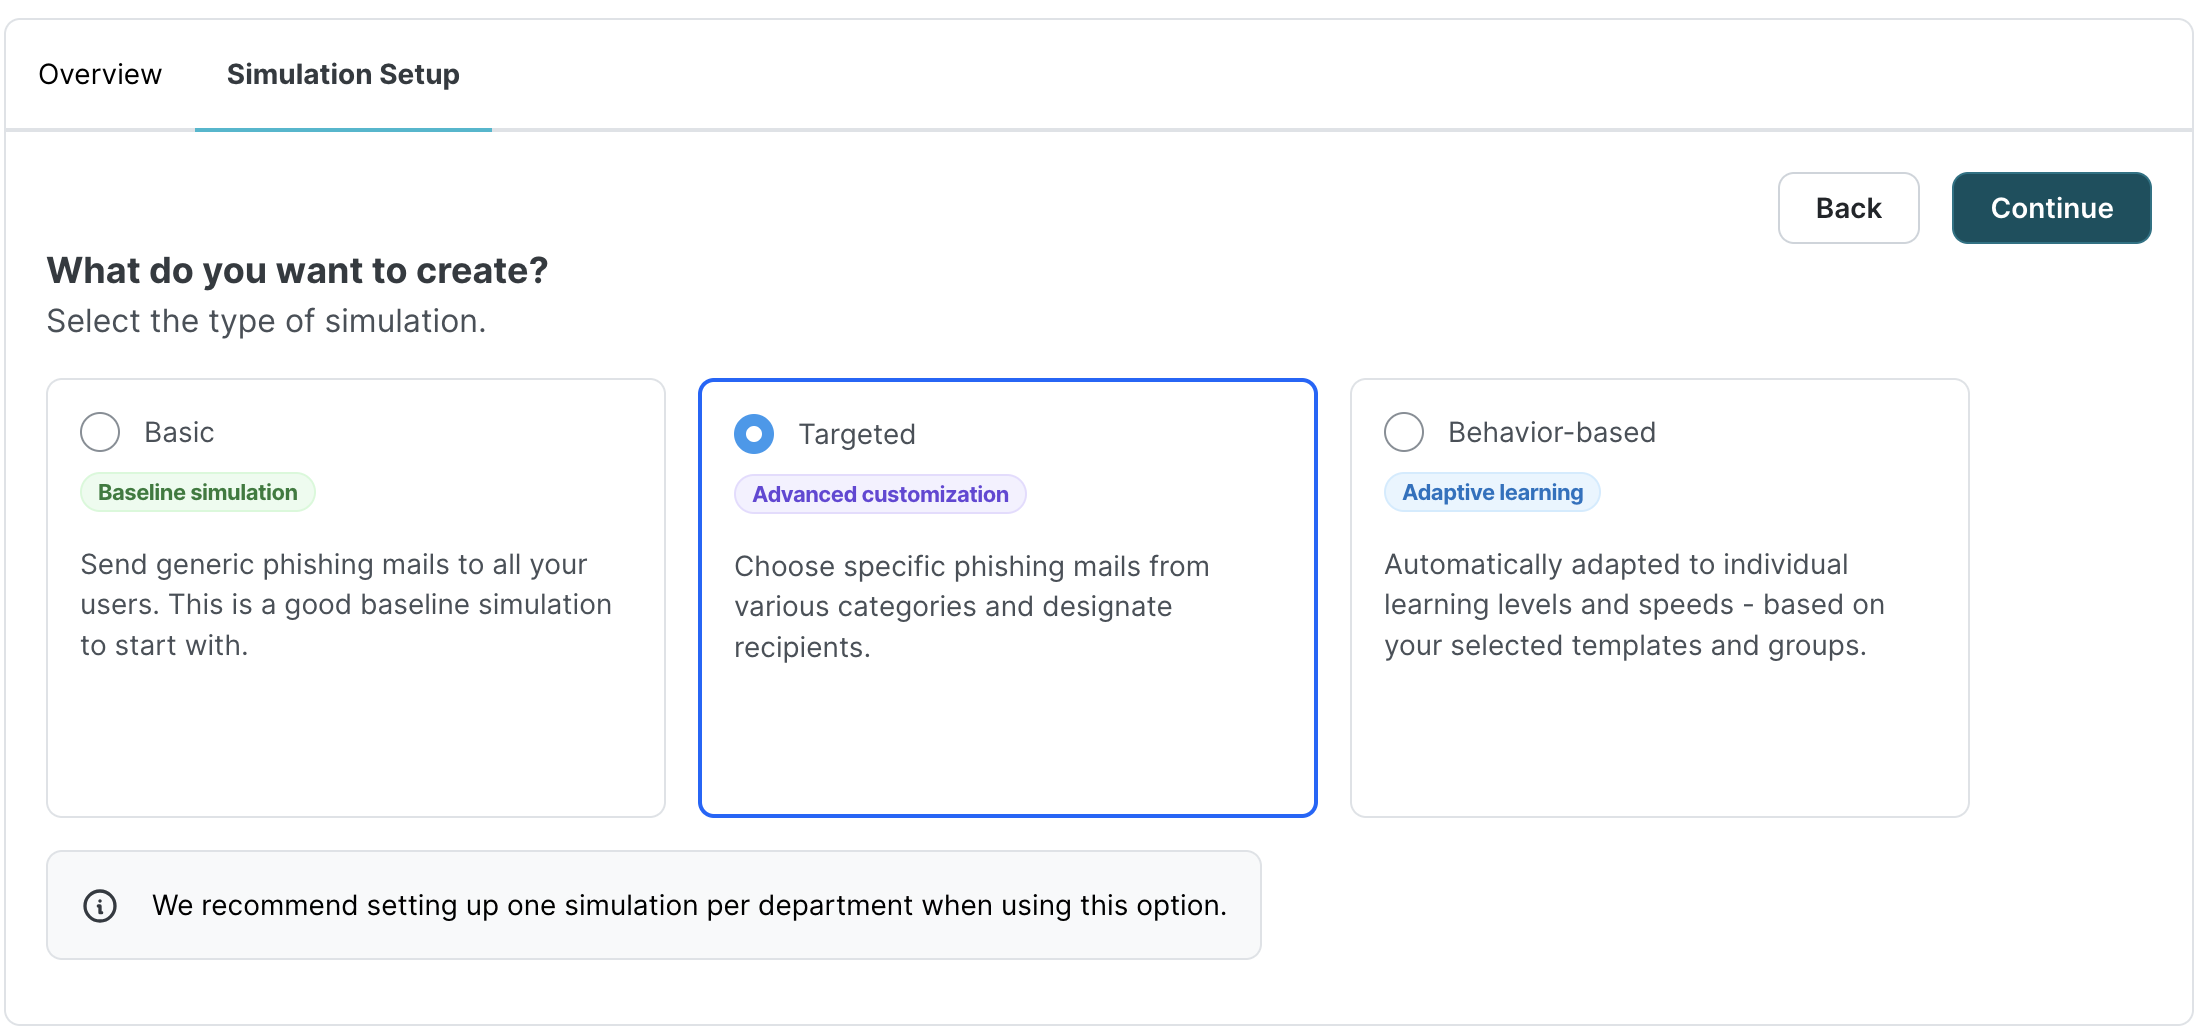
Selecting Simulation Type
Currently custom phishing templates are only supported in Targeted Simulations. However, future iterations are yet to come.
Choose Targeted simulation and click Continue
Select Create custom template on the right side of the screen
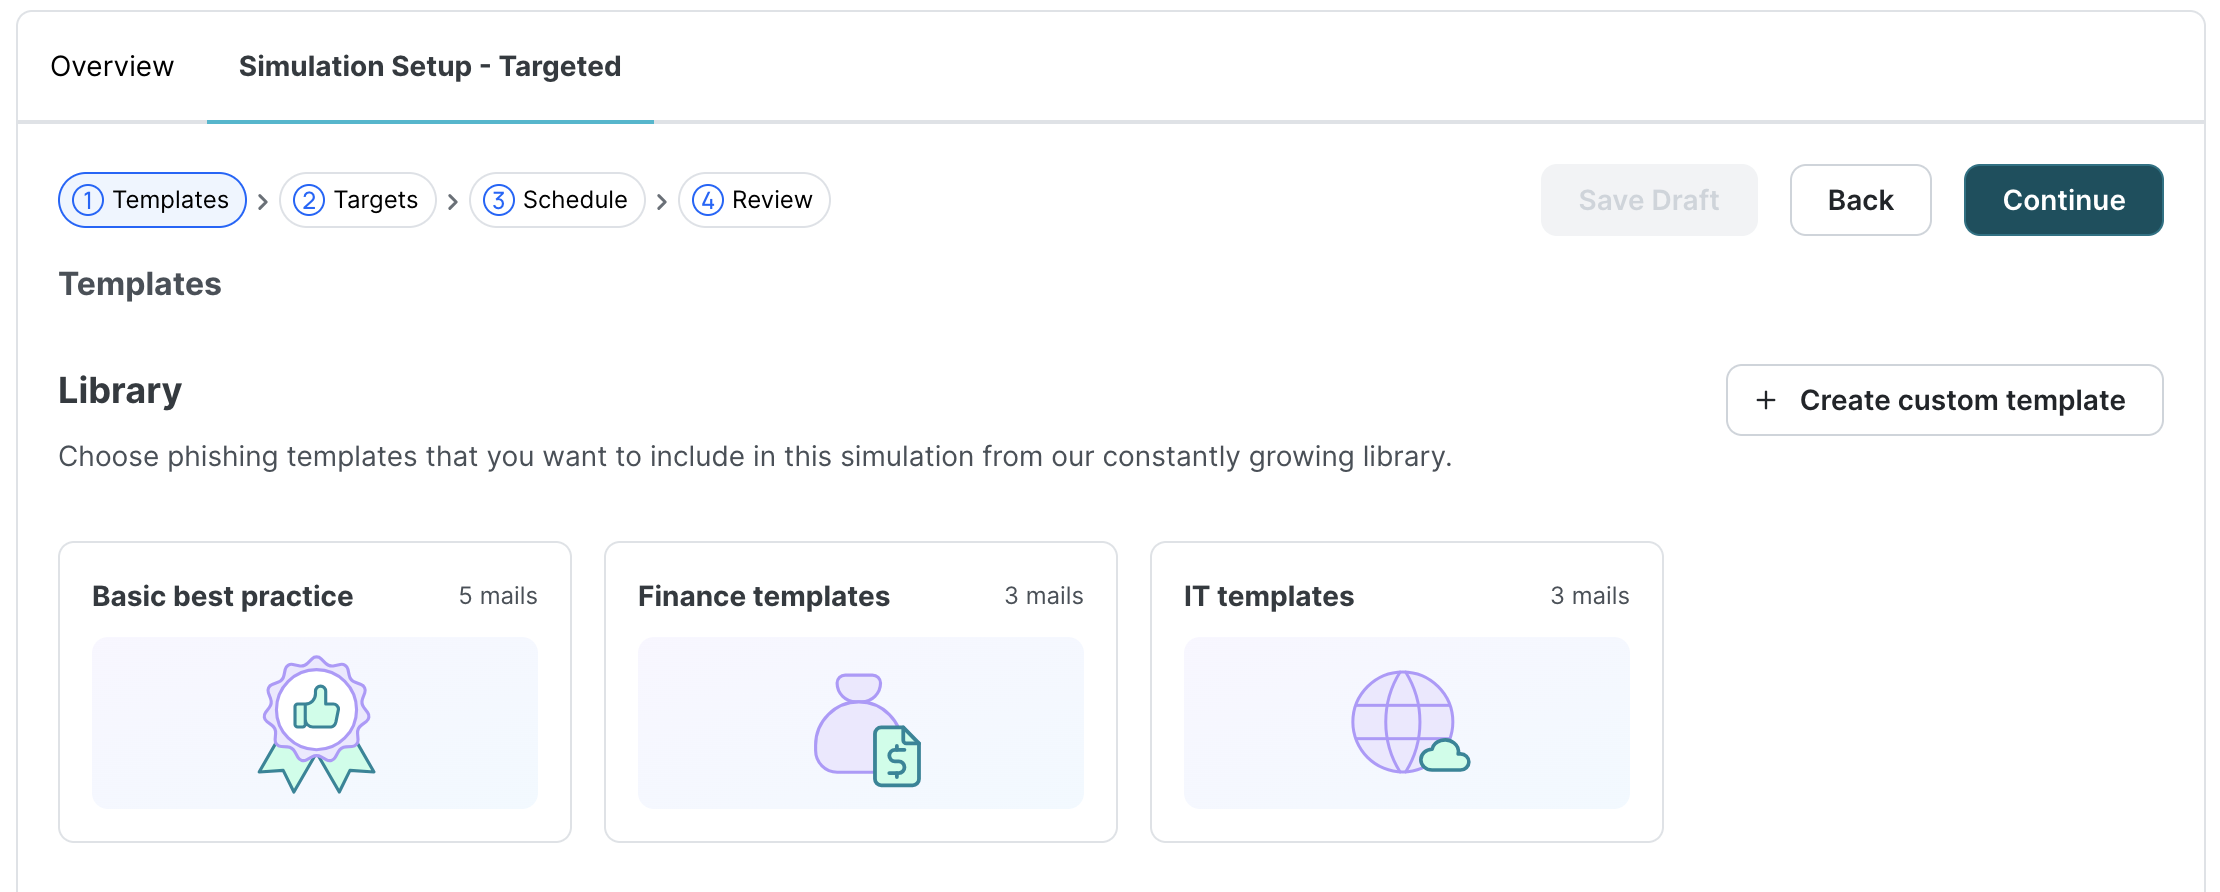
Choosing your template creation method
In the Blank Template Editor, start from scratch or opt to use Sofie AI for an automated start.
Enter a subject line and select the desired language for your phishing template
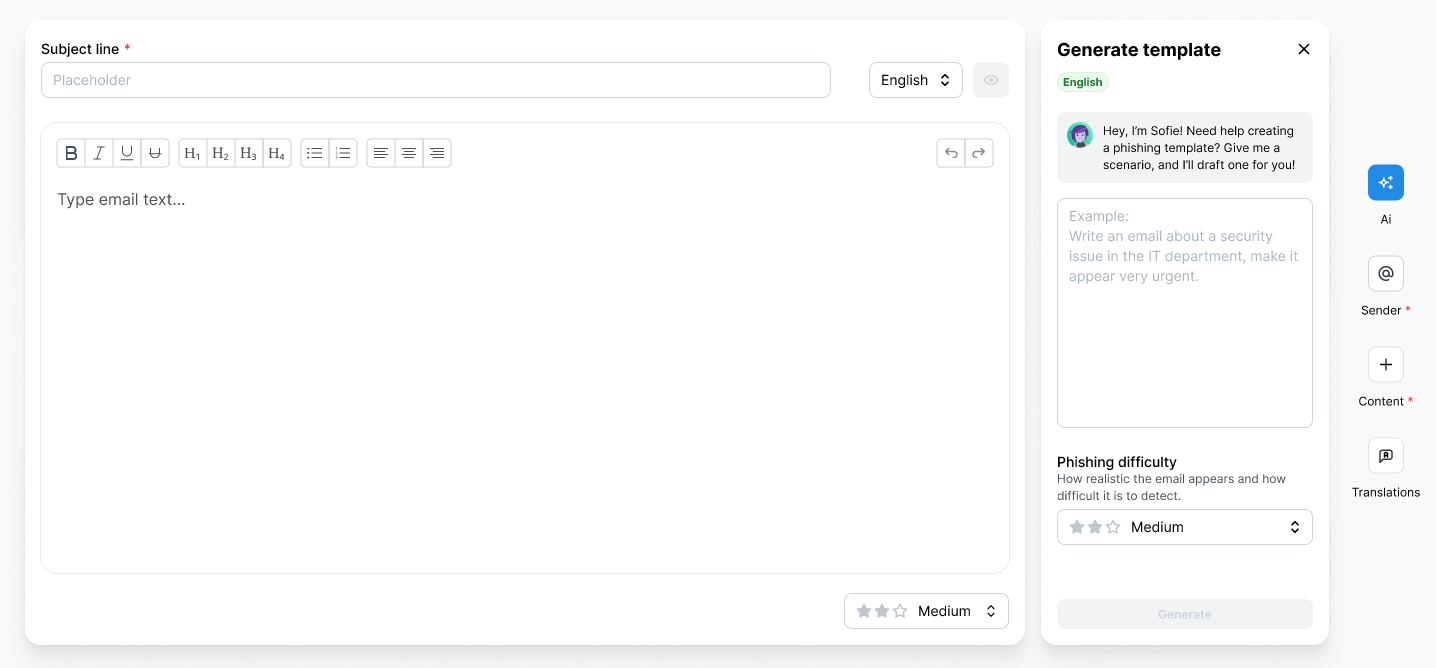
Using Sofie AI for template creation
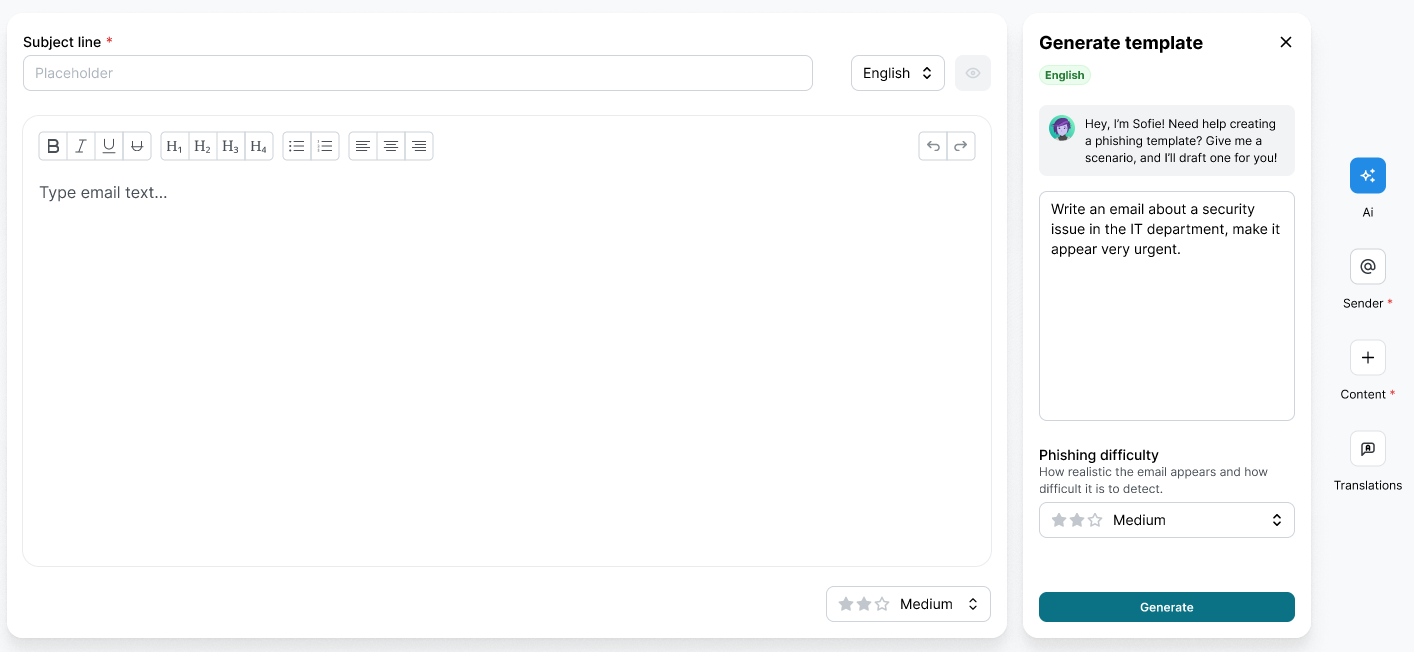
Insert a prompt describing the type of phishing template you need into Sofie AI’s text box.
Select from three difficulty levels: Easy, Medium, or Hard, for varying sophistication in the template and click Generate.
Customizing Template details
Setting up sender information
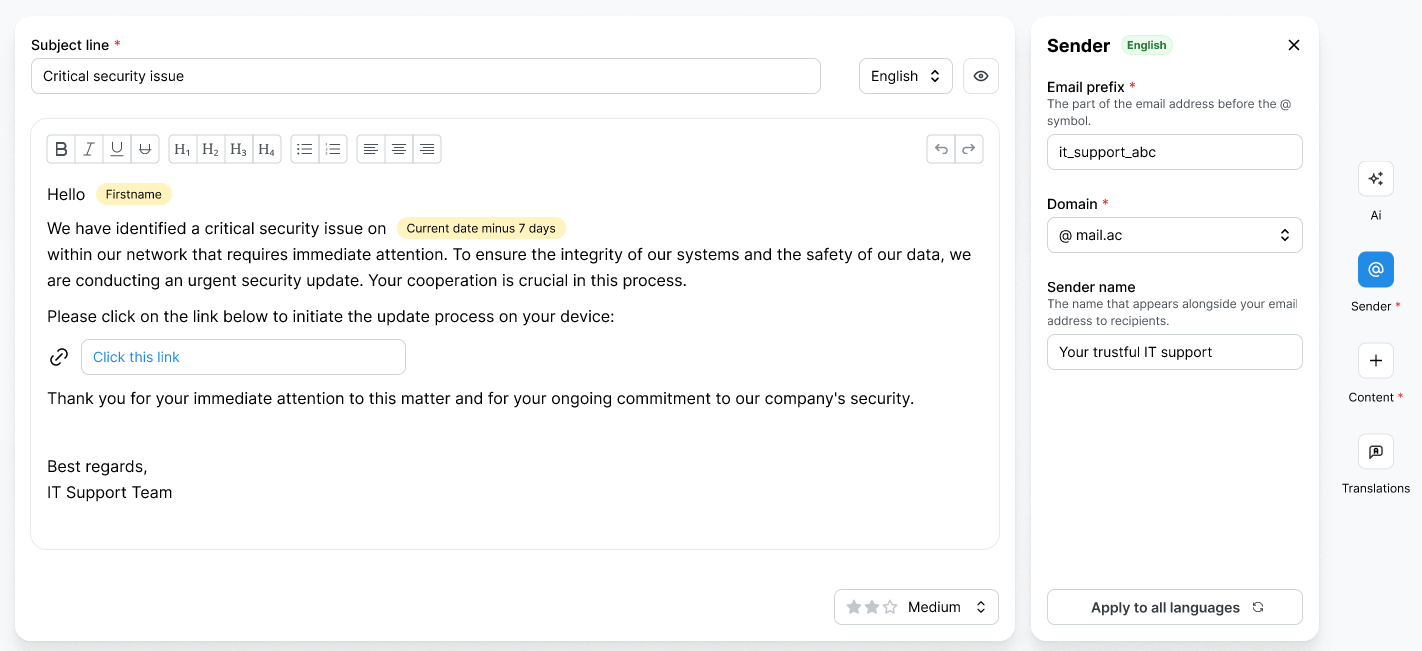
Enter the Email prefix and Domain (required fields) to define the sender details. Optionally, you can also specify a custom sender name.
Adding content elements
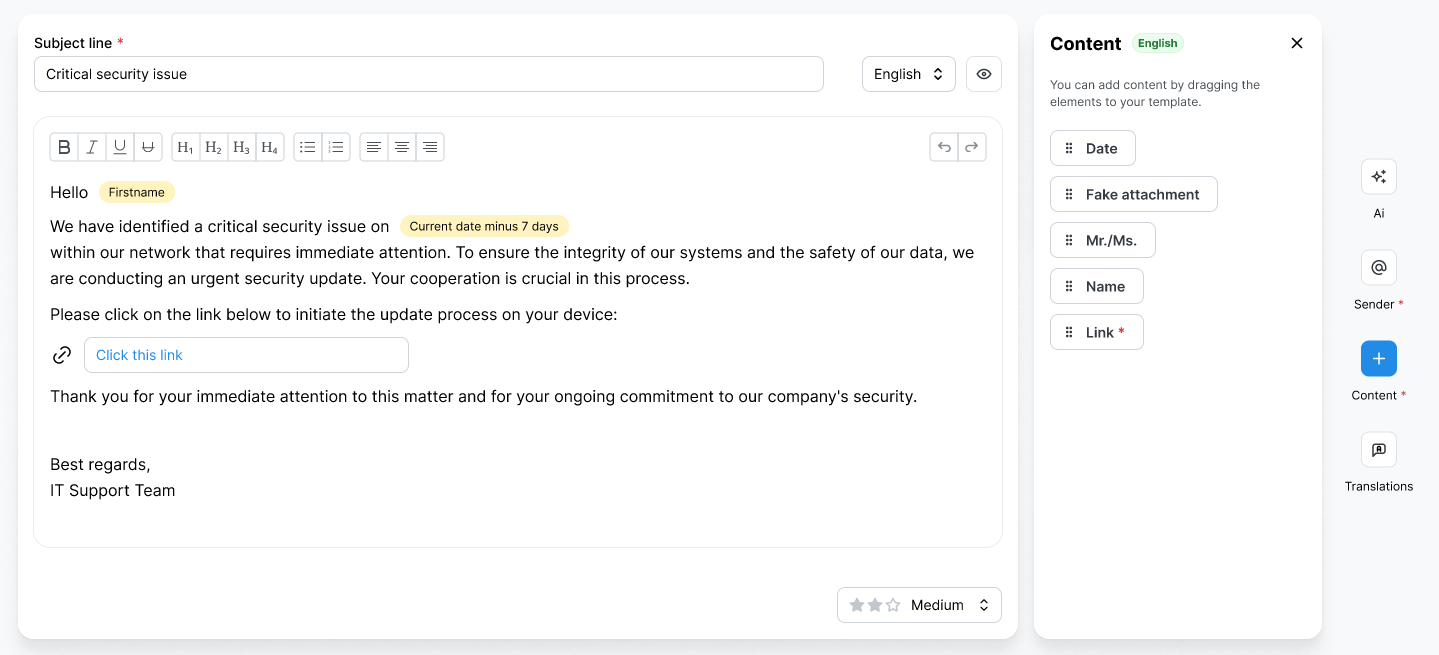
Customize your template further by dragging and dropping the following elements:
Date
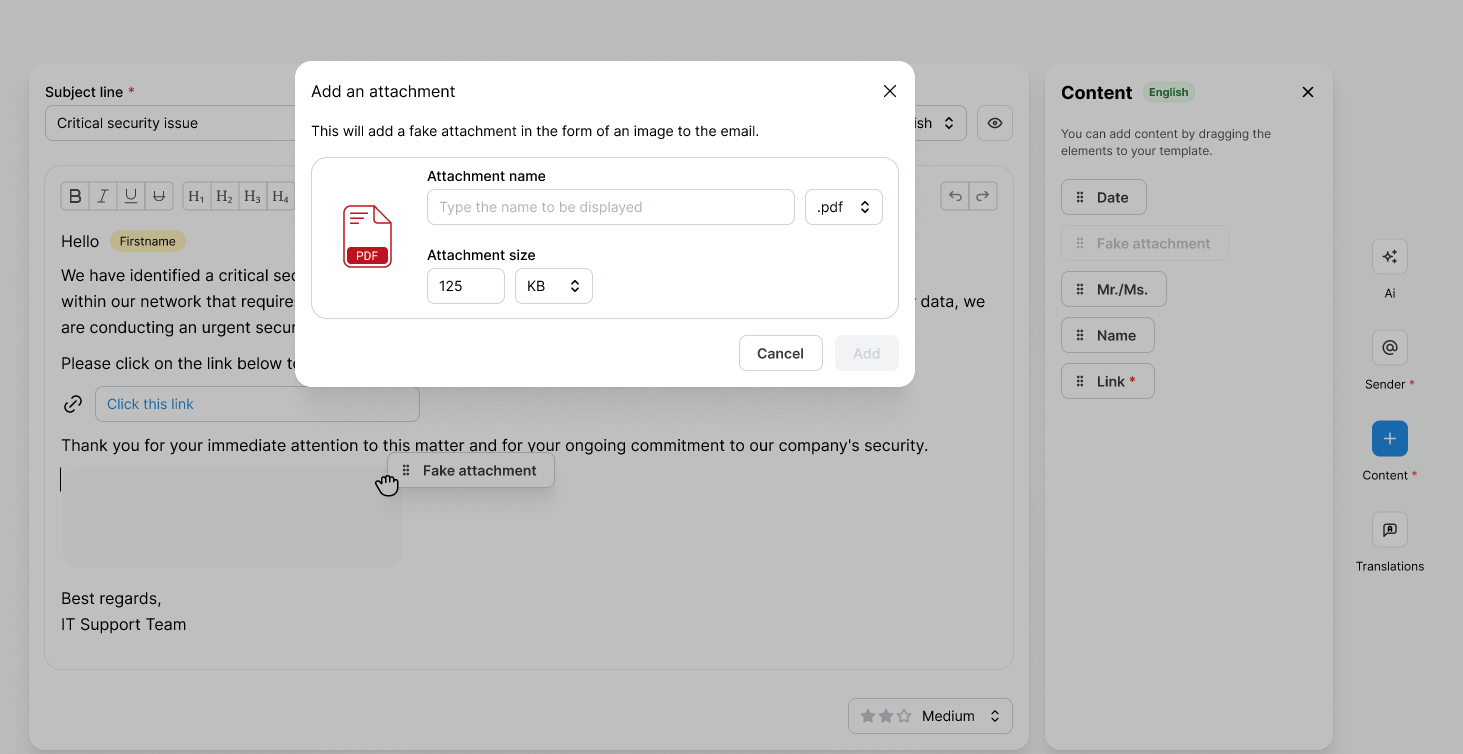
Fake attachment (type, size, and name, displayed as an image)
Salutation and Name (to personalize each email)
Link (mandatory field) - This link directs users to a learning page if they click within the phishing email.
Choose between fake attachment types, size and name in the form of an image to insert into the email.
Translating your template
Using AI translation for multilingual templates
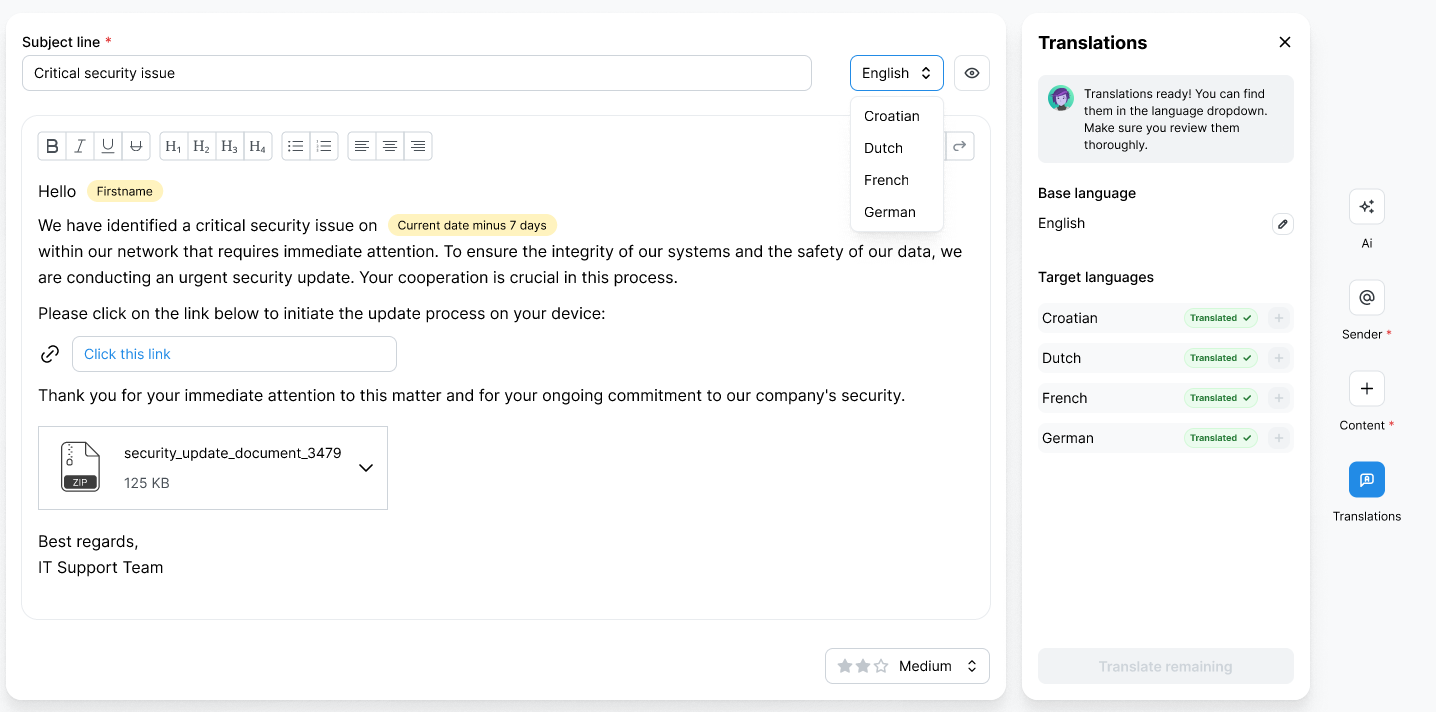
Once your template is complete, choose Translations to convert it into multiple languages with the help of AI.
Done with your creation? Now choose to translate you r phishing template into multiple different languages of your choice with the help of AI.
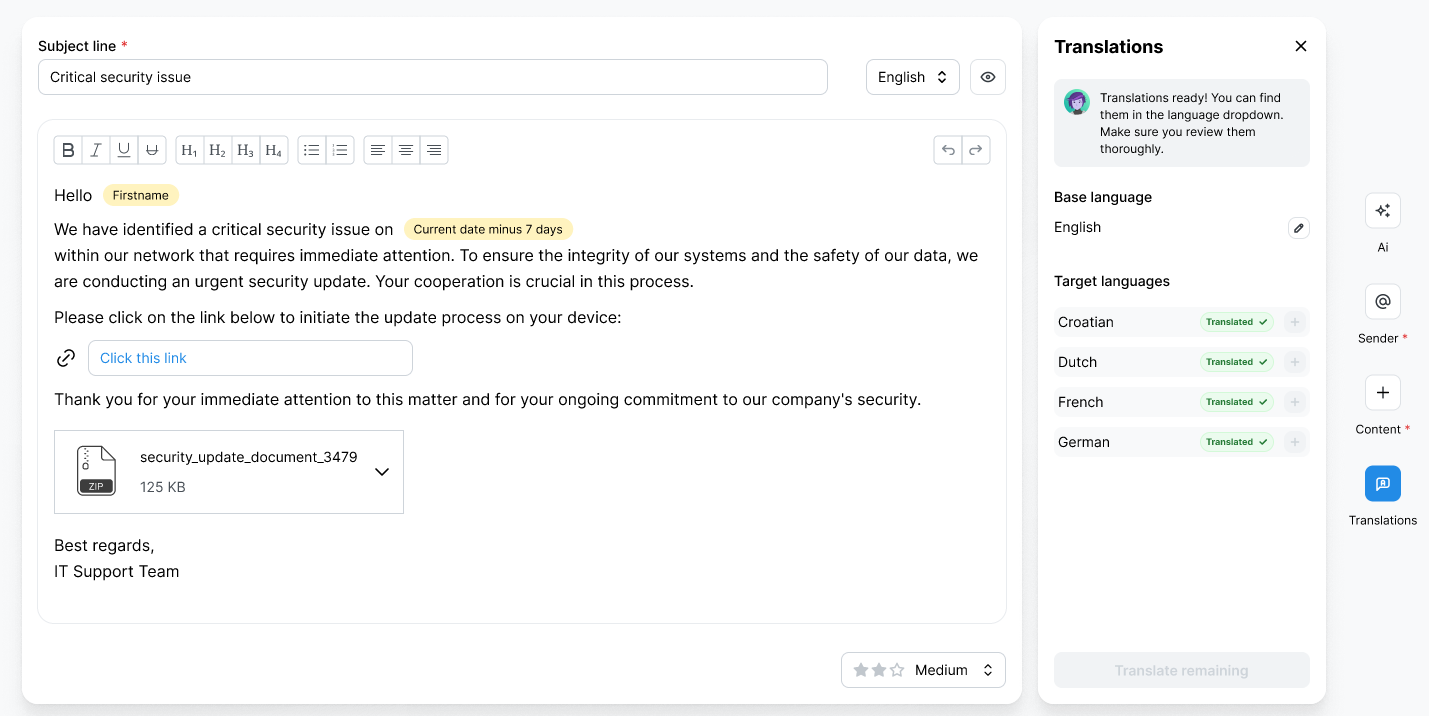
Choose to preview and edit your freshly translated phishing templates as needed next to the subject line.
